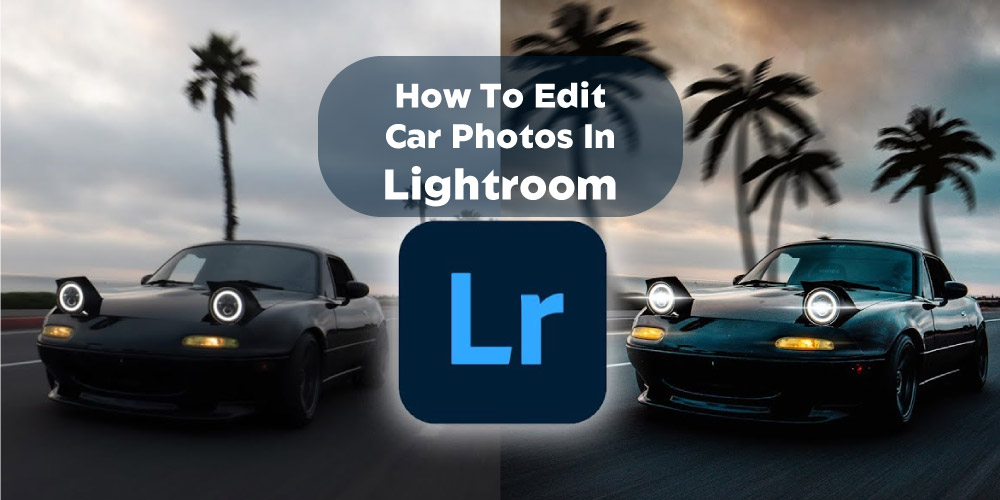
Imagine roaming through the best automobile brand’s website to buy your dream car, and you find some dull and poorly captured car photos there. What experience will you get? Disappointing for sure. Well, that’s why today we bring you a car photo editing tutorial where you will learn how to edit car photos in lightroom. It will help you give your customer a dream-like experience through the photos.
Yes, you can edit images with adobe photoshop, but lightroom has some perks that might enhance your way of car image editing. You might find different editing combinations that can boost your business as well.
How To Make A Car Edit
You can shoot your vehicle using the top high-end professional DSLR cameras, but post-processing is one thing you must do. Raw photos aren’t captured to use directly in front of your customer. They are captured by keeping every detail, such as angles, lights, shadows, etc. Intact so that when you sit for the post-processing, you can control everything manually and make your photos look stunning. Cars are luxury products, and they must look perfect from every angle. They should look gorgeous and colorful when needed as well. You have to create an emotional connection between your product and the customer.
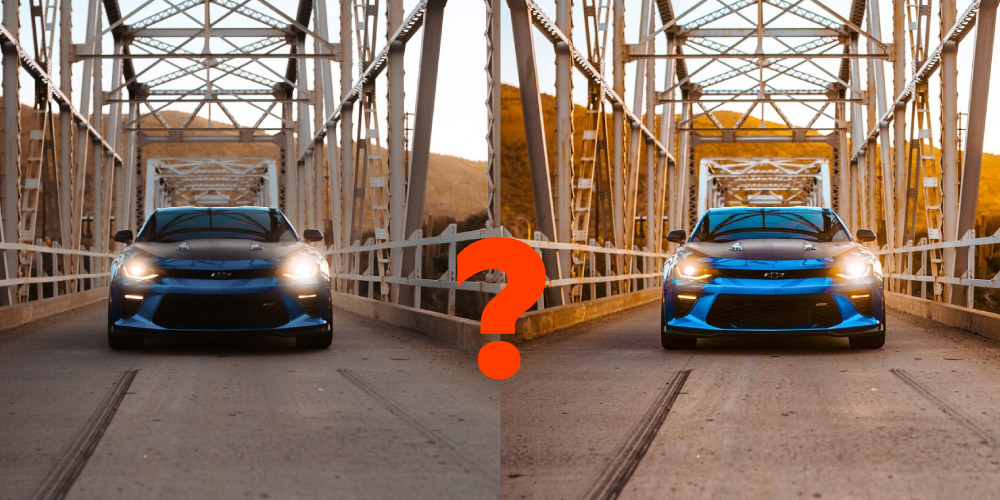
Adobe Lightroom is a professional editing tool like Photoshop where you can play with your car images and make them attractive and eye-pleasing. You don’t need to be an expert in lightroom and know all the editing tools in it to be able to edit your image.
I will guide you through this step-by-step car photo editing tutorial in the following segment.
Related Video:
Source: Chris Hau
Step By Step Car Photo Editing Tutorial
So like every other automotive dealer and professional car photographer who wants to compete and beat their competitor, I am sure you are not so different. And so, there is no other alternative to ensure the quality of your product photo. See the steps below, follow them, use them and let your imagination do the speaking for you.
Step 1: Start From The Basic
After inserting the image into the lightroom, always start from the basics, especially when editing car photos. Adobe Lightroom has a setting called Basic, where you will find some effective and important editing tool that fixes most of the initial or, I should say, “At a glance” problems of your image.
These issues sometimes work like a showstopper for you. You can call them the Toppings of your delicious pizza. Without a good amount of toppings, your pizza looks dull and tastes bad.
When a customer first glances at your car photos, their eyes should be struck by lightning as they will see their dream come true. And in basic image editing, the White Balance(WB), Colour Tone, and Presence play that role for you.
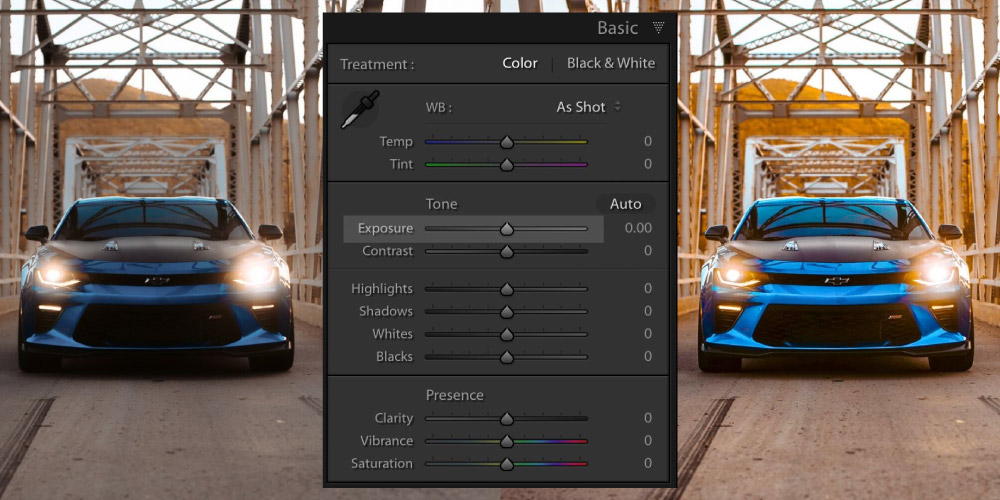
In the settings, you will find all those settings with a slider beside them, using which you can change them according to your requirement. It doesn’t matter whether you are using the best camera lenses for your car photography or not, and you must fix these color issues on the first go.
Play around, change the slider, and set the Temp and Tint option from the WB setting in the Basic menu. After that, you automatically set the Tone to Auto to set those parameters. Lightroom software has an amazing built-in AI which will analyze your image and set the parameters that fit well.
Step 2: Play With The Colours
Now we will make some detailed editing and changes to the colors. We have fixed the image’s overall color in the first step with the Basic option. In this step, we will use the “HSL/Color/B&W” option, where you can change all the colors independently.
So click on the option, and you will get a window with all those options. Click on the ALL option in the window, which reveals all the colors together. The colors are repeated and divided into three sections, Hue. Saturation and Luminance.
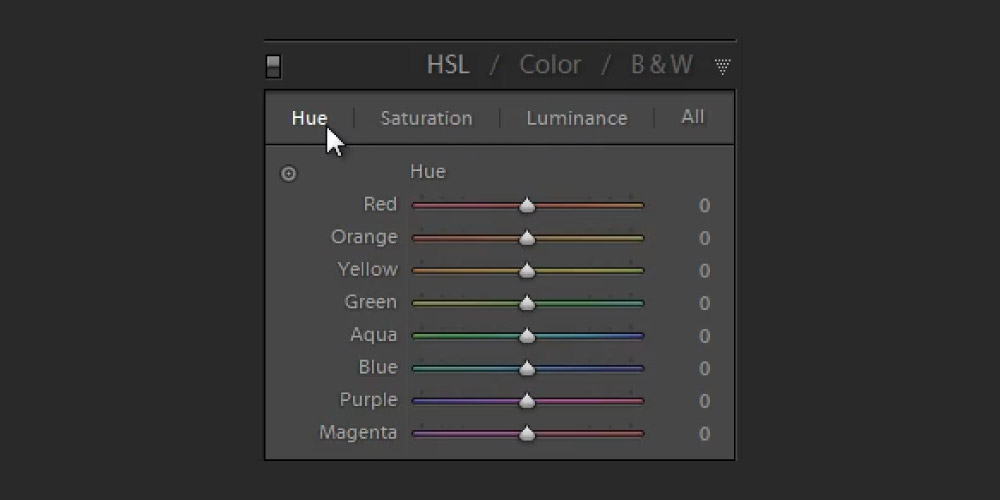
Change the sliders however you like and find what works best for your car photo. I will suggest you experiment with multiple combinations. It will increase your expertise in the tool as well. When you finally get what you want, you can close the menu.
After that, if you want to make the colors accurate and pop up, you must use the Colour Grading Panel in the lightroom. In the CGP menu, you will see circles you need to use to change the colors.
Keeping the pointer right at the middle will apply a hue with minimum saturation, and if you keep the pointer close to the edges, the saturation level will increase. Play with the circles and find the sweet spot for your image.
Step 3: Work Around The Background
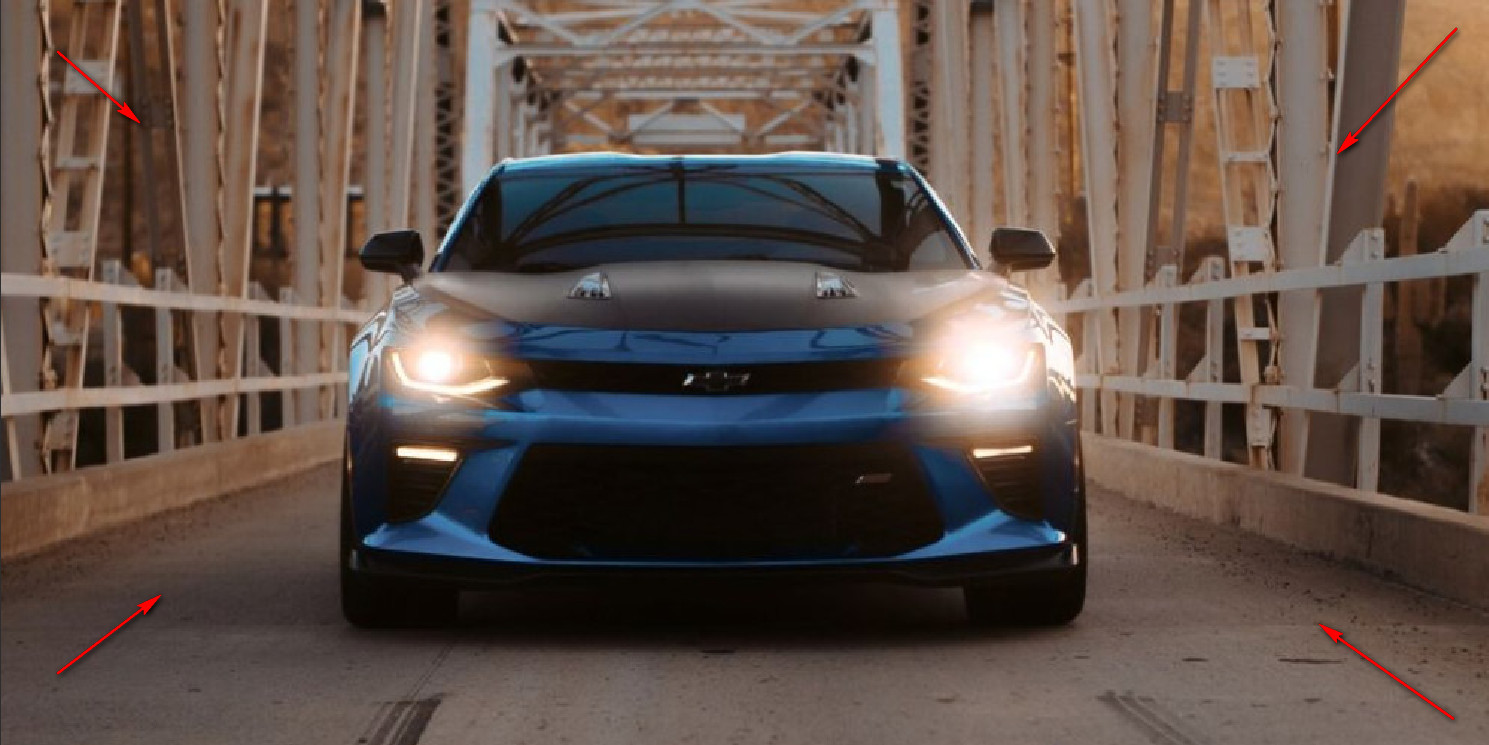
An amazing background can make your vehicle image inevitable to the customer’s eye. So it doesn’t matter what background you are shooting because you can always remove and replace it with a good one. You don’t need to use lightroom to remove the background of your car photo. You can use any photo editing software to do that. I included it in this article because it can increase your image’s greatness. You can learn how to create a car background in photoshop and use adobe photoshop to improve your images.
Step 4: Adjust The Filters
Lightroom is famous for great-looking filters. The way you can adjust filters in it, you can rarely find alternatives to that. Is it important to use filters? The answer is yes, it is. Car photos are mostly captured on the road under an open sky, which sometimes makes the image look a little bit cloudy or saturated.
Adobe lightroom filters can help to drop down the saturation level and fix the cloudy vibe from the image. To do that, you need to use the Linear Gradient Tool filter in lightroom. Some darker shades on the subject and the background, including the sky, can add a dramatic vibe to it. In the Masking Panel, look for the Linear Gradient tool and select it.
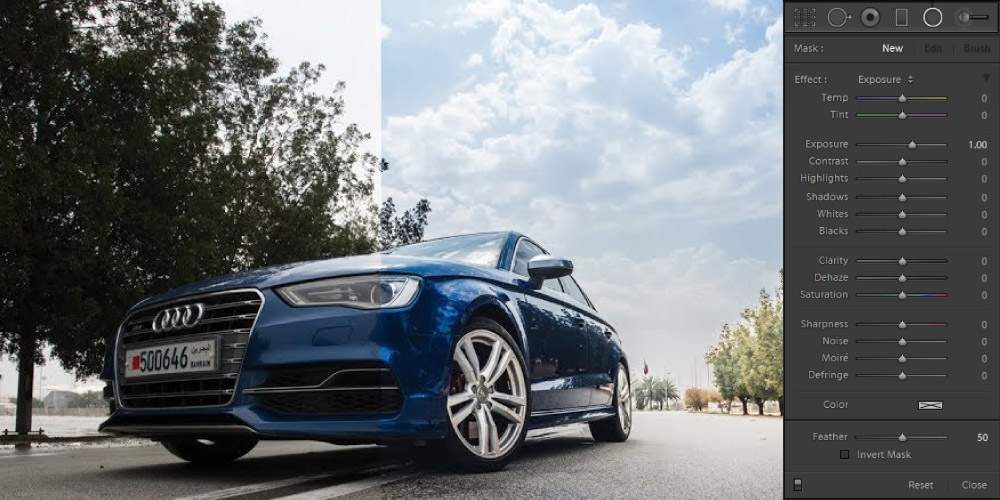
To be more precise, click on the mask icon and then again click on the dotted line circle. If your image already has a mask on it, click on the + button on the panel, then from the list on menus, select the linear gradient option. Or else, if you click on the dotted circle, you will see the option in the list immediately.
After selecting the tool, click on the rectangular icon from the menu and drag the cursor to the bottom section of the photo.
Step 5: Tweak The Textures
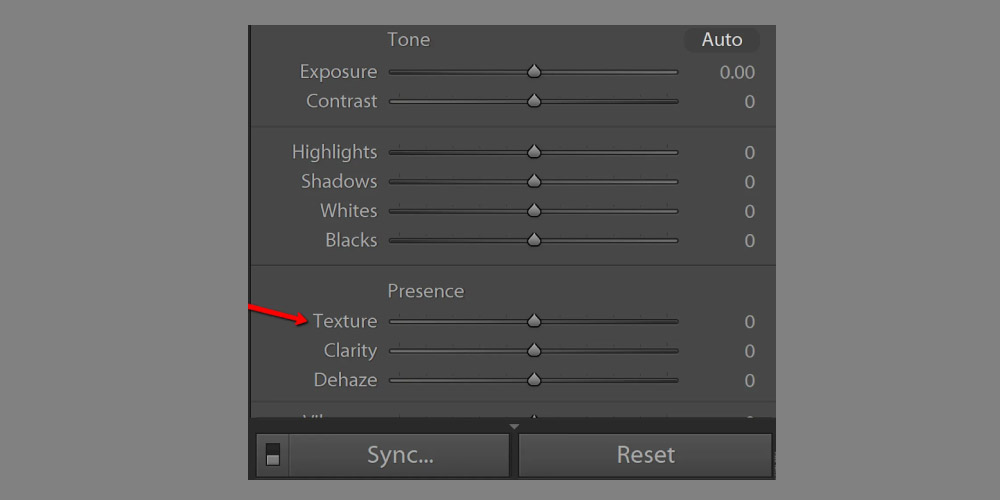
Textures on the matter of the car. Sometimes you can get reflections on the car as they are very glossy. So removing the reflection is important, and while doing that, fix the texture if needed. Not only the outer texture but also tweak the inner textures for the inside shots. These car retouching techniques distinguish between a stock photo and a great-looking photo.
Step 6: Edit The Shadows
This is also a bonus step for people who want flawless vehicle photos. Proper shadow makes product images look more attractive, realistic, and natural. You don’t need to add shadows in lightroom because, in photoshop, it is far easier than you think. Add some natural, realistic shadow under the car to look more grounded and appeal to the customers.
Step 7: Wrapping Up
After the previous step, you should have an amazing-looking image that you can use for the market without hesitation. But if you want something extra, you can work more on the image. Adjustment Brush is the tool you can use for the final touch-up. You can adjust the windows and the reflections on them.
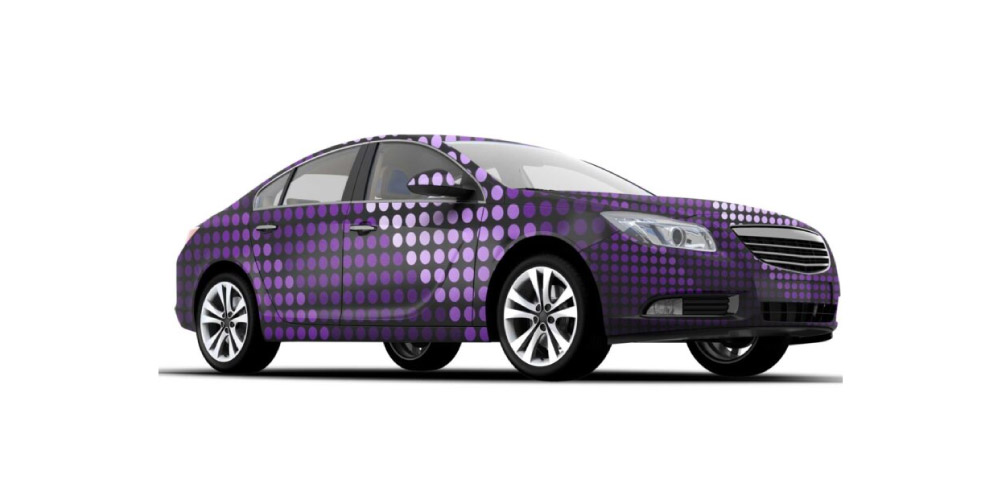
Adjust the contrast on the wheels if it’s needed. In the adjustment brush setting, you will have some options: Flow, Density, Feather, and Size. Play with the sliders and see which number works best to get the maximum output.
Car Interior In Lightroom
To edit the car interior in lightroom, you can start from the basics again. Change the Temperature and tint using the sliders beside them. It would be best to try several combinations to get the color right.
After that, in the Tone section, play with Exposure, Contrast, Highlights, Shadow, Whites, and Blacks. It will enhance both the car’s interior and the background behind it as well. By this time, you might feel that your image lacks a bit of clarity and vibrance.
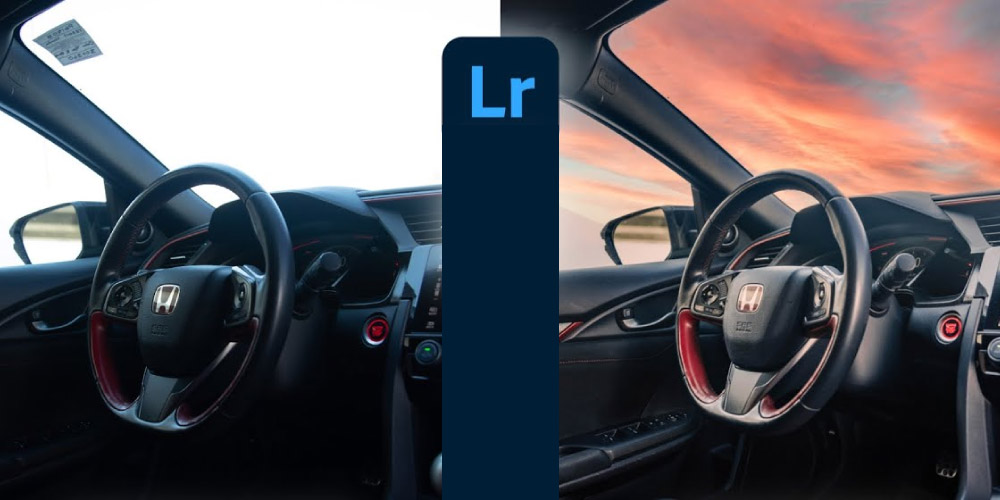
You will find the clarity and vibrance settings in the Presence portion, right under the Tone section. Set the value that goes with your image and the environments around it.
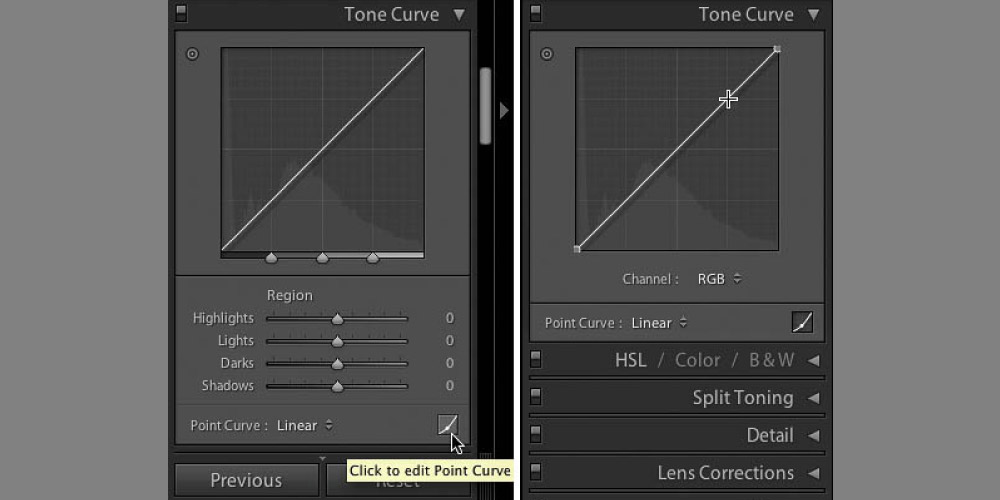
There is a Tone Curve option that is also a very handy tool. You can use the curve to fix the tone or theme of your image. After fixing that if you feel you can work the sharpness and also reduce the noise. After that, the image will be more attractive than before. Now you can save it and use it anywhere you want.
FAQ:
What settings should I use for car photography?
If you want to focus on the car and blur the background, then depending on the distance, you can use aperture f/5 or even lower. It creates a great bokeh effect on the car photo. On the other hand, use f/8 to keep the full frame in focus.
How can I enhance my car photos?
With car photo retouching service, you can enhance and take your car photos to the next level or enhance them like never before. In this article, we see how we can edit car photos in lightroom, but you can use Adobe Photoshop also.
What is ISO for car photography?
ISO 100 is the sweetest spot for car photography, according to some famous professional photographers. Lower is better in some situations. The best camera settings for car photography depend on the environment and the lighting you are shooting in.
What is the focal length for car photography?
f/2.8 is considered the best all-around performing focal length for automobile photography. If you can use the 24-70mm lens with that focal length, you can do both close and long shots. Not only that, it allows you to shoot action shots as well. It’s better to carry one lens instead of two if that lens does both the job successfully.
Final Words
The steps in this article will teach you how to edit car photos in lightroom, but the practice will make you an expert on this. By learning the lightroom tools and settings, you become aware of your options to enhance your images. , But you must acquire knowledge and post-processing understanding to make the best of the skill.
With professional automobile photography, you will have the perfect RAW image that you can edit in lightroom and create an awesome nondestructive masterpiece. I have mentioned some extra steps to make the image stand out in the crowd.
