Home  / 

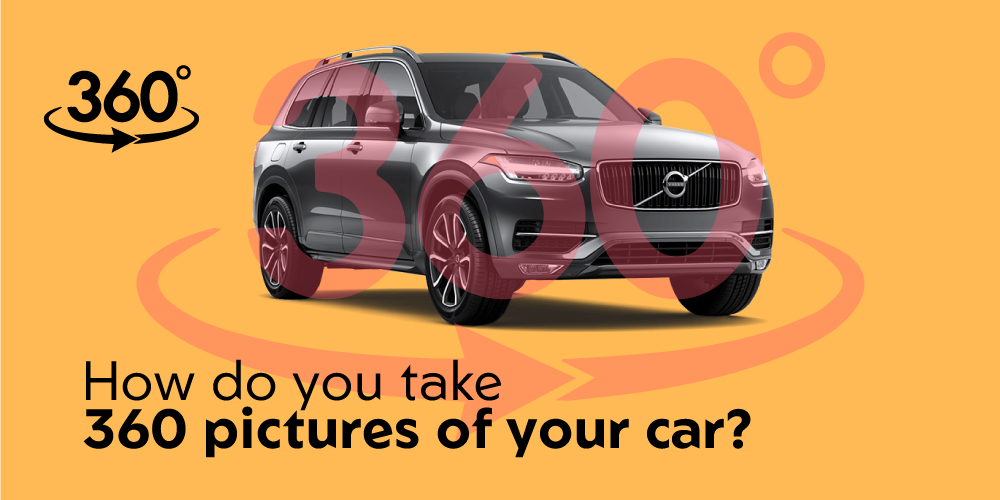
How do you take 360 pictures of your car?

How do you take 360 pictures of your car?

How do you take 360 pictures of your car?


Taking 360 pictures of your car is a great way to capture all the details and angles of your vehicle, making it easier for potential buyers to get a full view of it. With the help of modern technology and basic knowledge, you can easily take professional-looking 360 pictures of your vehicle. 


If you’re a car enthusiast, then you’ve probably seen some fantastic 360 pictures of cars online and wondered how they were taken. Well, wonder no more! Here’s a step-by-step guide on how to take your own 360 pictures of your car.


Steps To Take Better 360 Pictures of The Car

Steps-To-Take-Better-360-Pictures-of-The-Car

You need to have some preparations if you want to capture high-quality 360 images of your cars. The steps below will give you a clear idea about how you should approach if you’re going to take better 360 pictures. Read them out, and do the steps that tell you to do.


Step 1: Choose the right location

Choose-the-right-location


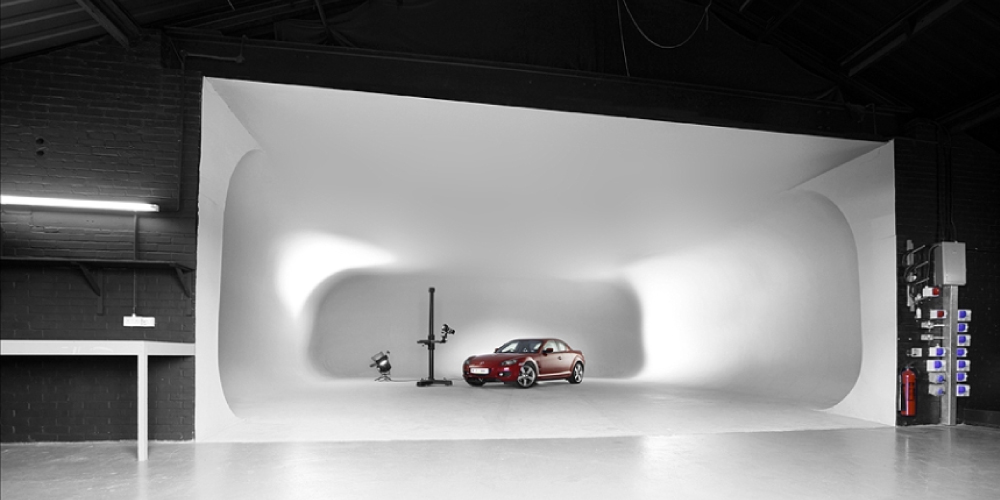
The first step is to find a location that will allow you to get an excellent 360-degree view of your car. This might take place in a parking lot, on the street, or even in your own driveway. Once you’ve found the perfect spot, it’s time to set up your camera.

Step 2: Set up the camera

Set-up-the-camera


If you have a DSLR camera, you’ll want to use a tripod to keep your camera steady while taking the picture. If you don’t have a tripod, you can use a bean bag or something similar to prop up your camera. Once your camera is in place, you’ll need to set the timer so that you can get into position.

Step 3: Take The Shots

Take-The-Shots

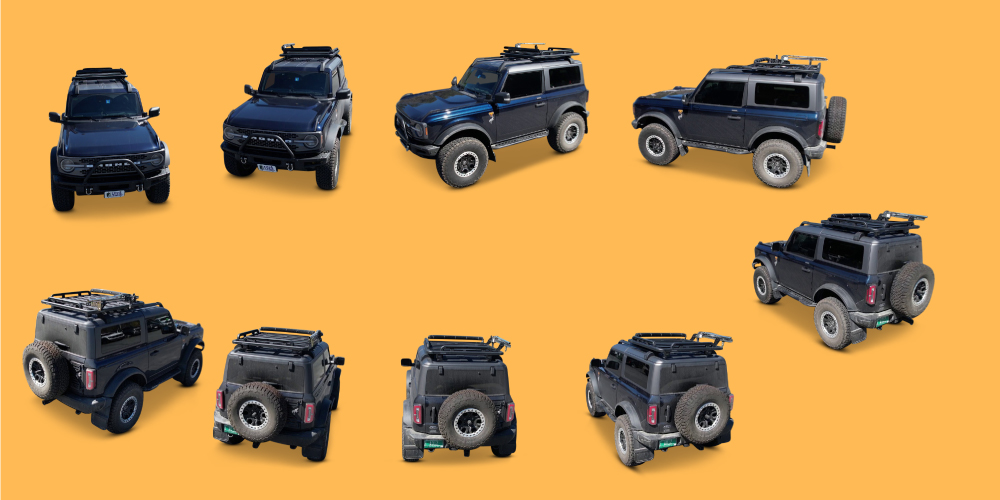
Take a photo of the car from the front, then take a shot from the back, and then move around the car, taking pictures at every 30-degree angle until you have a full 360-degree view of the car.


Pro Tip: Take the first picture and see how it looks. Go ahead and take the remaining pictures if you are happy with the shot. If not, tweak the settings and try again. It reduces the hassle of doing it repeatedly if something goes wrong.

Step 4: Edit The Photos

Edit-The-Photos


After taking the picture, you’ll need photo editing software to stitch the photos together. This can be done easily with Photoshop or other similar software. Insert the images into the software and sort them out first. 


You might need to crop and resize them because, during your 360-degree car photography session, you might need more space to fix the frames. You can go for professional car photo editing service provide to get top notch results or DIY in photoshop.


Now you can stitch them, and once the photos are stitched together, you’ll have a beautiful 360-degree view of your car that you can share with the world!


So there you have it! Now you know how to take your own 360 pictures of your car. Locate a suitable area, prepare your camera, and get ready to display your ride!


Step 5: Sharing 360 Pictures of Your Vehicle

Now, if you have done all the above steps correctly, then I am sure your 360-degree car photography went tremendous, and after editing, it is ready to share with the viewers.


You can post these images on social media and run a marketing campaign. If you have a website, you can upload these images and make your automobile product listing more attractive.


And lastly, you can print the photos for large banners and billboards and use them for marketing.


Glass Transparent interior in photoshop/lightroom

Glass-Transparent-interior-in-photoshop--lightroom

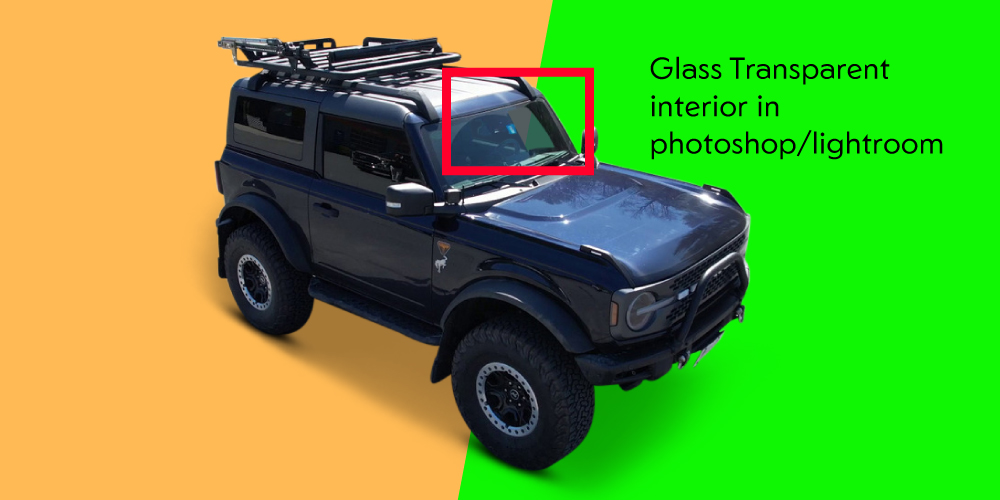
While producing 360-degree pictures of your vehicle, you can add some spice to it by making the glass transparent of the car’s window to make the interior slightly more visible. Let us see how we can do that…

Step 1: Open The Image Of The Vehicle In Photoshop.

We will start with importing our car photo in photoshop. Open Photoshop and drag the image to its artboard to insert the image.

Step 2: Select The Polygon Lasso Tool.

Navigate to the left-hand Toolbar and select the lasso tool icon. Here you will find the Polygon Lasso Tool, which we will use in this tutorial. Click on the icon to select it.

Step 3: Outline The Windows Of The Vehicle.

Now we will select the windows of our vehicle. With the polygon lasso tool set, create lines around the edge of the window to choose them. When you are done with creating lines around the window, you will see that you have selected the window successfully. You can zoom in and out while creating lines to get it accurate.

Step 4: Right-click and select “Layer via Copy”

In the side menu, choose Layer via Copy after performing a right-click on the layer. This will copy the latest changes and create a new layer with it.

Step 5: Right-click on the layer and select “Blending Options”

Right-click on the newly created layer and choose blending options. To make the glass transparent, we need to work on opacity so that blending options can help us here.

Step 6: Adjust Opacity.

Under “Opacity,” adjust the opacity level to your desired level. It will make the window look transparent. You can play with the number to find the right one for your image.


Step 7: Save the file

If you want to add further effects, select “Bevel and Emboss” and adjust the settings to your liking. Finally, press “Ok” and save your changes. 

Benefits of taking 360 pictures of your car


Increased visibility 


A 360-degree photo gives potential buyers an immersive look at the car, allowing them to see every angle of the vehicle without having to inspect it physically.


Increased engagement


360 pictures of your car create a more engaging experience for viewers, making them more likely to remember the vehicle they’re looking at and encouraging them to take further action.


Increased efficiency


Taking a 360-degree photo of a car is much quicker than taking a standard picture, meaning car dealerships can get more vehicles photographed in less time.


Increased accuracy 


As the entire car is visible in a 360-degree photo, potential buyers can be sure that they are getting an accurate representation of the car’s condition.


Reduced costs 


Taking a 360-degree photo is much more cost-effective than having a photographer come to the lot.

FAQ:

How do I do a 360 photo?


When taking a 360-degree shot with a camera, position the device in the desired direction and hit the shutter button. The camera will automatically capture a 360-degree image.


If you’re using a panorama photo stitching app, such as Panorama360, take a series of photos, and the app will stitch them together to create a 360-degree image.


What is the best and easiest way to take a 360° picture of a car?

The easiest way to take a 360° picture of a car is to use a 360° camera. To get the best 360° view of the car, it is best to use a wide-angle lens. For a skewed yet panoramic perspective of the automobile, you may alternatively use a fisheye lens.

What’s the easiest way to produce an interactive 360-degree photo?


There are a few ways to produce an interactive 360-degree photo. One way is to use a camera that can already capture 360-degree images, such as the Ricoh Theta S. Another way is to use a 360-degree camera rig, such as the Freedom360.


What is the best angle for taking photographs? 


There is no definitive answer to this question, as it depends on the subject matter and the effect the photographer tries to achieve. However, some general guidelines include shooting from eye level for a more natural look, shooting from above for a bold look, and shooting from below for a more playful or intimate look.


Can I get a 360 camera in my car?


Yes, you can get a 360 camera in your car. Many models are available, such as the Garmin Dash Cam, Garmin Dash Cam Tandem, and the Garmin Dash Cam Mini. These models allow you to easily capture 360-degree videos of your driving experience with a wide-angle lens and crystal-clear video resolution.


Last Words


Taking 360 pictures of your car is a great way to capture a unique shot of your vehicle. With the right camera and a bit of know-how, you can take 360-degree pictures of your car that will make it look like you’re driving right through the middle of it. You can then share the images with your friends and family or print them on the wall.


How to Use Light Painting to Create Gorgeous Car Photography?

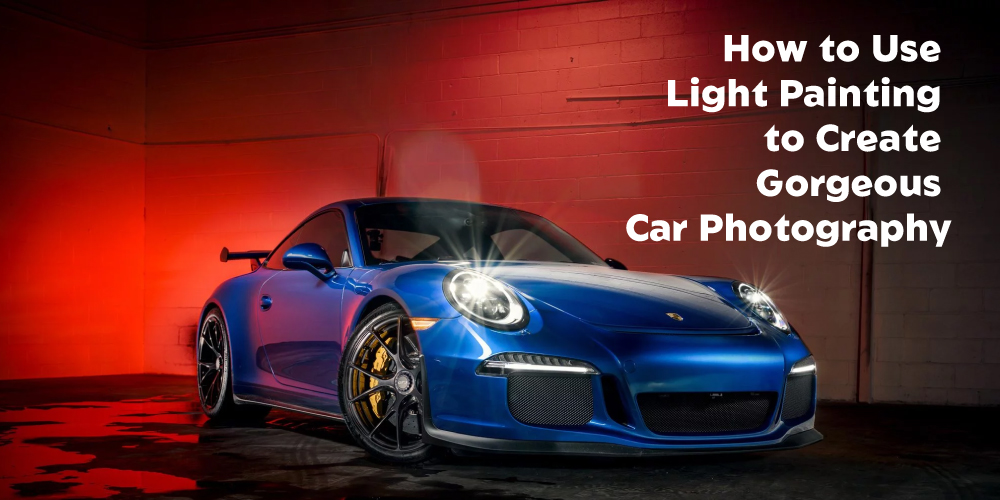
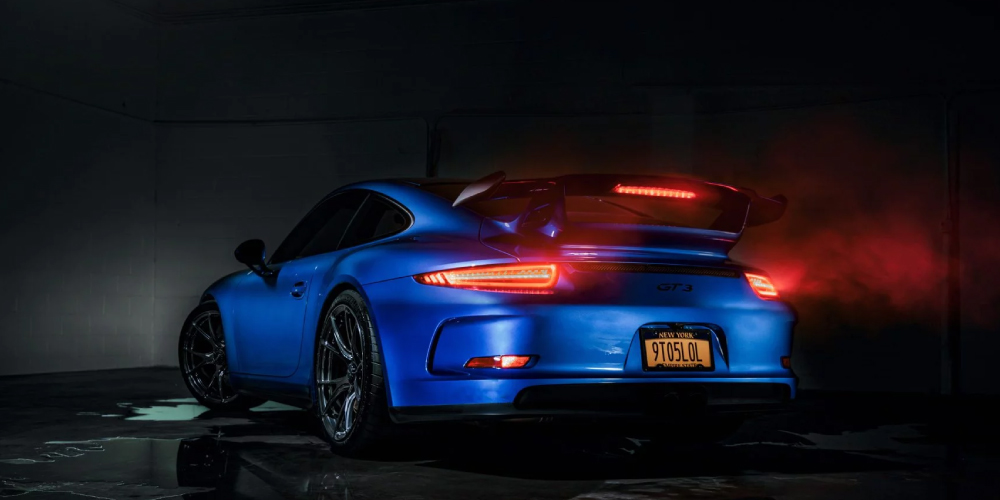
Light painting is a creative technique to create stunning and dramatic car photography. It uses a light source to illuminate a car, creating a spectacular and eye-catching effect. The effect can create various looks, from a classic vintage feel to a modern, futuristic look. It’s a great way to bring out the best in your car photography and make your images stand out from the crowd.

This blog post will look at how to use light painting to create easy light painting photography for your car. We’ll look at the different techniques you can use, the types of lights you can use, and the equipment you’ll need. We’ll also look at some tips and tricks to help you create amazing car photography every time.

Why Use Light Painting For Car Photography?

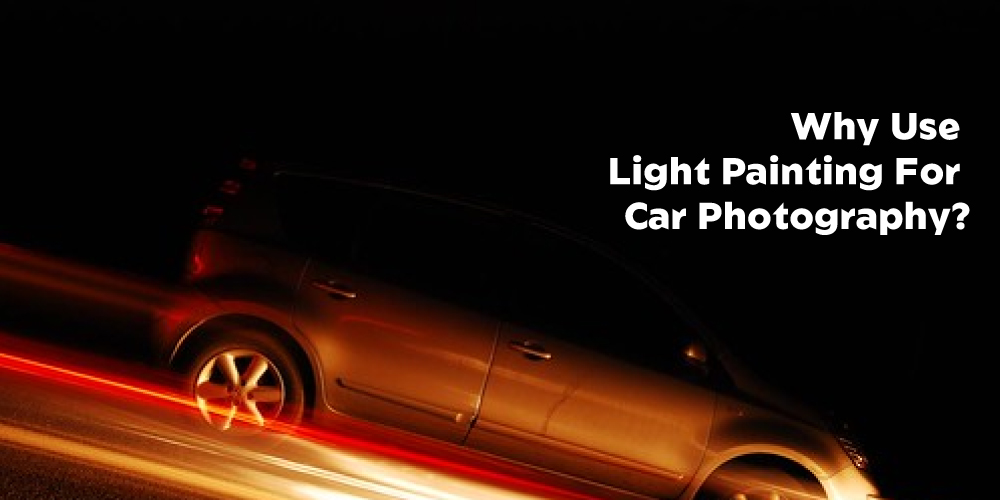
To give the automobile a distinctive and beautiful appearance, photographers frequently use light painting. It includes strategically highlighting or painting an automobile with light using a portable light source such as a flashlight or LED light. From a soft nighttime glow to a dramatic and striking appearance, this approach may provide a range of effects.

One of the primary advantages of light painting for vehicle photography is that it can generate a dramatic and one-of-a-kind effect that would be impossible to accomplish with standard lighting techniques. Photographers can highlight particular aspects of the automobile, such as its curves, lines, and details, by carefully painting it with light. Doing so may produce a shot that will stand out from others and be visually appealing.


Why-Use-Light-Painting-For-Car-Photography


In automotive photography, light painting may also be employed to give a sensation of movement. By shifting the light source around the automobile, photographers may create the illusion of motion, which can be utilized to give a dynamic and thrilling sense to the shot.

Intriguing shadows and highlights may also be produced using light painting, giving a shot a more three-dimensional appearance. Photographers may produce an image that seems more vibrant and interesting by employing light to highlight specific aspects and elements of the automobile.

Step By Step Guide To Using Light Painting To Create Easy Light Painting Photography

Light painting is a fun and creative photography technique that can help create stunning images. To start with light painting, you will need a camera, a tripod, a light source, and a creative imagination.

Step 1: Choose the Right Location

The first step to creating amazing car photography with light painting is to choose the right location. You want to find a spot free from light pollution so that the lights you use will be the only light visible in the image. It’s also important to find a relatively flat spot to get the car in the right position to be lit properly.


Choose-the-Right-Location


Step 2: Set Up Your Equipment

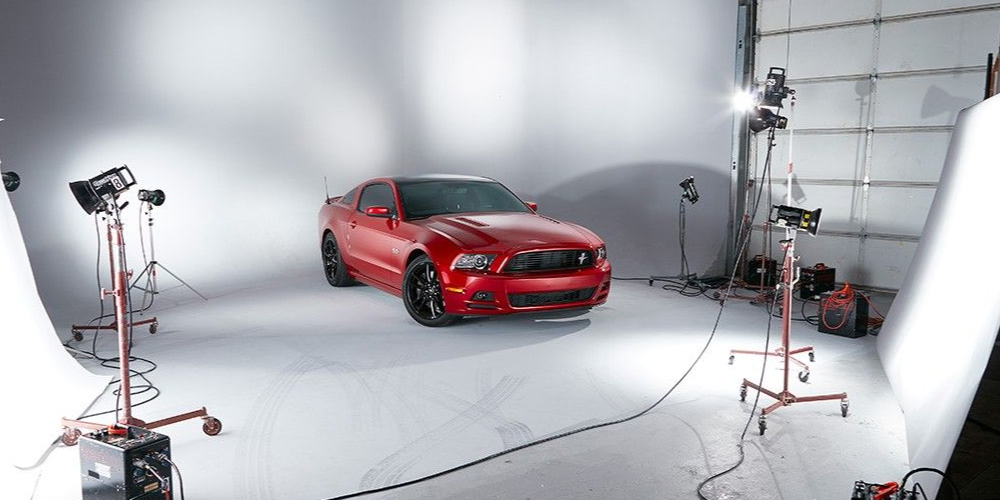
Once you’ve chosen the right location, it’s time to set up your equipment. You’ll need a tripod to hold your camera and a light source such as a flashlight, a light stand, or a portable light kit. It’s also a good idea to have a reflector, such as a white card or a piece of white paper, to help bounce light back onto the car.


Set-Up-Your-Equipment


Step 3: Position the Car

Once your equipment is set up, it’s time to position the car. The exact positioning will depend on the type of car you’re photographing and the look you’re going for, but it’s usually best to have the car facing the light source. Also, move the car slightly, so the lights create interesting shadows and highlights on the car’s body.


Position-the-Car


Step 4: Start Taking Photos

Now that you’ve got your equipment and the car in position, it’s time to start taking photos. You’ll take a few test shots to get the lighting right and check that everything looks how you want it to. Once you’ve got the settings right, you can start lightly painting the car.


Start-Taking-Photos


Step 5: Paint the Car With Light

Light painting is using a light source to “paint” the car. This can be done in various ways, from using a flashlight to slowly move the light around the car to using a light stand and a light source to create a more dramatic look. The exact technique you use will depend on the look you’re going for, but the key here is to move the light slowly and evenly so that the car is evenly illuminated.


Paint-the-Car-With-Light


Step 6: Take the Final Photo

Once you’ve finished light painting the car, it’s time to take the final photo. Make sure the camera is in Manual mode so that you can adjust the exposure settings to get the perfect shot. You may want to take a few more test shots to ensure the lighting and exposure are correct, but once you’re happy with the image, you can take the final photo.


Take-the-Final-Photo


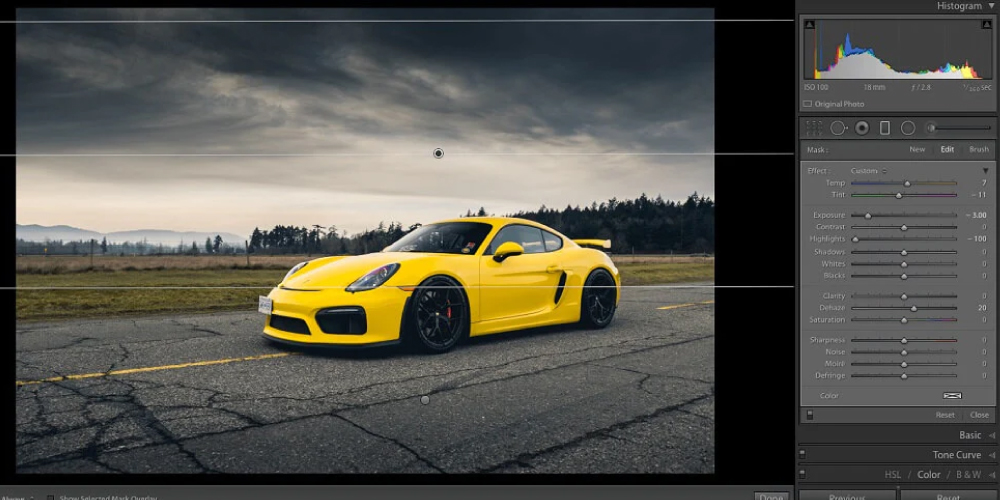
Step 7: Post Processing

Car photo post-processing is an important part of the overall car photography process. It involves editing the photos taken of a car in order to make them look more attractive and professional. 

This is done by manipulating the image in order to enhance certain aspects of the car, such as shape, color, and texture. There are a number of tools available for post-processing, including Adobe Photoshop and Lightroom.


Post-Processing


Creating gorgeous car photography with light painting is a fun and creative way to make your images stand out. By following these steps and using the right equipment, you can create unique and beautiful images every time. So, grab your camera, get out there, and start creating amazing car photography with light painting!

FAQ:

What is light painting photography?

Long exposures are used in light painting photography to capture a scene or item that has been lit by moving light sources. The photographer preserves or alters the light sources to create patterns or art in the scene. This technique may be used to create one-of-a-kind artistic images or to highlight certain aspects of a scene.

How do you light-paint a car photo?

To describe in short, follow the process below to do light paint of a car photo.

  1. Set up your camera on a tripod and frame the shot.
  2. Set your camera to a long exposure (at least 10 seconds).
  3. Turn off any ambient light sources.
  4. Place your light source at a distance away from the car.
  5. Paint the car with your light source. You can use a flashlight, sparklers, or other light sources.
  6. Move the light source around the car in different patterns and directions to create interesting effects.
  7. Once you’re happy with the light painting, take a photo.
  8. Review the photo and adjust the exposure or the light painting if necessary.

How Do You Create Light Painting Photography?

When employing a light source like a flashlight, sparkler, or colored light, patterns, shapes, and designs are generated in a long-exposure image known as “light painting photography.” 

Mount your camera on a tripod and set the exposure to long to create light painting photographs. You’ll also need to go to manual focus and turn off the flash. Choose a dark area or location and attach a light source to an instrument, such as a paintbrush, wand, or tool, to create a unique light pattern. Begin your exposure by “painting” the light source into the frame.

What Camera Settings Do You Need For Light Painting?

Your camera should be in manual mode, with a long shutter speed (at least 10-15 seconds) and a low ISO setting for light painting. You’ll also need a tripod and a wide aperture setting (f/2.8-f/8) to hold the camera stationary during the exposure. Finally, disable any auto-focus and set the focus to infinity.

What Are The 3 Rules Of Light For Photography?

  1. Use available light: Make the most of the light that is available to you. Whether natural light from the sun or artificial light from a studio, use the available light to your advantage.
  2. Understand the quality of light: Different types of light affect a photograph. Understanding the quality of light is essential for creating beautiful photos.
  3. Control the light: You can use reflectors, diffusers, and filters to control the light and create the desired look. These tools can help you shape the light and create the perfect photo.

Final Words

Easy light painting photography is a versatile photographic technique that may result in stunning vehicle images. Using the right equipment, various light sources, and creative thinking, you can produce fantastic vehicle images that stand out from the crowd.

Light painting may be a great method to add a unique touch to your vehicle images with minimal effort.

Light painting is a terrific technique that helps you enhance your vehicle photography if you have the necessary instruments and ingenuity. It is a fun and rewarding strategy that may assist you in creating amazing car photographs that will be treasured for years to come.

How Much To Charge For Automotive Photography?

How much to charge for automotive photography services may be on your mind if you’re a photographer looking to break into the industry. The answer, of course, depends on a number of factors, including the quality of your work, the market you are in, and the going rate for automotive photography in your area. 


That said, if you are able to produce high-quality automotive photography, you can charge a higher rate. Many photographers making consistent, high-quality work can command rates of $1,000 or more per day.


So, if you want to get into the automotive photography field, be prepared to produce high-quality work and charge accordingly.

What is the average rate for automotive photography? 

What-is-the-average-rate-for-automotive-photography

Automotive photography is a specialized field that focuses on taking pictures of automobiles. Advertising, design, and documentation are just a few of the uses for this kind of photography.


There is no definitive answer to this question as rates can vary greatly depending on several factors, such as the location, the type of vehicle, the level of experience of the photographer, and the specific project requirements. 


However, a rough estimate for automotive photography rates in the United States would be between $75 and $250 per hour.

What factors affect pricing? 

What-factors-affect-pricing

Several factors affect the pricing for automotive photography. The type of vehicle, the location, the time of day, and the number of cars all play a role in the cost. The kind of vehicle can affect the price because some cars are more difficult to photograph than others. 


The location can also affect the price because some locations are more difficult to access than others. The time of day can affect the price because some times are more difficult to photograph than others. 


The number of vehicles can also affect the price because some vehicles are more difficult to photograph than others. Some of the factors that affect automotive photography pricing, such as:


  • -The type of vehicle being photographed (e.g., car, truck, SUV, etc.)
  • -The location of the shoot (e.g., in a studio, on location, etc.)
  • -The number of vehicles being photographed
  • -The amount of car image retouching is required
  • -The turnaround time for the final images

What are some tips for getting started in automotive photography?

What-are-some-tips-for-getting-started-in-automotive-photography


If you want to start a career in automotive photography, there are a few things you need to be aware of. 


First, you’ll need to understand cars well and how they work. This will help you know how to angle your shots and capture the different parts of the vehicle in a flattering way.


Following that, you’ll need to invest in some high-quality equipment. A good DSLR camera is a must, along with a decent lens. You might also want to invest in a tripod and some other accessories to help you get the perfect shot.


Not to mention, you must practice, practice, practice. Take as many photos as possible of different cars in different settings to get a feel for what works and doesn’t. Then, get feedback from other photographers or car enthusiasts to help you improve your skills.


There are some other key things that you should ensure when getting started in automotive photography sessions. 


  •      First, it is important to have a clean and well-lit workspace. 
  •      Secondly, concentrate on the particulars of the vehicle. 
  •     To maintain the camera’s stability, use a tripod. 
  •     Fourth, use a wide aperture to make the car stand out. 
  •     Fifth, use a long shutter speed to capture the car’s motion. 


Finally, experiment with different angles and perspectives to get the most interesting shots.

What are some tips for pricing your services? 

What-factors-affect-pricing

When it comes to pricing your car photography services, there are a few things you will want to keep in mind. First, it is important to consider the time and effort that goes into each photo shoot. 

Secondly, you will want to price your services based on the quality of your work and the experience you bring to the table. Finally, being competitive with other car photographers in your area is also important. 


By taking into account all of these elements, you will be able to set a fair and acceptable pricing for your services.

How can you use your automotive photography to stand out from the competition? 

What-are-some-tips-for-pricing-your-services


You can do a few things to make your automotive photography stand out from the competition. To begin, try to find a unique angle or perspective from which to shoot. This will make your photographs more intriguing and appealing.


Second, pay attention to the details in your photos and make sure they are sharp and clear. This will show that you are a professional and take pride in your work. 


Finally, be creative with your editing and post-processing to give your photos a unique look. 


Making a vignette or experimenting with colors could be the simplest way to achieve this. You will stand out from the crowd by putting your unique twist on your images.


FAQ

How much should I charge for a photograph?

Typically photographers charge $100 per hour to photograph a vehicle. The time needed to set up the shots, take the photos, and disassemble the equipment is included in this. If you are looking for a specific type of shot, such as a close-up of the engine, or a picture of the car with the sun setting in the background, I will charge an additional $50 for that shot.

How do you photoshop a car into a photo?

You can photoshop a car into a photo in a few different ways. One way is to copy and paste a vehicle section into the image using the clone stamp tool. The fill tool can be used to fill in the route with the color of the car after using the pen tool to draw a path around the car.

How much should a beginner photographer charge?

As a general guideline, beginner photographers should charge $50-$100 per hour. However, this rate may vary depending on the market, the level of experience, and the type of photography. For example, a wedding photographer may charge more than a portrait photographer.

Conclusion

In conclusion, how much to charge for automotive photography depends on several factors. The image’s quality is the most significant factor. Other factors include the market, the client, and the photographer’s experience. Ultimately, negotiating with the client is the best way to determine how much to charge.

error: Content is protected !!