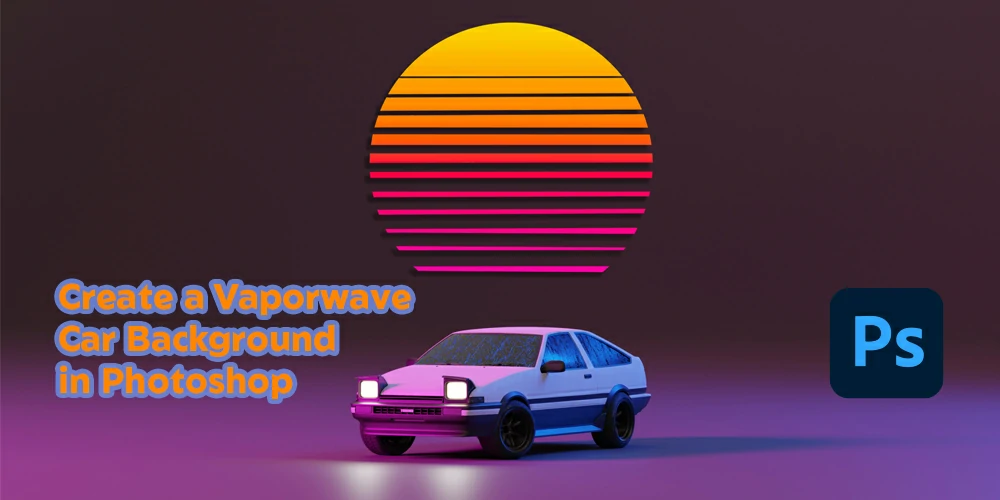
To create a vaporwave car background in photoshop, insert your image, add a new layer, add some textures and tweak the colors.
Yes, it’s that easy!
In recent years, vaporwave, a retro-futuristic art form that merges nostalgia with futuristic aspects, has grown in popularity. You can accomplish this in Photoshop if you want to give your automobile shots a hint of vaporwave.
This article will teach you how to create a vaporwave car background in just a few easy steps.
Step-By-Step Guide On How To Make Vaporwave Edits
Creating a vaporwave background for your car photos in Photoshop is not as complex as you think. All you need to know is a little image editing and Photoshop experience. Follow the next 10 easy steps, and you can do it.
Step 1: Choose Your Image
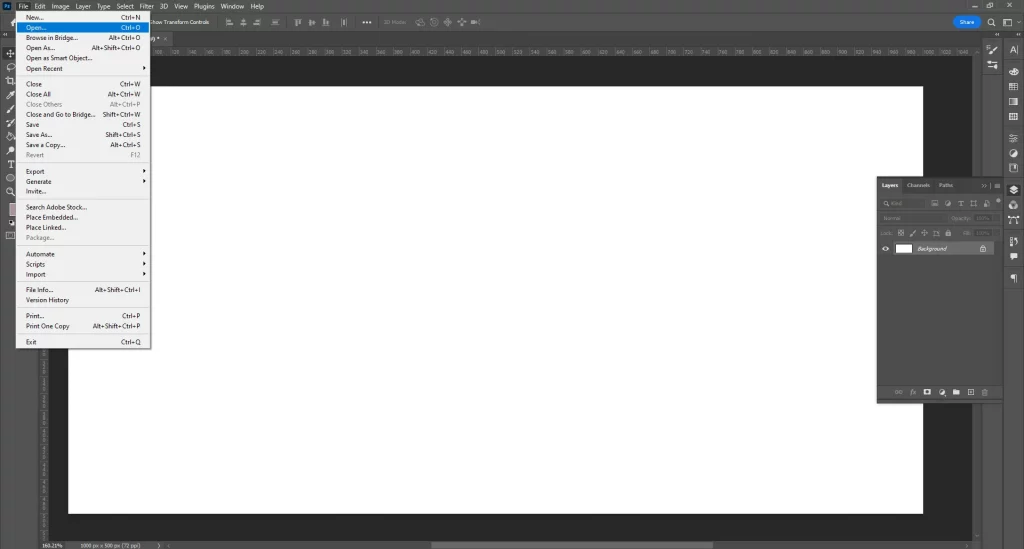
Selecting the image to use as your vaporwave background in photoshop is the first stage in the process. Use an image of a car you own, or go online for stock images. The image has to be sufficiently large to act as a background and have a good resolution.
Step 2: Add a New Layer
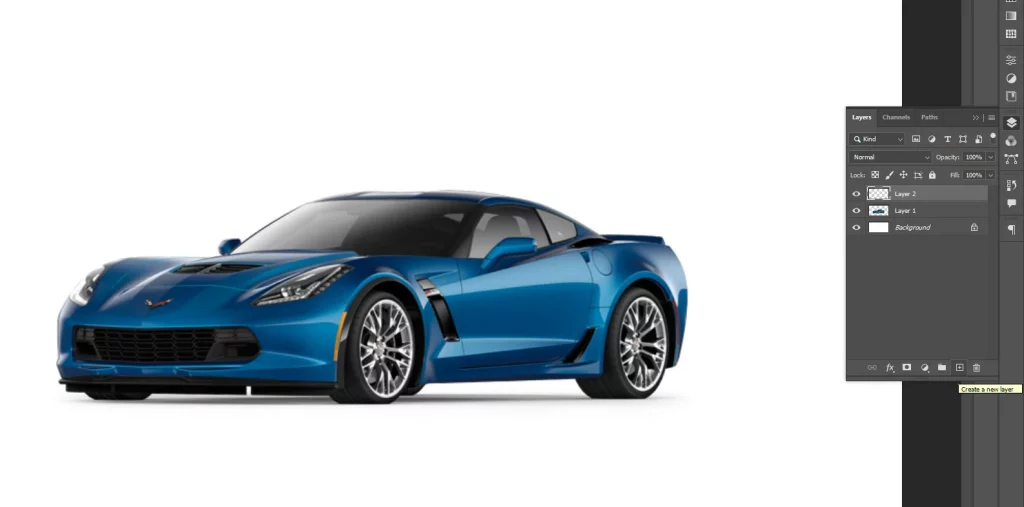
Open the image in Photoshop after selecting it and add a new layer. To achieve this, select Layer> New > Layer from the menu bar or click the “New Layer” button in the Layers panel.
Step 3: Add a Vaporwave Texture
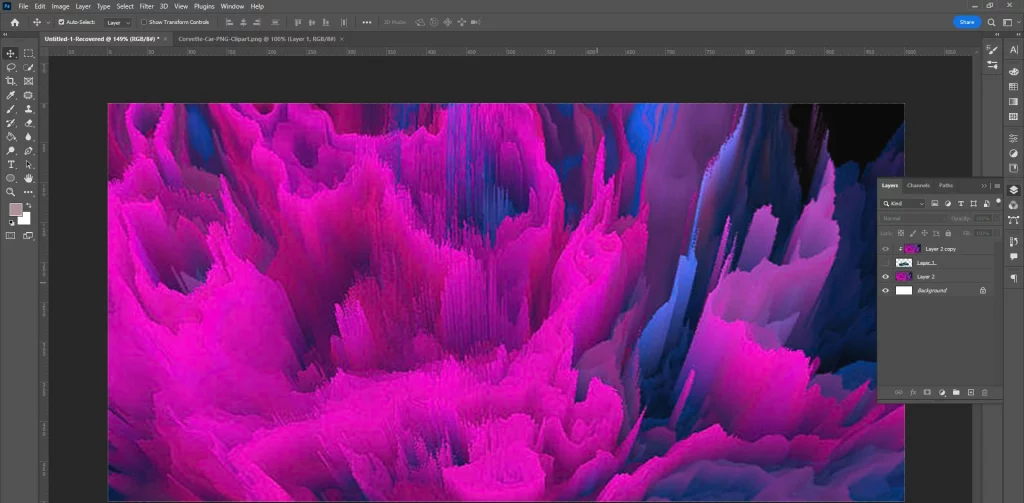
Clicking the “New Layer” button at the Layers panel’s bottom will add a new layer to the document. Name this layer “Texture”. Then, import your Vaporwave pattern or texture and drag it onto the “Texture” layer.
You can use images like the television effect. To add this aesthetic filter in photoshop, you need to change the Mode option to Soft Light and decrease the value to around 40% to 50%.
Step 4: Change the Blend Mode
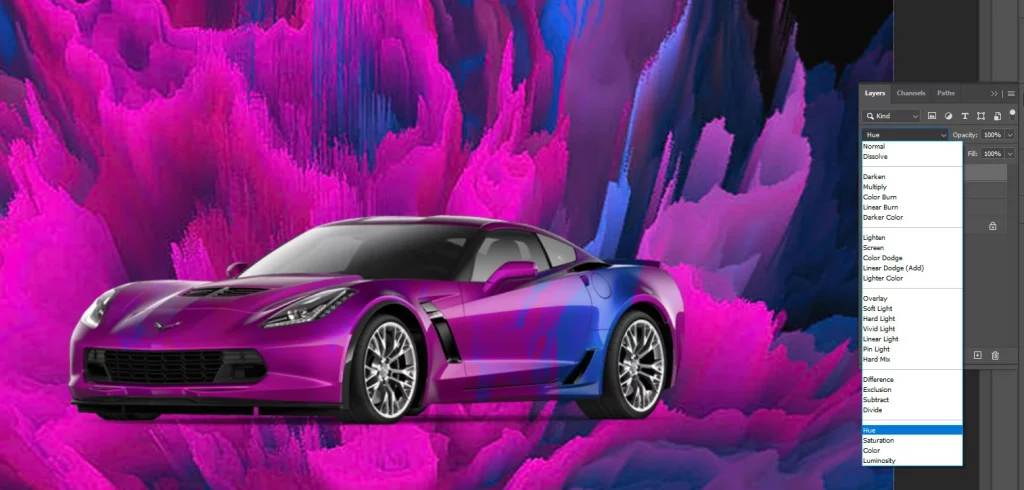
For the “Texture” layer, switch the blend mode to “Overlay.” This will blend this photoshop synthwave filter with the image and add a dreamy and retro-futuristic effect. You can also adjust the Layer’s opacity to control the effect’s intensity.
Step 5: Adjust the Colors
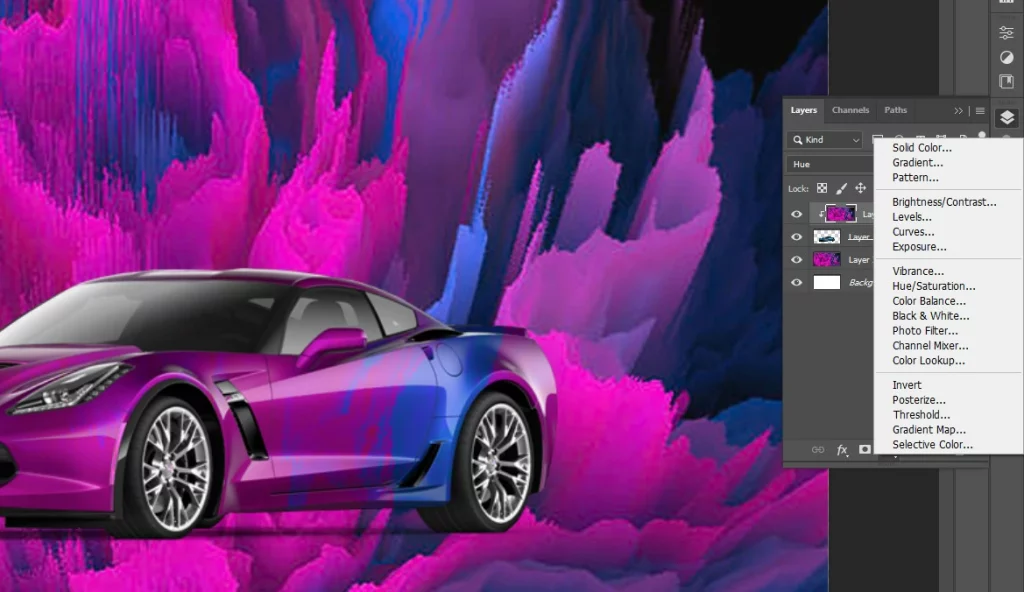
To enhance the Vaporwave effect, you can adjust the colours of the image. To choose “Hue/Saturation,” go to “Image,” then “Adjustments.” To your taste, adjust the saturation and color sliders. Other color modifications, such as “Color Balance” or “Levels,” can also be tried.
Step 6: Add a Color Balance Adjustment Layer
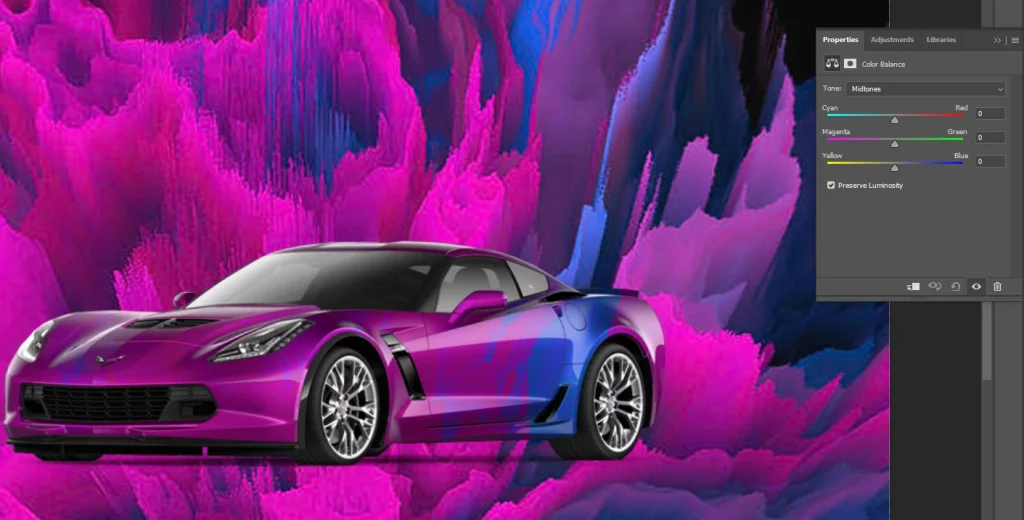
You need to apply a Colour Balance adjustment layer to give your image a more colourful and neon feel. You may use it to increase the saturation and brightness of your image’s colours.
Add a Color Balance adjustment layer by choosing Layer > New Adjustment Layer > Color Balance. Increase the saturation and brightness settings in the Color Balance dialogue box until you are satisfied with the outcome.
Also, change the Fill colour for this image from around 45% to 50%. To do that, go to the Edit menu from the top, Select the Fill option and select the 50% Gray option from the popup window box.
Step 7: Add a Gradient Map Adjustment Layer
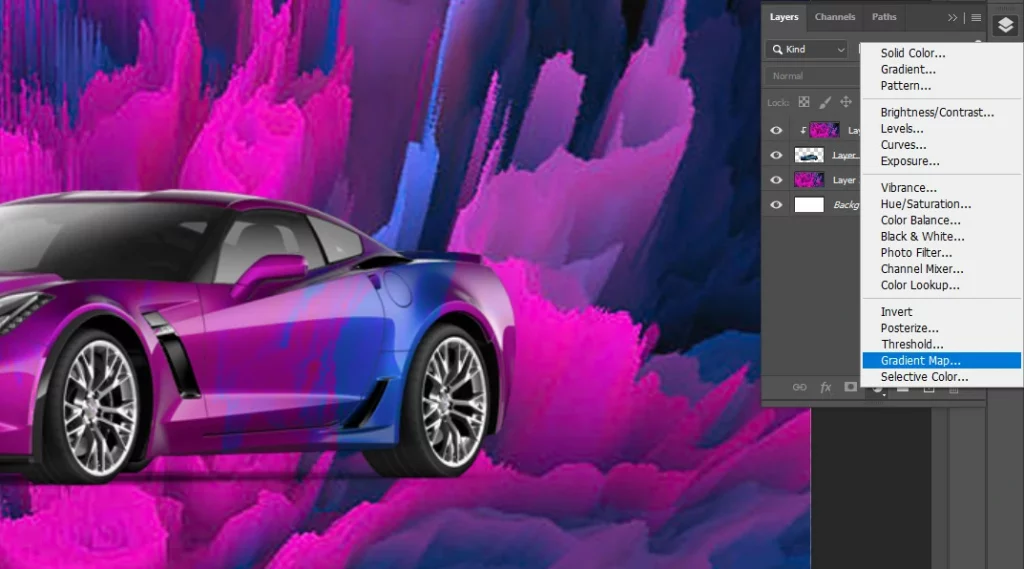
Add a Gradient Map adjustment layer to add extra colour to your vaporwave automobile backdrop. Your image will receive a colour gradient from this Layer, giving it a more cutting-edge appearance.
For an adjustment layer with a gradient map, select Layer > New Adjustment Layer > Gradient Map. In the Gradient Map dialogue box, pick the gradient you want. Additionally, you may make your gradient by selecting the gradient preview and changing the colour palette.
Step 8: Add a Levels Adjustment Layer
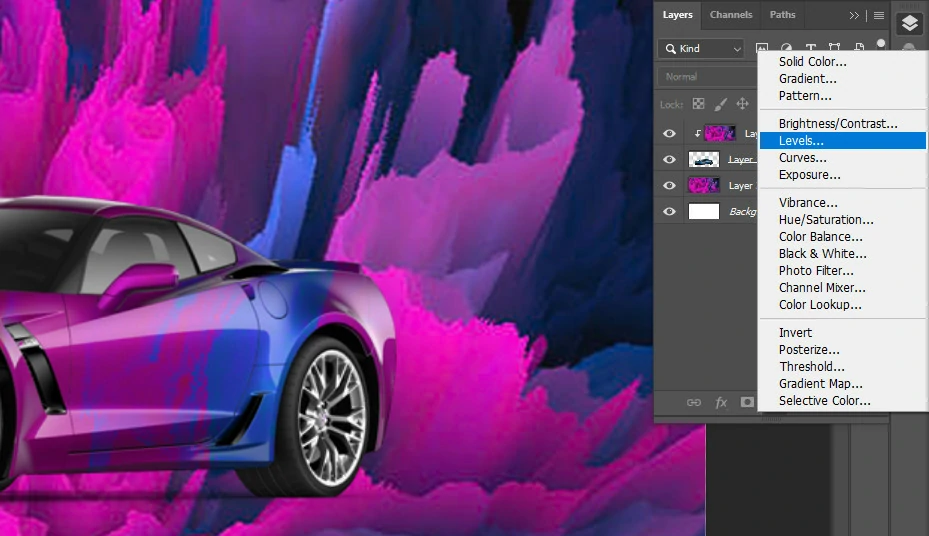
You may add a Levels adjustment layer for the ideal contrast and brightness levels for your vaporwave vehicle backdrop. To get the perfect look, you may modify the brightness and contrast of your image using this Layer.
Go to Layer> New Adjustment Layer > Levels to add a Levels adjustment layer. The Levels dialogue box’s sliders can be adjusted until you’re satisfied with the outcome.
Step 9: Add a Vibrance Adjustment Layer
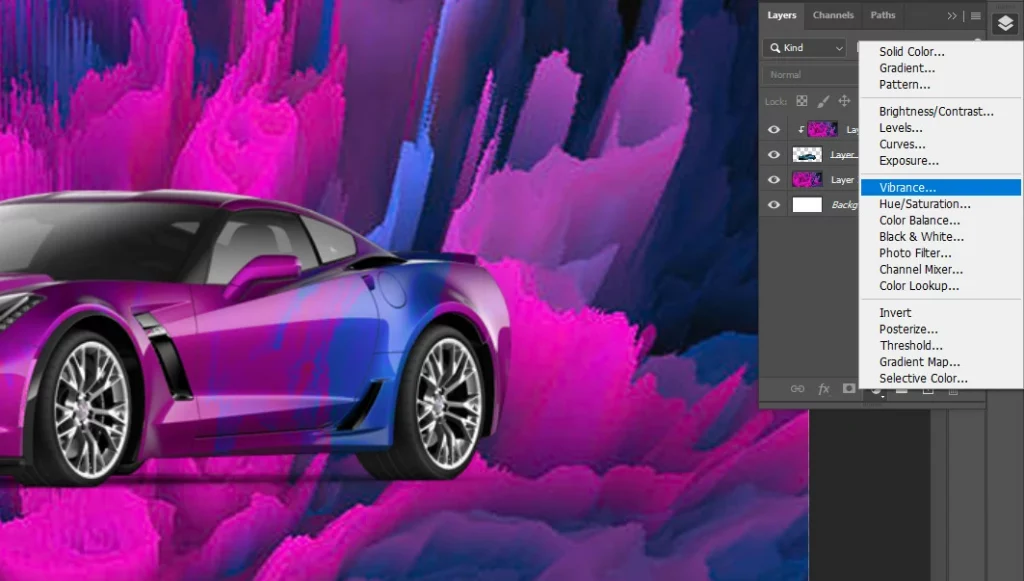
Apply a Vibrance adjustment layer to your image for the last touch of saturation and brightness.
Go to Layer> New Adjustment Layer > Vibrance to add a vibrancy adjustment layer. The Vibrance dialogue box’s slider can be adjusted until you’re satisfied. By selecting the Filter option at the top, you may also add noise. A few tweaks here and there can bring better results.
Step 10: Add a Glitch Effect
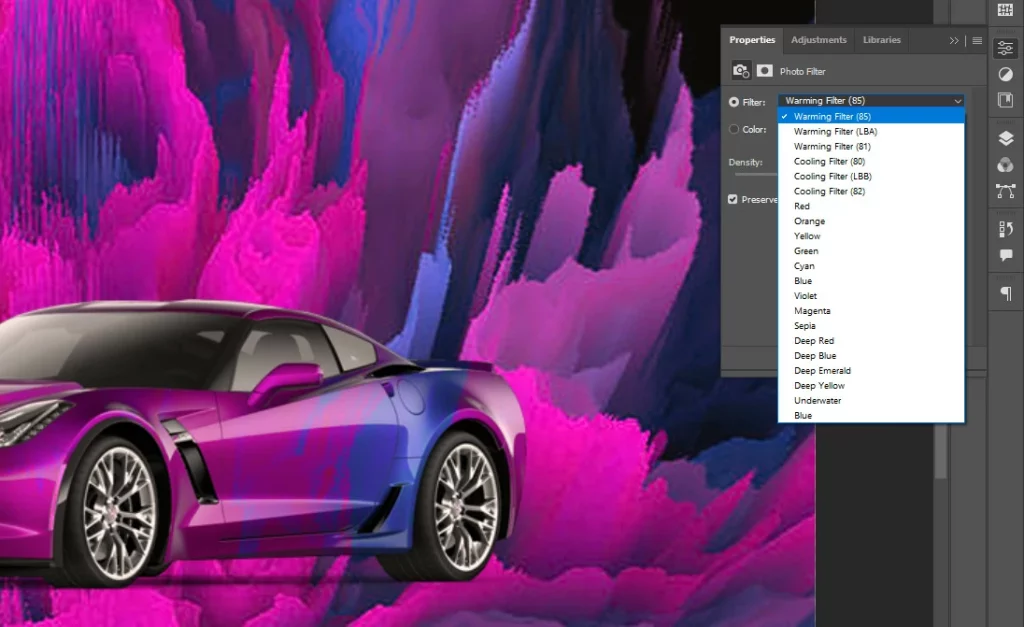
The glitch effect is an essential component of the Vaporwave style. To add this effect, you can use a Photoshop action or plugin. You can also create the glitch effect manually by duplicating the “Texture” layer, applying a displacement map, and adding noise.
You can use the texture you used previously. You can create another version of it by adding the glitch effect. All you need to do is select the liquify tool in photoshop and distort the texture a bit until you are satisfied. Then add this new texture to the image as you did in Step 3.
That’s it! Now it’s time for your vaporwave automobile backdrop. You may use it as a background for your website or social networking pages, save it as a high-resolution image, or use it as your desktop wallpaper. You may quickly design your vaporwave graphics by following these easy instructions.
Tips for Making Your Vaporwave Car Background Even Better
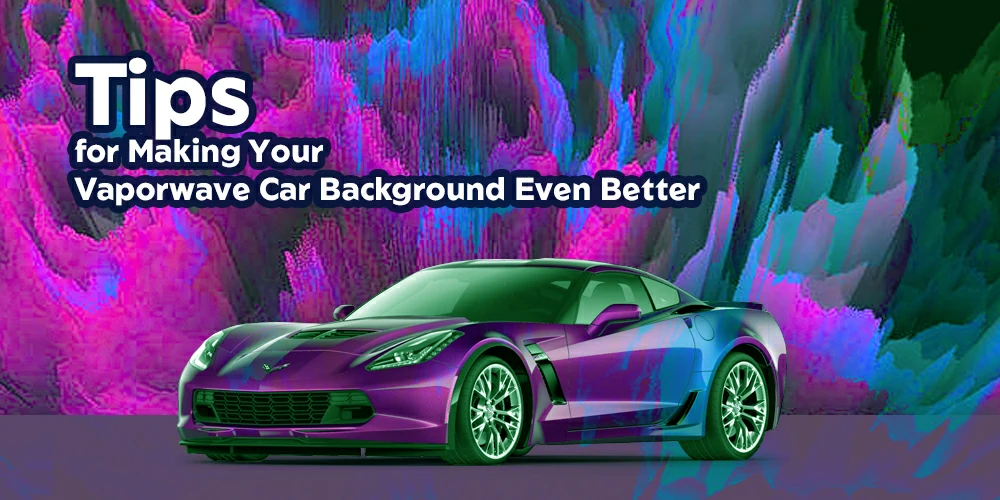
Although creating a vaporwave effect for an automobile photo background in Photoshop is a creative and enjoyable process, there are specific guidelines you can use to get a better outcome. Here are some suggestions to bear in mind:
- Try out several filters and adjustment layers: To obtain the ideal appearance for your vaporwave automobile background, be daring and experiment with various filters and adjustment layers. Experiment with various filter and adjustment layer combinations to explore what effects you may get.
- Use vivid colours: Vaporwave aesthetics are recognized for their neon and brilliant colours, so incorporate these into your finished product. The Color Balance and Gradient Map adjustment layers are available.
- Consider adding text: To the backdrop of your vaporwave automobile, add another level of intrigue by adding text. To add text, you may use the Type tool in Photoshop or search online for visuals that adhere to the vaporwave look.
- Please keep it simple: When it comes to vaporwave automotive backgrounds, sometimes less is more. Try to avoid utilizing too many precise details and instead concentrate on using bright colours and abstract patterns in your design.
- Save your work: While working on your vaporwave vehicle backdrop, save your work frequently in case of unforeseen system breakdowns or power interruptions.
By following these tips, you can take your vaporwave car background to the next level and create an eye-catching and unique design that’s sure to impress.
Common Mistakes to Avoid When Creating a Vaporwave Car Background:
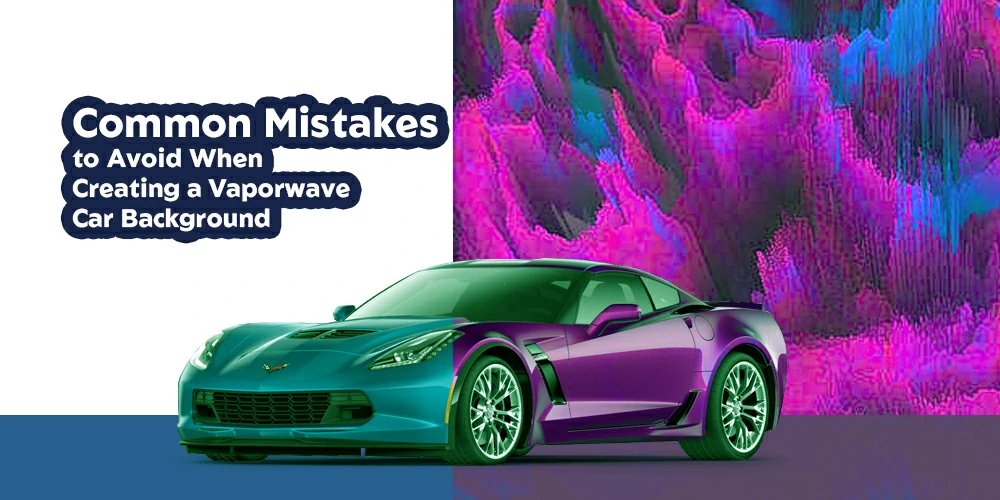
No matter how professional an image editor we are, we all make common mistakes while editing photos. While creating a vaporwave effect for car photos in photoshop, we make some simple and common mistakes. We need to avoid those, and some of them I mentioned below.
- Overusing filters: It’s simple to use too many filters while making a vaporwave automobile background. However, too many filters might result in a crowded, amateurish appearance.
- Not altering the colour balance: Although many people need to pay more attention, colour balance is essential for making a vaporwave automobile backdrop. Make careful to correct your image’s colour balance so that it seems vivid and colourful.
- Ignoring contrast and brightness: Lack of contrast and brightness might result in a lifeless, boring background for your vaporwave automobile. To achieve the ideal appearance, constantly modify the brightness and contrast levels.
- Ignoring the picture size: The final product’s quality is greatly influenced by the size of your image. Use large, high-resolution photos that may serve as backgrounds wherever possible.
Additional Photoshop Tools to Enhance Your Vaporwave Edit:
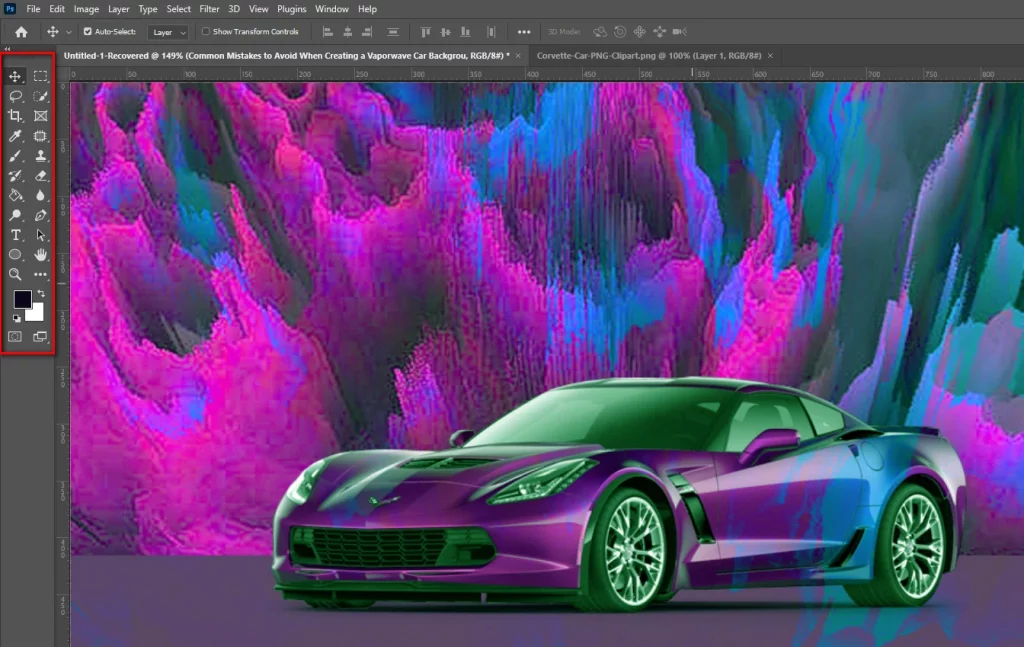
While doing this photoshop tutorial at home, here are some additional photoshop tools that you can play with to enhance your vaporwave editing:
- Layer styles: It gives your image additional effects like shadows, glows, and bevels. They could help your vaporwave automobile background seem better overall.
- Blending modes: These tools let you combine two or more layers to produce fascinating effects. Try several blending options to discover which suits your vaporwave automobile backdrop the best.
- Text and forms: Text and shapes may give your vaporwave automobile background a more dynamic and artistic appearance. Shapes may be used to make futuristic patterns, and text can be used to add lyrics or quotations to your artwork.
- Brushes: You may use brushes to give your vaporwave automobile backdrop more texture and dimension. Use several brush types to get a distinctive effect.
FAQs:
What is the vaporwave aesthetic?
The vaporwave aesthetic is a retro-futuristic style that combines neon colours, bold geometric shapes, and a nostalgic feel. It was inspired by the visual culture of the 1980s and 1990s, and it has become increasingly popular in recent years, especially in digital art.
What is the purpose of using a Displace filter in Photoshop?
The Displace filter creates a wave-like pattern in your image, which is perfect for creating a vaporwave look. You can create a more futuristic and abstract feel by distorting your image.
Why use a Color Balance adjustment layer in Photoshop?
The Color Balance adjustment layer is used to change the overall colour balance of your image, making it more saturated and bright. Adding this Layer can create a more vibrant and neon look for your vaporwave graphics.
What is the purpose of using a Gradient Map adjustment layer in Photoshop?
The Gradient Map adjustment layer is used to apply a gradient of colours to your image. This Layer is perfect for creating a more futuristic and abstract look and adds colour to your vaporwave graphics.
What is the purpose of using a Clouds filter in Photoshop?
The Clouds filter is used to create a cloud-like pattern in your image, which can be used to add texture and depth to your graphics. Adding this filter can create a more dreamy and abstract look for your vaporwave graphics.
What is the purpose of using a Levels adjustment layer in Photoshop?
To change the brightness and contrast of your image, utilize the Levels adjustment layer. This Layer ensures that your vaporwave graphics have the correct contrast and brightness levels, giving them a more polished and professional look.
Conclusion
Learning how to create a vaporwave car background in Photoshop is vital for car image editing experts. It can be a fantastic place to begin learning about vaporwave graphics, regardless of your experience as a graphic artist.
Because it’s a simple and enjoyable process to make a vaporwave automobile background in Photoshop by following a few straightforward steps.
You can make distinctive and captivating visuals ideal for desktop backgrounds, social media graphics, or website backgrounds by mixing filters and adjustment layers.
