Home  / 

How to Use Light Painting to Create Gorgeous Car Photography?

How to Use Light Painting to Create Gorgeous Car Photography?

Light painting is a creative technique to create stunning and dramatic car photography. It uses a light source to illuminate a car, creating a spectacular and eye-catching effect. The effect can create various looks, from a classic vintage feel to a modern, futuristic look. It’s a great way to bring out the best in your car photography and make your images stand out from the crowd.

This blog post will look at how to use light painting to create easy light painting photography for your car. We’ll look at the different techniques you can use, the types of lights you can use, and the equipment you’ll need. We’ll also look at some tips and tricks to help you create amazing car photography every time.

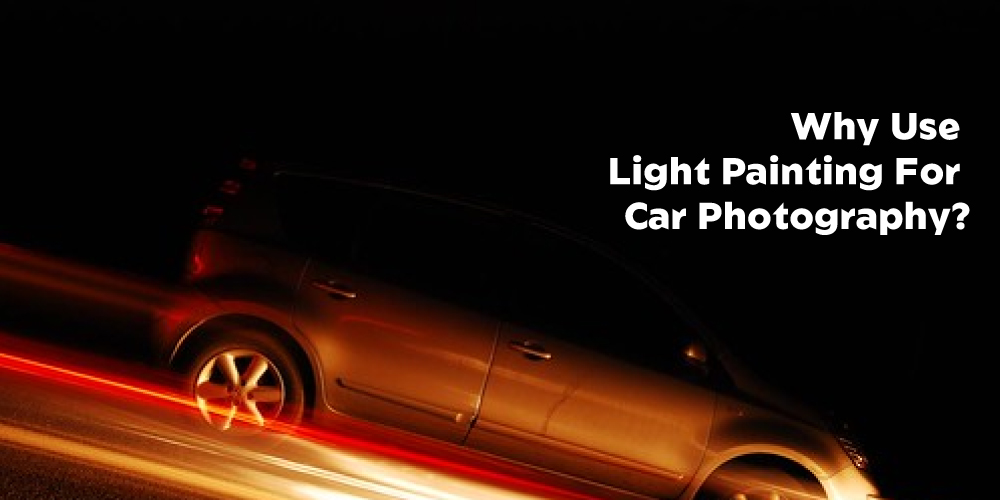
Why Use Light Painting For Car Photography?

To give the automobile a distinctive and beautiful appearance, photographers frequently use light painting. It includes strategically highlighting or painting an automobile with light using a portable light source such as a flashlight or LED light. From a soft nighttime glow to a dramatic and striking appearance, this approach may provide a range of effects.

One of the primary advantages of light painting for vehicle photography is that it can generate a dramatic and one-of-a-kind effect that would be impossible to accomplish with standard lighting techniques. Photographers can highlight particular aspects of the automobile, such as its curves, lines, and details, by carefully painting it with light. Doing so may produce a shot that will stand out from others and be visually appealing.
 

Why-Use-Light-Painting-For-Car-Photography


In automotive photography, light painting may also be employed to give a sensation of movement. By shifting the light source around the automobile, photographers may create the illusion of motion, which can be utilized to give a dynamic and thrilling sense to the shot.

Intriguing shadows and highlights may also be produced using light painting, giving a shot a more three-dimensional appearance. Photographers may produce an image that seems more vibrant and interesting by employing light to highlight specific aspects and elements of the automobile.

Step By Step Guide To Using Light Painting To Create Easy Light Painting Photography

Light painting is a fun and creative photography technique that can help create stunning images. To start with light painting, you will need a camera, a tripod, a light source, and a creative imagination.

Step 1: Choose the Right Location

The first step to creating amazing car photography with light painting is to choose the right location. You want to find a spot free from light pollution so that the lights you use will be the only light visible in the image. It’s also important to find a relatively flat spot to get the car in the right position to be lit properly.


Choose-the-Right-Location


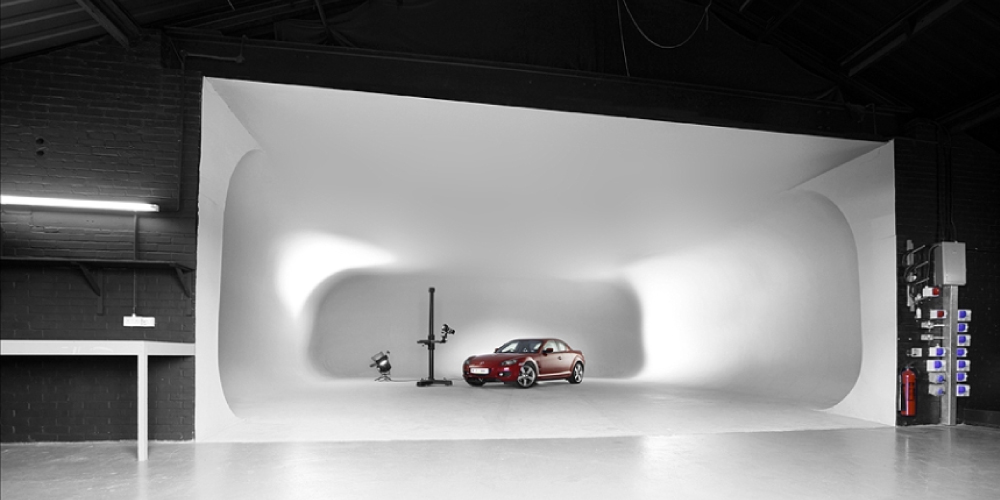
Step 2: Set Up Your Equipment

Once you’ve chosen the right location, it’s time to set up your equipment. You’ll need a tripod to hold your camera and a light source such as a flashlight, a light stand, or a portable light kit. It’s also a good idea to have a reflector, such as a white card or a piece of white paper, to help bounce light back onto the car.
 

Set-Up-Your-Equipment


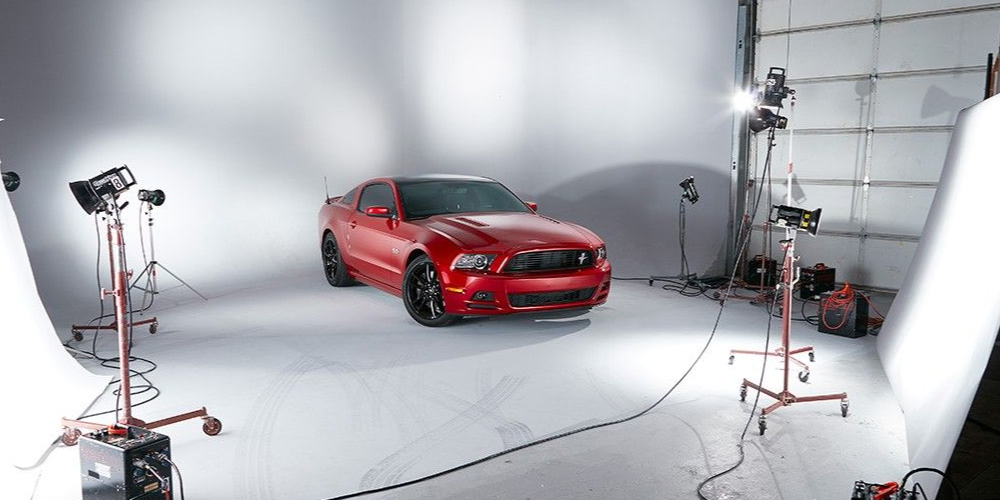
Step 3: Position the Car

Once your equipment is set up, it’s time to position the car. The exact positioning will depend on the type of car you’re photographing and the look you’re going for, but it’s usually best to have the car facing the light source. Also, move the car slightly, so the lights create interesting shadows and highlights on the car’s body.
 

Position-the-Car


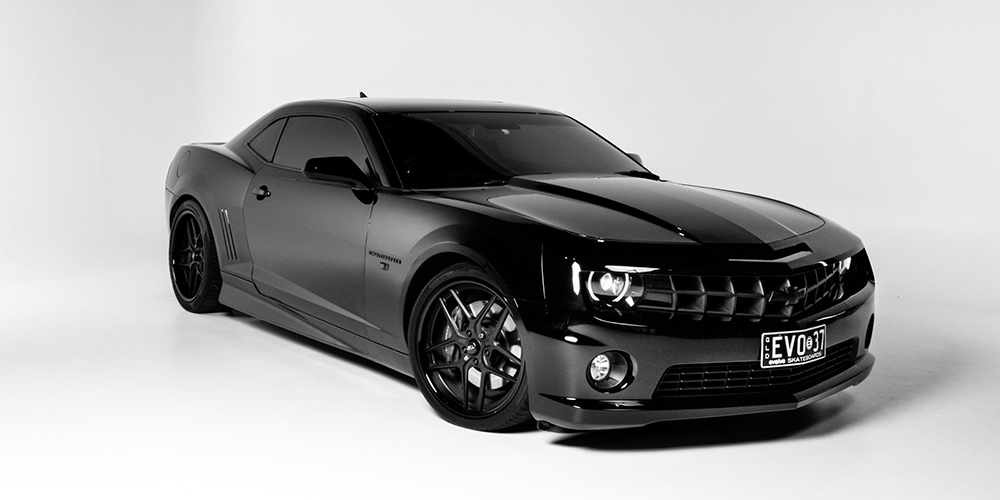
Step 4: Start Taking Photos

Now that you’ve got your equipment and the car in position, it’s time to start taking photos. You’ll take a few test shots to get the lighting right and check that everything looks how you want it to. Once you’ve got the settings right, you can start lightly painting the car.
 

Start-Taking-Photos


Step 5: Paint the Car With Light

Light painting is using a light source to “paint” the car. This can be done in various ways, from using a flashlight to slowly move the light around the car to using a light stand and a light source to create a more dramatic look. The exact technique you use will depend on the look you’re going for, but the key here is to move the light slowly and evenly so that the car is evenly illuminated.
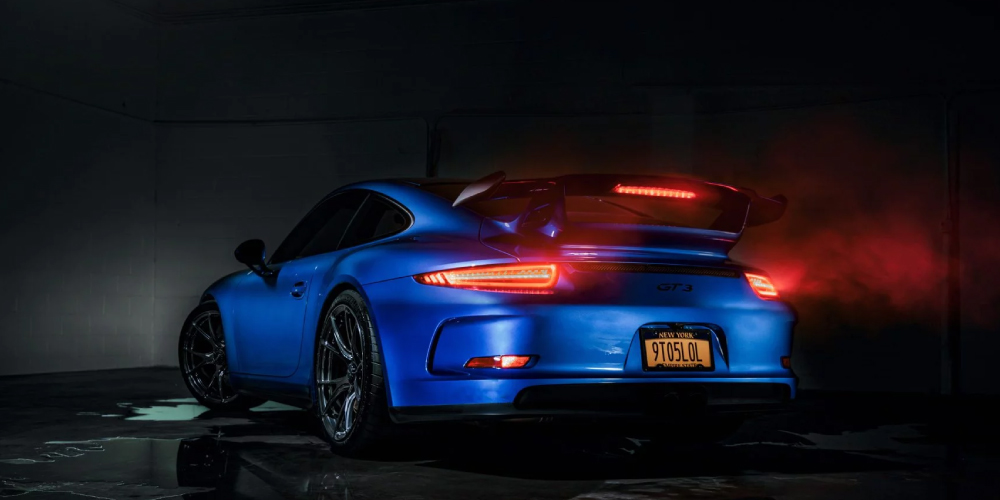
 

Paint-the-Car-With-Light


Step 6: Take the Final Photo

Once you’ve finished light painting the car, it’s time to take the final photo. Make sure the camera is in Manual mode so that you can adjust the exposure settings to get the perfect shot. You may want to take a few more test shots to ensure the lighting and exposure are correct, but once you’re happy with the image, you can take the final photo.
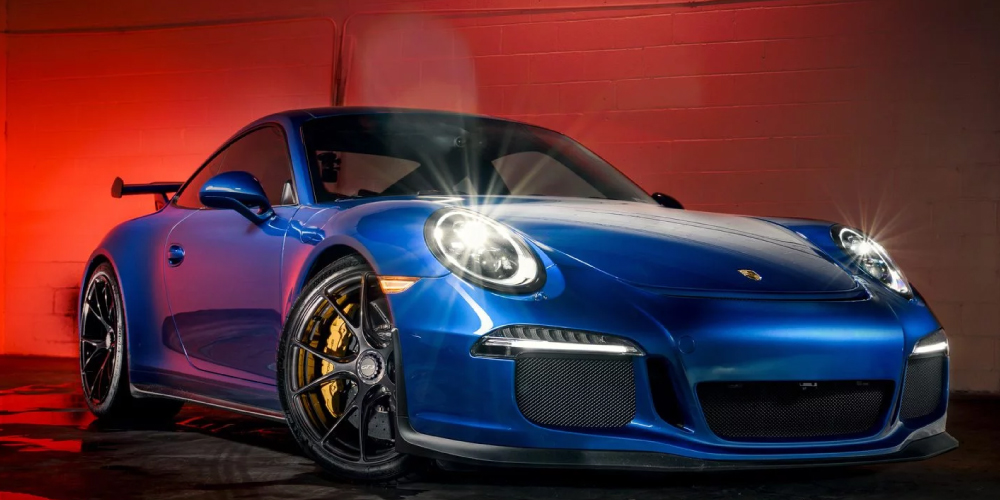
 

Take-the-Final-Photo


Step 7: Post Processing

Car photo post-processing is an important part of the overall car photography process. It involves editing the photos taken of a car in order to make them look more attractive and professional. 

This is done by manipulating the image in order to enhance certain aspects of the car, such as shape, color, and texture. There are a number of tools available for post-processing, including Adobe Photoshop and Lightroom.
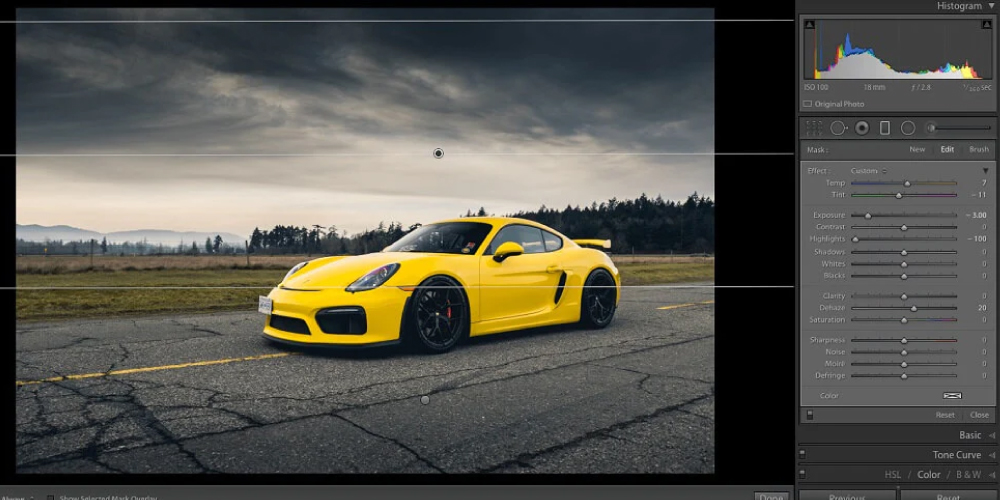
 

Post-Processing


Creating gorgeous car photography with light painting is a fun and creative way to make your images stand out. By following these steps and using the right equipment, you can create unique and beautiful images every time. So, grab your camera, get out there, and start creating amazing car photography with light painting!

FAQ:

What is light painting photography?

Long exposures are used in light painting photography to capture a scene or item that has been lit by moving light sources. The photographer preserves or alters the light sources to create patterns or art in the scene. This technique may be used to create one-of-a-kind artistic images or to highlight certain aspects of a scene.

How do you light-paint a car photo?

To describe in short, follow the process below to do light paint of a car photo.

  1. Set up your camera on a tripod and frame the shot.
  2. Set your camera to a long exposure (at least 10 seconds).
  3. Turn off any ambient light sources.
  4. Place your light source at a distance away from the car.
  5. Paint the car with your light source. You can use a flashlight, sparklers, or other light sources.
  6. Move the light source around the car in different patterns and directions to create interesting effects.
  7. Once you’re happy with the light painting, take a photo.
  8. Review the photo and adjust the exposure or the light painting if necessary.

How Do You Create Light Painting Photography?

When employing a light source like a flashlight, sparkler, or colored light, patterns, shapes, and designs are generated in a long-exposure image known as “light painting photography.” 

Mount your camera on a tripod and set the exposure to long to create light painting photographs. You’ll also need to go to manual focus and turn off the flash. Choose a dark area or location and attach a light source to an instrument, such as a paintbrush, wand, or tool, to create a unique light pattern. Begin your exposure by “painting” the light source into the frame.

What Camera Settings Do You Need For Light Painting?

Your camera should be in manual mode, with a long shutter speed (at least 10-15 seconds) and a low ISO setting for light painting. You’ll also need a tripod and a wide aperture setting (f/2.8-f/8) to hold the camera stationary during the exposure. Finally, disable any auto-focus and set the focus to infinity.

What Are The 3 Rules Of Light For Photography?

  1. Use available light: Make the most of the light that is available to you. Whether natural light from the sun or artificial light from a studio, use the available light to your advantage.
  2. Understand the quality of light: Different types of light affect a photograph. Understanding the quality of light is essential for creating beautiful photos.
  3. Control the light: You can use reflectors, diffusers, and filters to control the light and create the desired look. These tools can help you shape the light and create the perfect photo.

Final Words

Easy light painting photography is a versatile photographic technique that may result in stunning vehicle images. Using the right equipment, various light sources, and creative thinking, you can produce fantastic vehicle images that stand out from the crowd.

Light painting may be a great method to add a unique touch to your vehicle images with minimal effort.

Light painting is a terrific technique that helps you enhance your vehicle photography if you have the necessary instruments and ingenuity. It is a fun and rewarding strategy that may assist you in creating amazing car photographs that will be treasured for years to come.
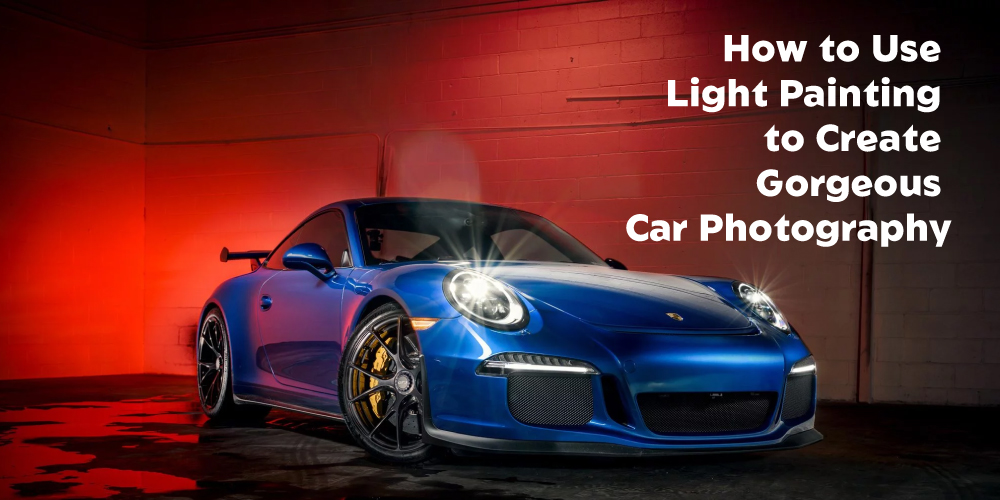
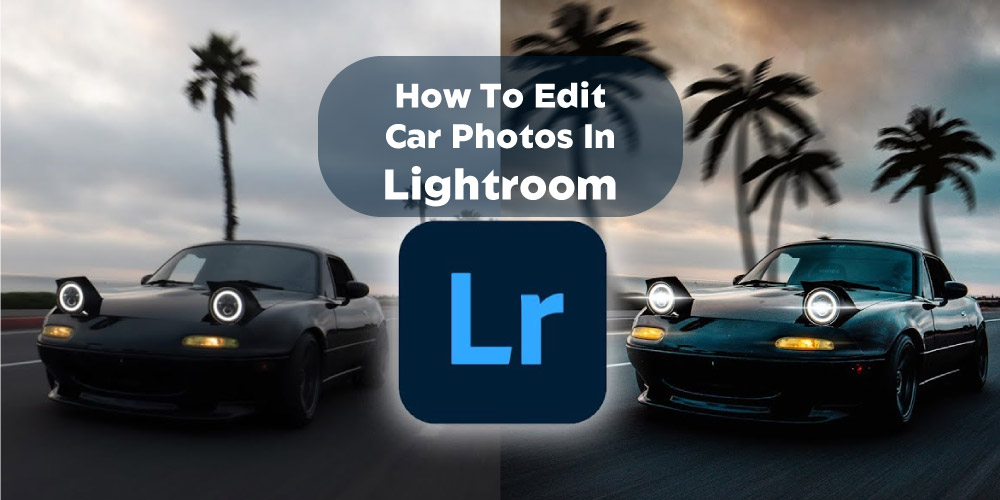
How To Edit Car Photos In Lightroom?

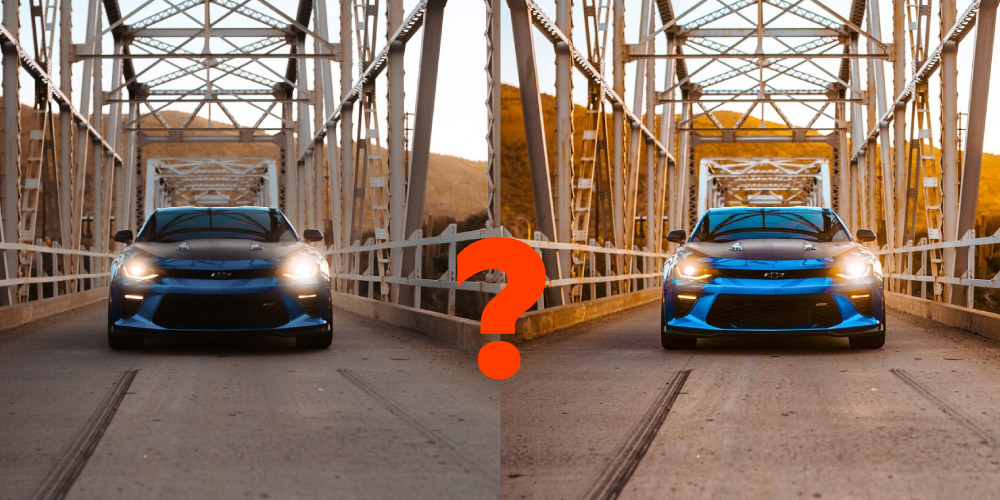
Imagine roaming through the best automobile brand’s website to buy your dream car, and you find some dull and poorly captured car photos there. What experience will you get?  Disappointing for sure. Well, that’s why today we bring you a car photo editing tutorial where you will learn how to edit car photos in lightroom. It will help you give your customer a dream-like experience through the photos. 

Yes, you can edit images with adobe photoshop, but lightroom has some perks that might enhance your way of car image editing. You might find different editing combinations that can boost your business as well.


How To Make A Car Edit


You can shoot your vehicle using the top high-end professional DSLR cameras, but post-processing is one thing you must do. Raw photos aren’t captured to use directly in front of your customer.  They are captured by keeping every detail, such as angles, lights, shadows, etc. Intact so that when you sit for the post-processing, you can control everything manually and make your photos look stunning. Cars are luxury products, and they must look perfect from every angle. They should look gorgeous and colorful when needed as well. You have to create an emotional connection between your product and the customer.


How-To-Make-A-Car-Edit


Adobe Lightroom is a professional editing tool like Photoshop where you can play with your car images and make them attractive and eye-pleasing. You don’t need to be an expert in lightroom and know all the editing tools in it to be able to edit your image. 

I will guide you through this step-by-step car photo editing tutorial in the following segment.

Related Video: 

Source: Chris Hau

Step By Step Car Photo Editing Tutorial

So like every other automotive dealer and professional car photographer who wants to compete and beat their competitor, I am sure you are not so different.  And so, there is no other alternative to ensure the quality of your product photo. See the steps below, follow them, use them and let your imagination do the speaking for you.


Step 1: Start From The Basic

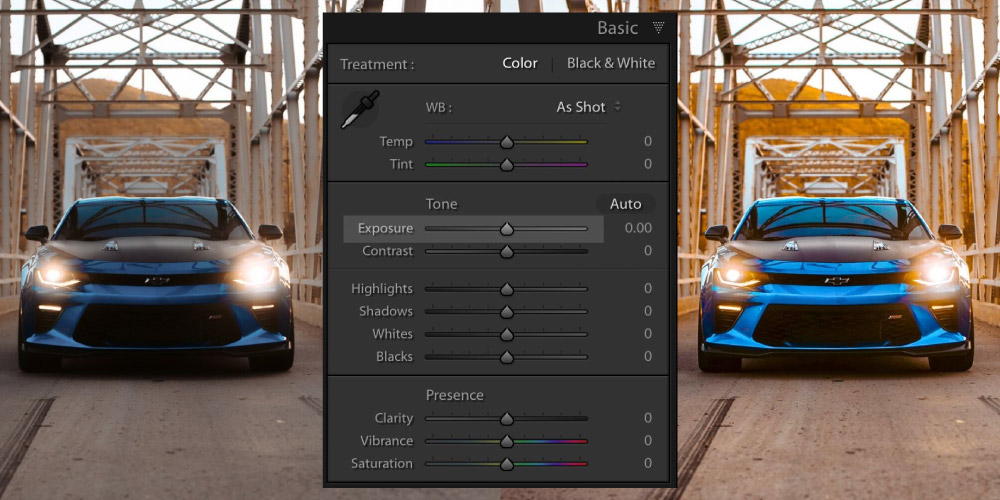
After inserting the image into the lightroom, always start from the basics, especially when editing car photos. Adobe Lightroom has a setting called Basic, where you will find some effective and important editing tool that fixes most of the initial or, I should say, “At a glance” problems of your image.

These issues sometimes work like a showstopper for you. You can call them the Toppings of your delicious pizza. Without a good amount of toppings, your pizza looks dull and tastes bad.

When a customer first glances at your car photos, their eyes should be struck by lightning as they will see their dream come true. And in basic image editing, the White Balance(WB), Colour Tone, and Presence play that role for you.


Start-From-The-Basic


In the settings, you will find all those settings with a slider beside them, using which you can change them according to your requirement. It doesn’t matter whether you are using the best camera lenses for your car photography or not, and you must fix these color issues on the first go.

Play around, change the slider, and set the Temp and Tint option from the WB setting in the Basic menu. After that, you automatically set the Tone to Auto to set those parameters. Lightroom software has an amazing built-in AI which will analyze your image and set the parameters that fit well.

Step 2: Play With The Colours

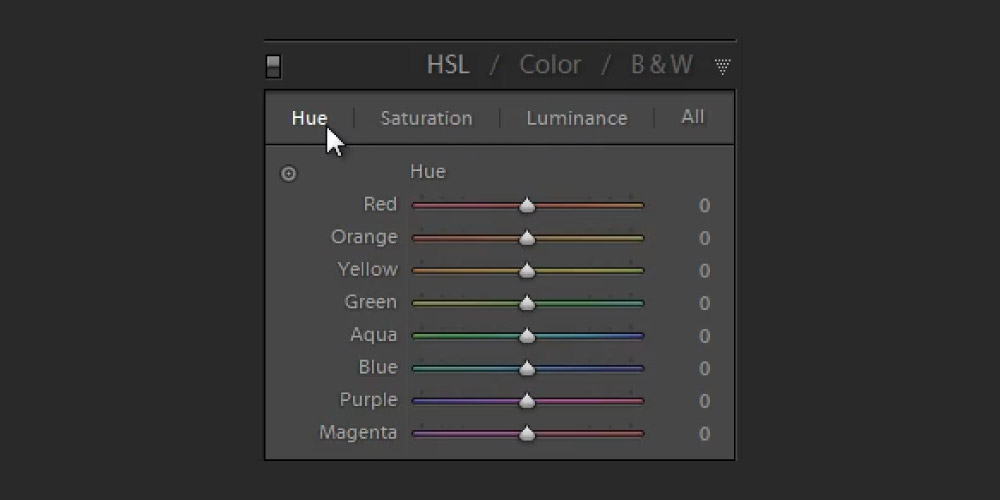
Now we will make some detailed editing and changes to the colors. We have fixed the image’s overall color in the first step with the Basic option. In this step, we will use the “HSL/Color/B&W” option, where you can change all the colors independently. 

So click on the option, and you will get a window with all those options. Click on the ALL option in the window, which reveals all the colors together. The colors are repeated and divided into three sections, Hue. Saturation and Luminance. 


Play-With-The-Colours


Change the sliders however you like and find what works best for your car photo. I will suggest you experiment with multiple combinations. It will increase your expertise in the tool as well. When you finally get what you want, you can close the menu.

After that, if you want to make the colors accurate and pop up, you must use the Colour Grading Panel in the lightroom. In the CGP menu, you will see circles you need to use to change the colors. 

Keeping the pointer right at the middle will apply a hue with minimum saturation, and if you keep the pointer close to the edges, the saturation level will increase. Play with the circles and find the sweet spot for your image. 

Step 3: Work Around The Background

An amazing background can make your vehicle image inevitable to the customer’s eye. So it doesn’t matter what background you are shooting because you can always remove and replace it with a good one. You don’t need to use lightroom to remove the background of your car photo. You can use any photo editing software to do that. I included it in this article because it can increase your image’s greatness. You can learn how to create a car background in photoshop and use adobe photoshop to improve your images.


Work Around The Background

Step 4: Adjust The Filters

Lightroom is famous for great-looking filters. The way you can adjust filters in it, you can rarely find alternatives to that. Is it important to use filters? The answer is yes, it is. Car photos are mostly captured on the road under an open sky, which sometimes makes the image look a little bit cloudy or saturated.

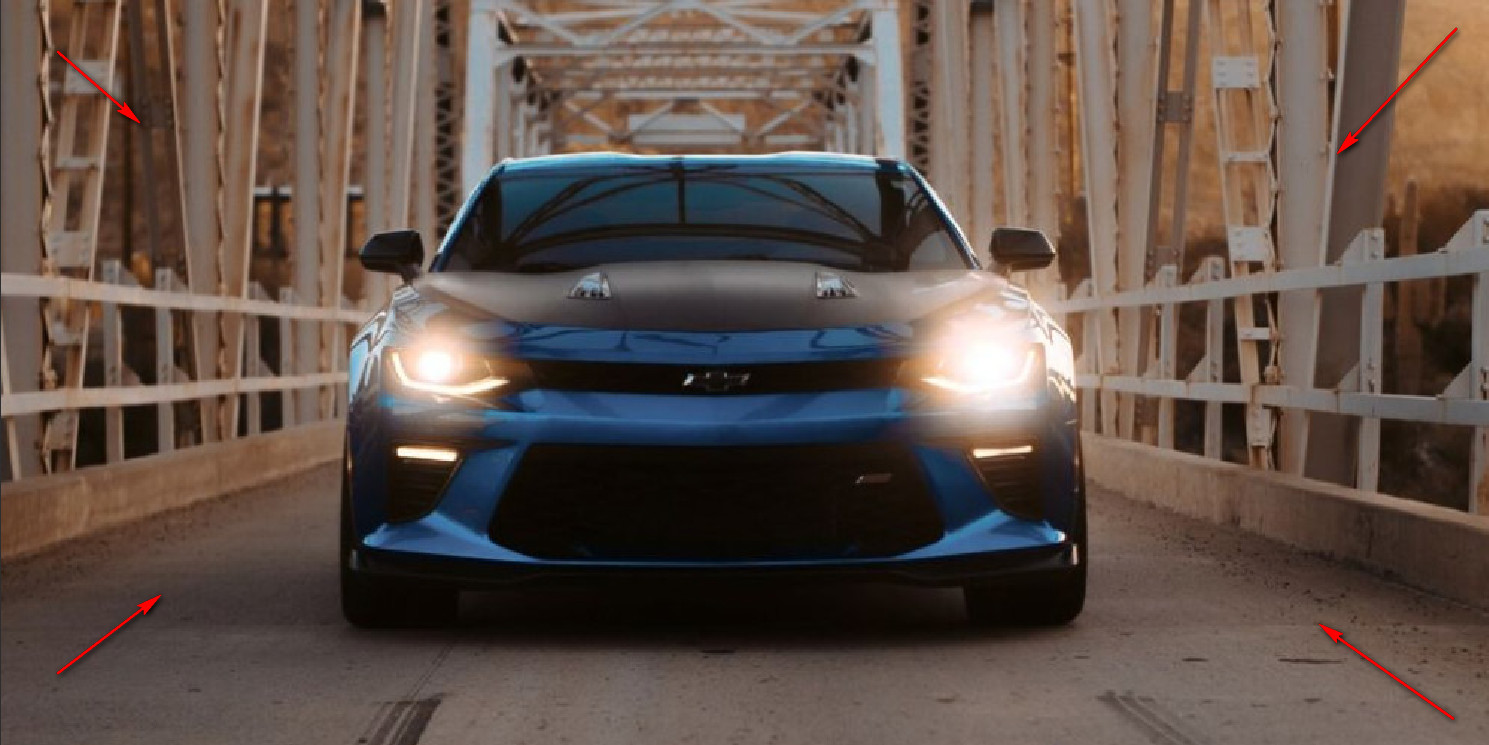
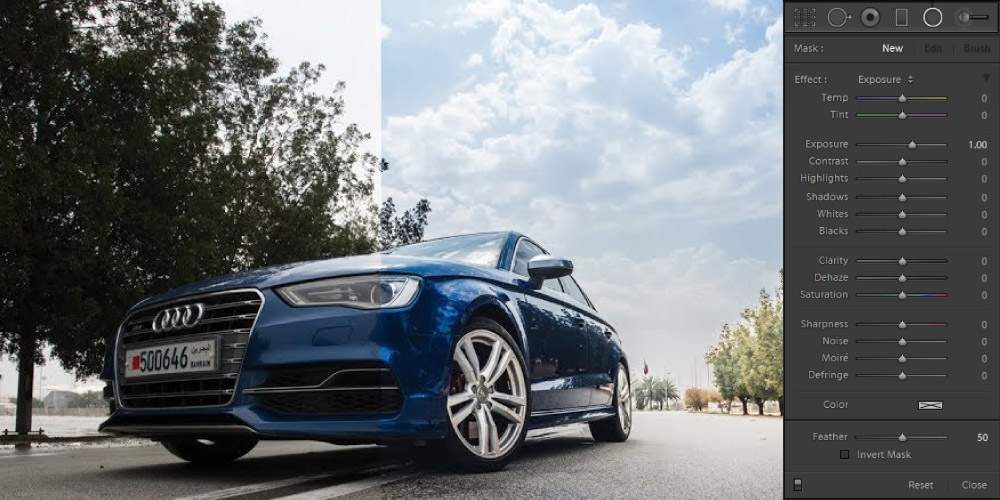
Adobe lightroom filters can help to drop down the saturation level and fix the cloudy vibe from the image. To do that, you need to use the Linear Gradient Tool filter in lightroom. Some darker shades on the subject and the background, including the sky, can add a dramatic vibe to it. In the Masking Panel, look for the Linear Gradient tool and select it.


Adjust-The-Filters


To be more precise, click on the mask icon and then again click on the dotted line circle. If your image already has a mask on it, click on the + button on the panel, then from the list on menus, select the linear gradient option. Or else, if you click on the dotted circle, you will see the option in the list immediately.

After selecting the tool, click on the rectangular icon from the menu and drag the cursor to the bottom section of the photo. 

Step 5: Tweak The Textures

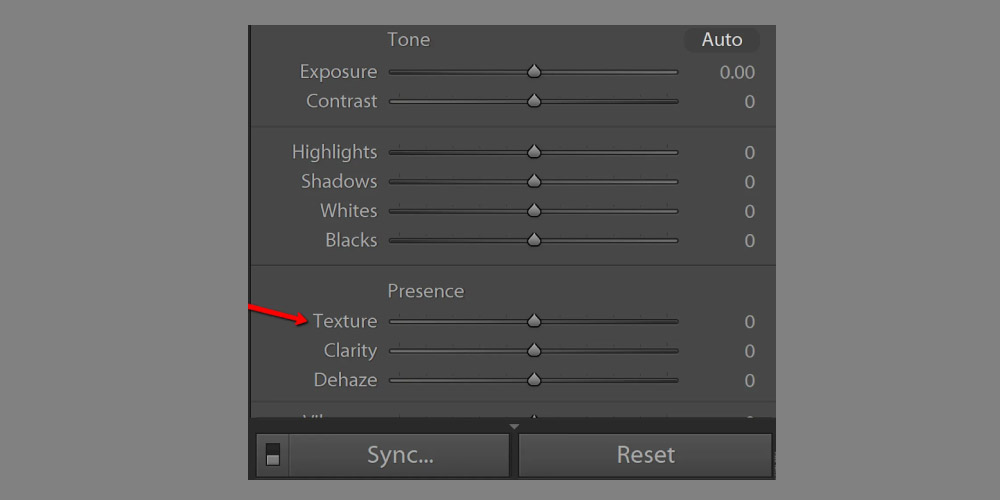
Textures on the matter of the car. Sometimes you can get reflections on the car as they are very glossy. So removing the reflection is important, and while doing that, fix the texture if needed.  Not only the outer texture but also tweak the inner textures for the inside shots. These car retouching techniques distinguish between a stock photo and a great-looking photo.


Tweak-The-Textures

Step 6: Edit The Shadows

This is also a bonus step for people who want flawless vehicle photos. Proper shadow makes product images look more attractive, realistic, and natural. You don’t need to add shadows in lightroom because, in photoshop, it is far easier than you think. Add some natural, realistic shadow under the car to look more grounded and appeal to the customers.


08.-Edit-The-Shadows

Step 7: Wrapping Up

After the previous step, you should have an amazing-looking image that you can use for the market without hesitation. But if you want something extra, you can work more on the image.  Adjustment Brush is the tool you can use for the final touch-up. You can adjust the windows and the reflections on them. 

Wrapping-Up

Adjust the contrast on the wheels if it’s needed. In the adjustment brush setting, you will have some options: Flow, Density, Feather, and Size. Play with the sliders and see which number works best to get the maximum output.


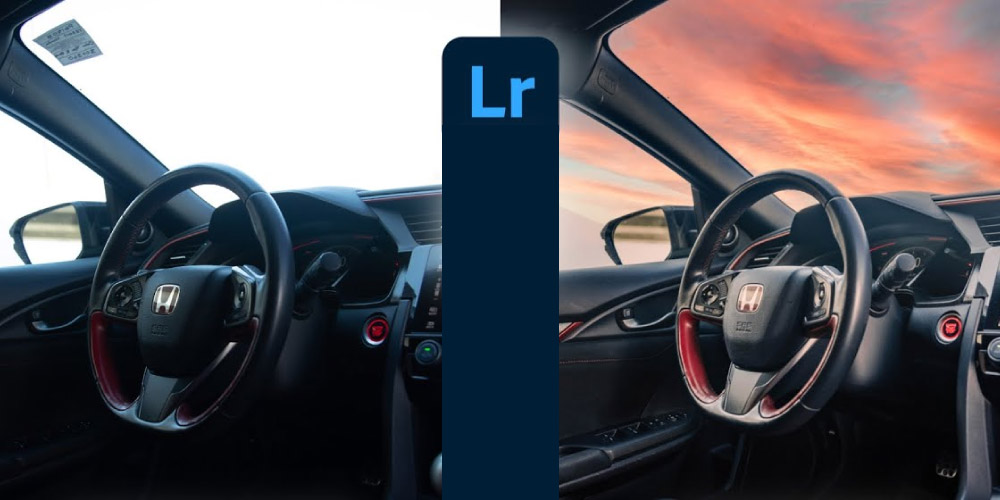
Car Interior In Lightroom

To edit the car interior in lightroom, you can start from the basics again. Change the Temperature and tint using the sliders beside them. It would be best to try several combinations to get the color right. 

After that, in the Tone section, play with Exposure, Contrast, Highlights, Shadow, Whites, and Blacks. It will enhance both the car’s interior and the background behind it as well. By this time, you might feel that your image lacks a bit of clarity and vibrance. 


Car-Interior-In-Lightroom


You will find the clarity and vibrance settings in the Presence portion, right under the Tone section. Set the value that goes with your image and the environments around it. 

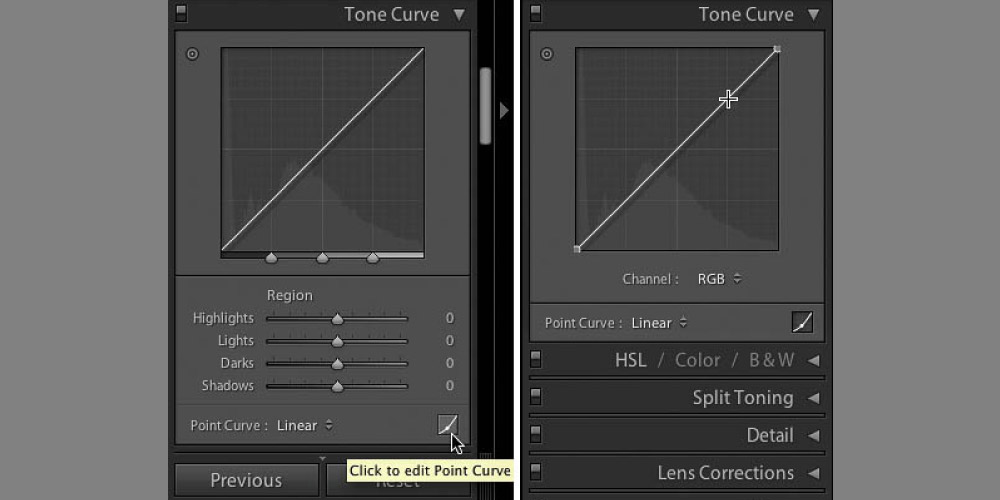
There is a Tone Curve option that is also a very handy tool. You can use the curve to fix the tone or theme of your image. After fixing that if you feel you can work the sharpness and also reduce the noise. After that, the image will be more attractive than before. Now you can save it and use it anywhere you want.

FAQ:

What settings should I use for car photography?

If you want to focus on the car and blur the background, then depending on the distance, you can use aperture f/5 or even lower. It creates a great bokeh effect on the car photo. On the other hand, use f/8 to keep the full frame in focus.


How can I enhance my car photos?

With car photo retouching service, you can enhance and take your car photos to the next level or enhance them like never before. In this article, we see how we can edit car photos in lightroom, but you can use Adobe Photoshop also. 


What is ISO for car photography?

ISO 100 is the sweetest spot for car photography, according to some famous professional photographers. Lower is better in some situations. The best camera settings for car photography depend on the environment and the lighting you are shooting in. 


What is the focal length for car photography?

f/2.8 is considered the best all-around performing focal length for automobile photography. If you can use the 24-70mm lens with that focal length, you can do both close and long shots. Not only that, it allows you to shoot action shots as well. It’s better to carry one lens instead of two if that lens does both the job successfully.


Final Words

The steps in this article will teach you how to edit car photos in lightroom, but the practice will make you an expert on this. By learning the lightroom tools and settings, you become aware of your options to enhance your images. , But you must acquire knowledge and post-processing understanding to make the best of the skill.

With professional automobile photography, you will have the perfect RAW image that you can edit in lightroom and create an awesome nondestructive masterpiece. I have mentioned some extra steps to make the image stand out in the crowd. 

How To Create Car Background In Photoshop

Using a perfect background for your car photos can change the look and feel of the image entirely. Not only that, it can change the impact on the viewers and customers that you want to target.

If you also agree with that, you should now know how to create a car background in photoshop. Why photoshop? Because it is the best professional image editing software that you can use.

In this article, I will talk about how you can use some great backgrounds for your car photos using photoshop.  

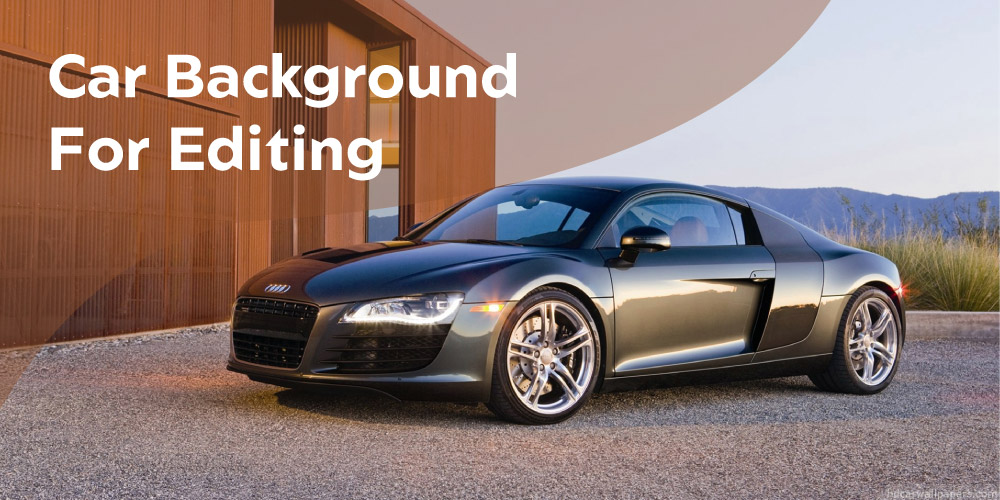
Car Background For Editing

Car-Background-For-Editing

To make great vehicle photos, you need not only a good-looking vehicle but also an excellent matching background with it. So to get started, we need to select the backgrounds first. It is normal not to have a perfect background while doing the photoshoot. 

Cars are large, and getting the perfect desired background is sometimes challenging. One solution that most experts use and also a reliable way is finding a different background. After that, use Adobe Photoshop to add the car into that background.

Pro Tips: Try to find a background with a large frame and a simple yet elegant feel. If you choose a background with roads, ensure the leveling is set correctly while adding the vehicle.

You are ready to do the editing in Photoshop as soon as you get the background image. In photoshop, insert the backdrop image you want to use on your vehicle photo. Inserting the image in photoshop is easy. 

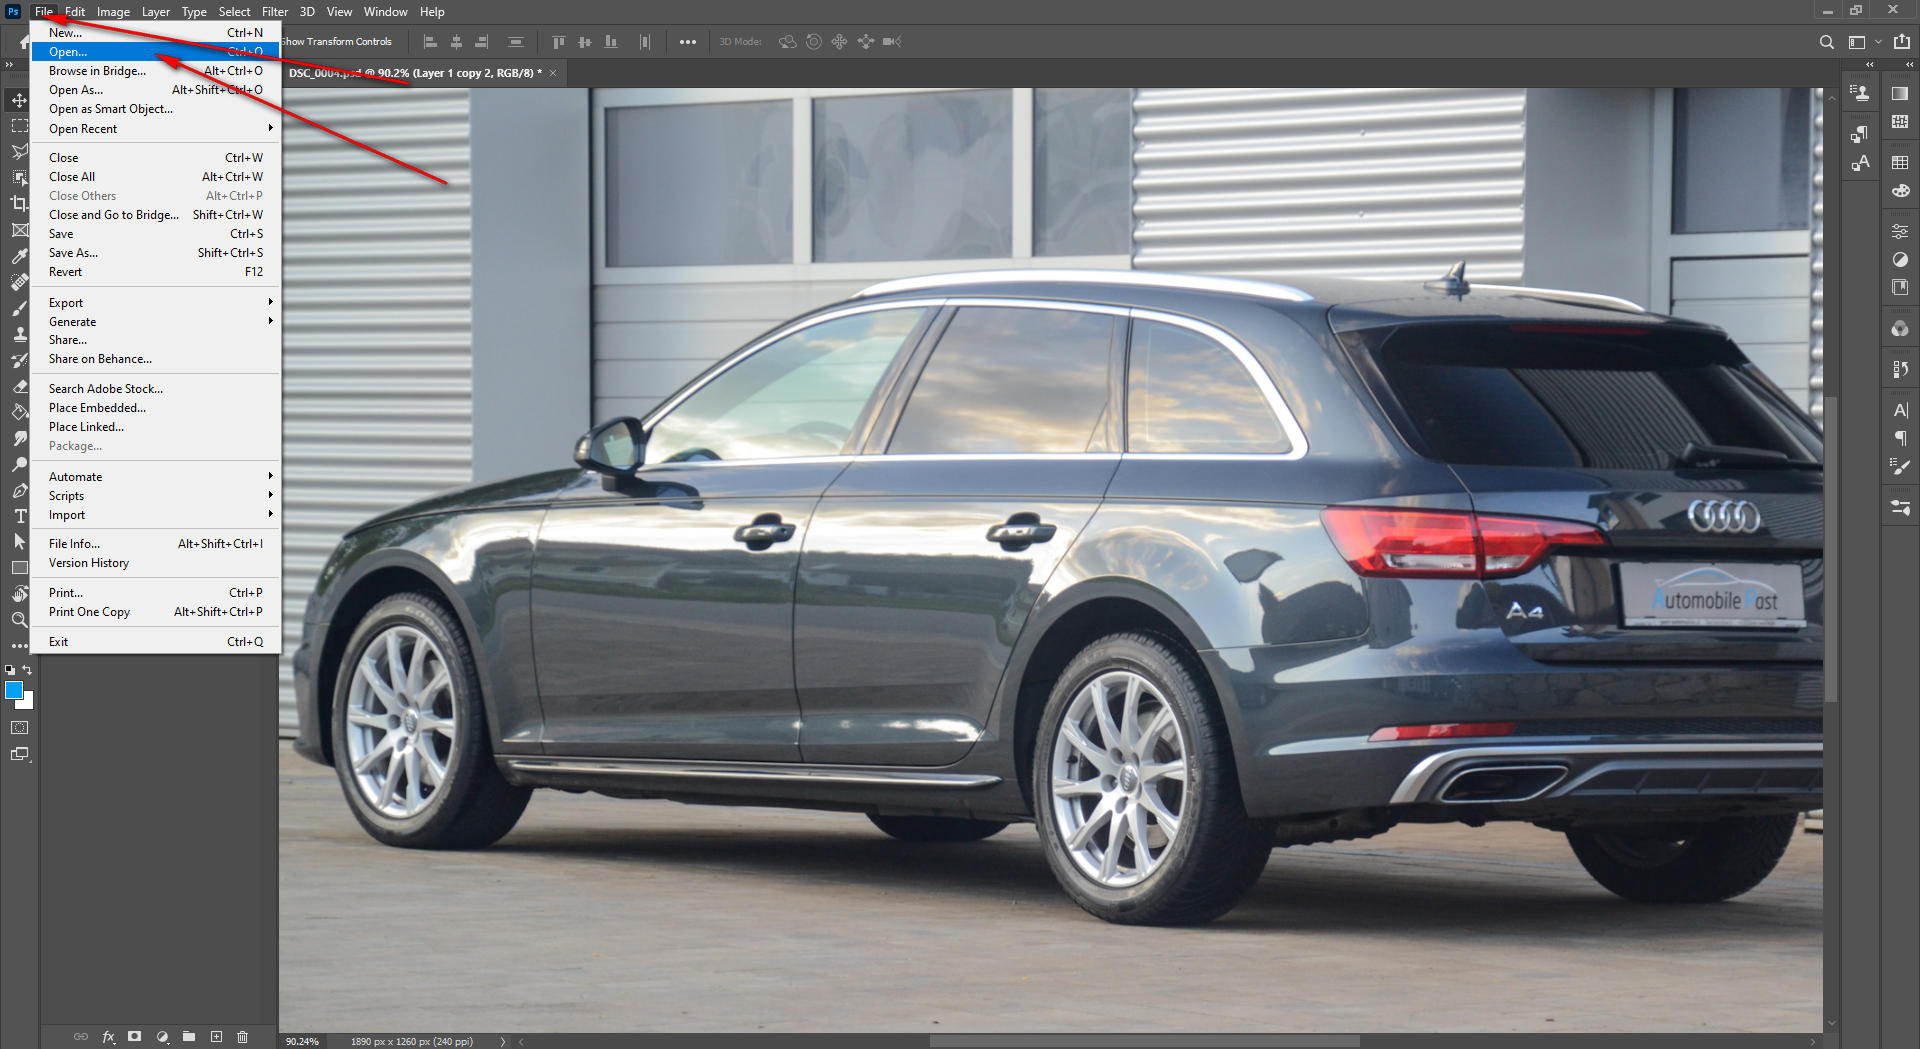
You can drag and drop the image directly into the artboard. Or you can go to the top Menu bar and click on the File option to insert your image.

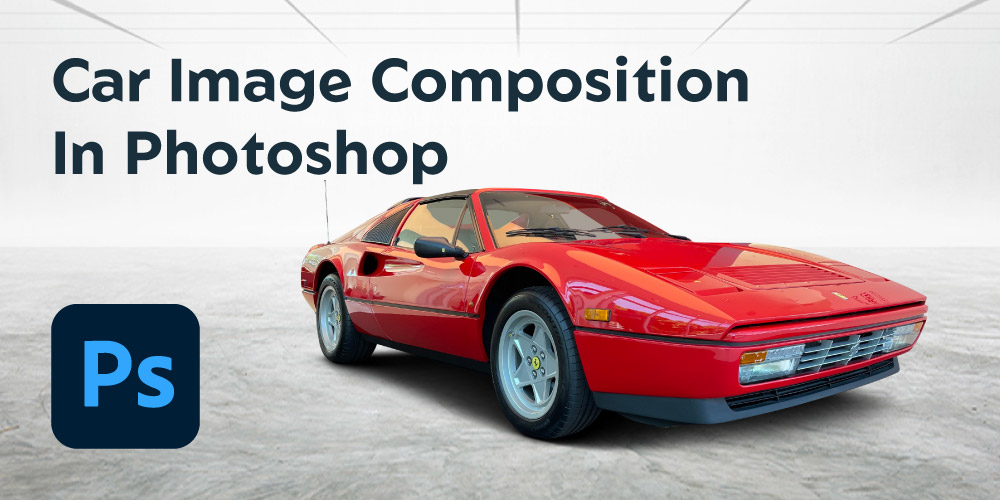
Car Image Composition In Photoshop

Car-Image-Composition-In-Photoshop

To blend the background you are using with your car photo, and you must look after the image composition. The images won’t fit without proper composition and will look like some awkward piece.

You will notice the difference whenever you clip out the car and place it on a different backdrop. There can be light balancing problems, color contrast, High dynamic range issues, and many more.

In photoshop, car image composition is an easy task if you know what a good composition image is. Also, it would help if you looked out for the reflection issue as cars are glossy luxury product that reflects lights a lot.

You can edit each and every composition issue of both the images using the automotive image retouching process in adobe photoshop. But the first thing you should do is to determine in which area the editing is needed and how much.

Use the hue and saturation settings in photoshop to fix the composition of the images. It helps a lot to balance the colors of the picture. I would suggest one thing I do to make my editing simple: place the car in the background first and then work on the compositions.

You can use the pen tool in photoshop and cut out the car from the original image and then place it in the background. Cutting out a product using the pen tool is the only professional solution that will give you an accurate result.

There are several options to do this process, but most are automatic selection using the machine language and AI that comes with the software. They are also great, but with the pen tool, you have all the manual control, which is the correct approach that you should go for.

Inside Car Background


This is a unique way of showing the car photo that we rarely see photographers or auto dealers do nowadays. The main reason behind this is that it is more challenging to shoot from the inside than outside a car. 

And not only that, in such frames, you need to keep a perfect balance between lights and colors. The car’s interior is always tremendous and elegant looking. Companies give their best in the business finish into the interior of their vehicles, and if you are a clever marketer, you would want to showcase it to your customers.

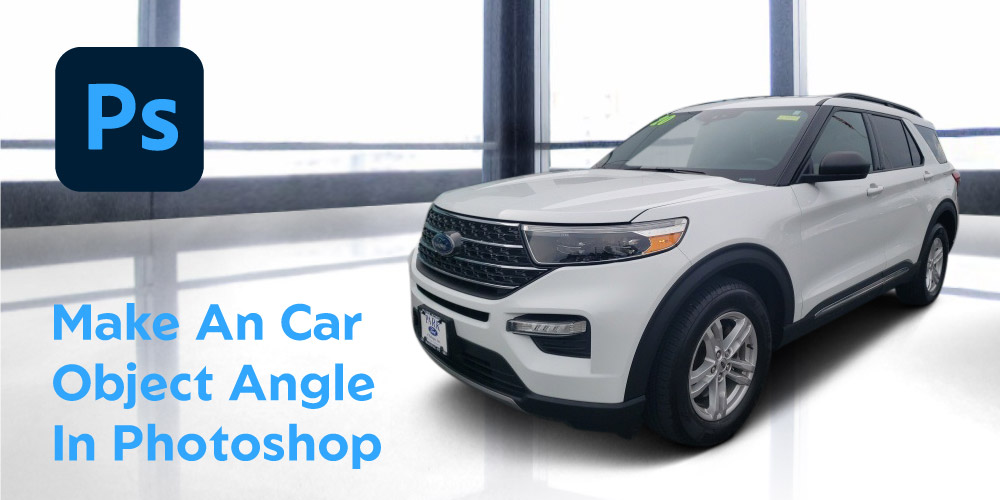
Make An Car Object Angle In Photoshop

Make-An-Car-Object-Angle-In-Photoshop

To place a car into another background from its original using photoshop is a task of a clean hand. I am mentioning the term “clean hand” because while editing car photos, not only fixing the composition but also ensuring you are getting the correct angle is essential. 

Sometimes you find a perfect background for your car image that you want to use, but unfortunately, both the photos might have problems with the angle. In Photoshop, a tool can help you fix the angle of your image if needed.

You might have heard about the “Perspective Warp tool” in photoshop, or if you didn’t, it means you don’t have the latest version of photoshop. Using the wrap tool, you can get all the perspectives of your product and fix the angle.

How can you use it? Well, first, create a duplicate layer of the original one. You can do it using the photoshop keyboard shortcut (Ctrl/Cmd+J). After that, convert it to a bright object. To do that right, click on the layer you have created and from the option list, select “Convert to Smart Object.”

Without converting it to a smart object, we won’t be able to use the perspective wrap tool on it in a non-destructive way. Nondesctructiveness helps us go back and edit the settings whenever we want. So now go to the Edit menu from the top bar and choose Perspective Wrap to enable the tool.

After that, click on the area you want to use the tool, and you will see grid lines around it. If you don’t see the option on the menu bar, you are probably not using the latest version of the software.

When you see the grid lines, you can now make car object angle in any way you like within photoshop.

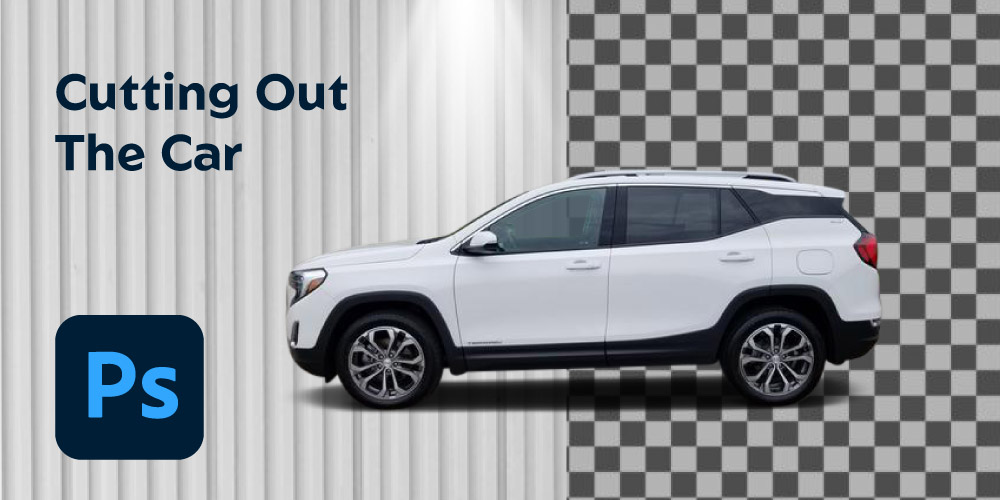
Cutting Out The Car

Cutting-Out-The-Car

It is a step that should be in the first couple of ones, but I am placing it in the last because it is not so tough to do. Though I have mentioned it in the earlier segment here, I will talk in detail about it.

As we are using different images for the product and its background, we need to cut out the car from the original image and place it on the backdrop we want to use. Cutting out the vehicle in photoshop has several ways that you can use. Photoshop offers many automatic background removal tool that eases the process.

But I suggest you use the most professional one which gives the best accurate result. Photoshop pen is the ultimate tool to select any object in the photo and cut it out from the scene. 

You must create paths around the edges of the object you want to select and then cut it out. If you have a clean hand and experience in the clipping path technique, you will get the best result that any other tool can’t provide.

Summary

If I have to summarize how to create a car background in photoshop for you guys, then I will go like this:

Step 1: Select a perfect background image that you want to use in your car photos. Then insert it in photoshop.

Step 2: Cut the vehicle from the original image and remove its background using the pen tool in photoshop.

Step 3: Place the transparent background photo of the car on the backdrop you choose in the first step.

Step 4: Fix the composition issue from both images so they can blend in.

And that’s it, and you are done. Save your image when you are satisfied with your editing. It is up to your creativity and knowledge to pick the background that suits the model of your car. If you pick that right, you will have the most beautiful car background image, and your viewers will also love it.


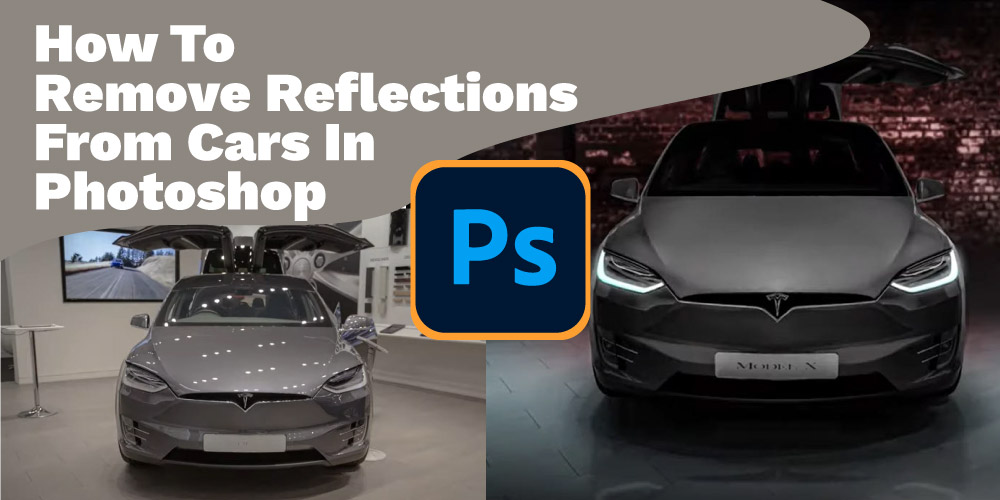
How To Remove Reflections From Car windows In Photoshop?

While photographing cars, we can catch reflections from almost everywhere as the vehicles are glossy luxury products. Sometimes these reflections look good if placed correctly, but they ruin the image only the rest of the time.  Today, we will know how to remove reflections from cars in photoshop to solve that issue. Not only that, but we will also learn how to create reflections. Apart from that, we will know how we can remove reflections from photos taken from the window.

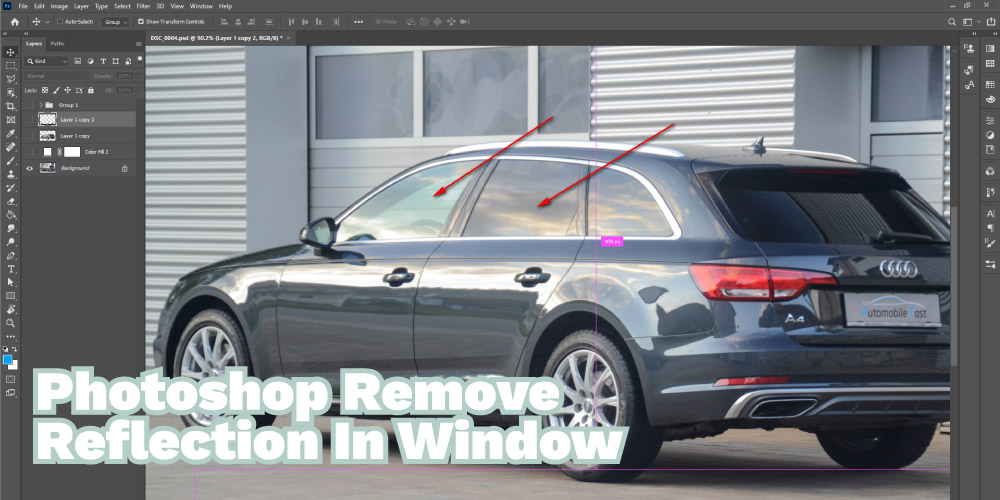
Remove Reflection From Car Window

Photoshop-Remove-Reflection-In-Window


In photoshop, removing reflection is not as tough as you think. You can remove the disturbing window reflection from your photo with some proper and correct steps.


Follow the below steps:

Step 1: Insert The Image In Photoshop

Drag the image you want to fix and remove reflection from and drop it on the photoshop dashboard to insert it. You can insert it manually using the menu bar, but it is more convenient and time-saving.


Insert The Image In Photoshop

Step 2: Create A Duplicate Layer

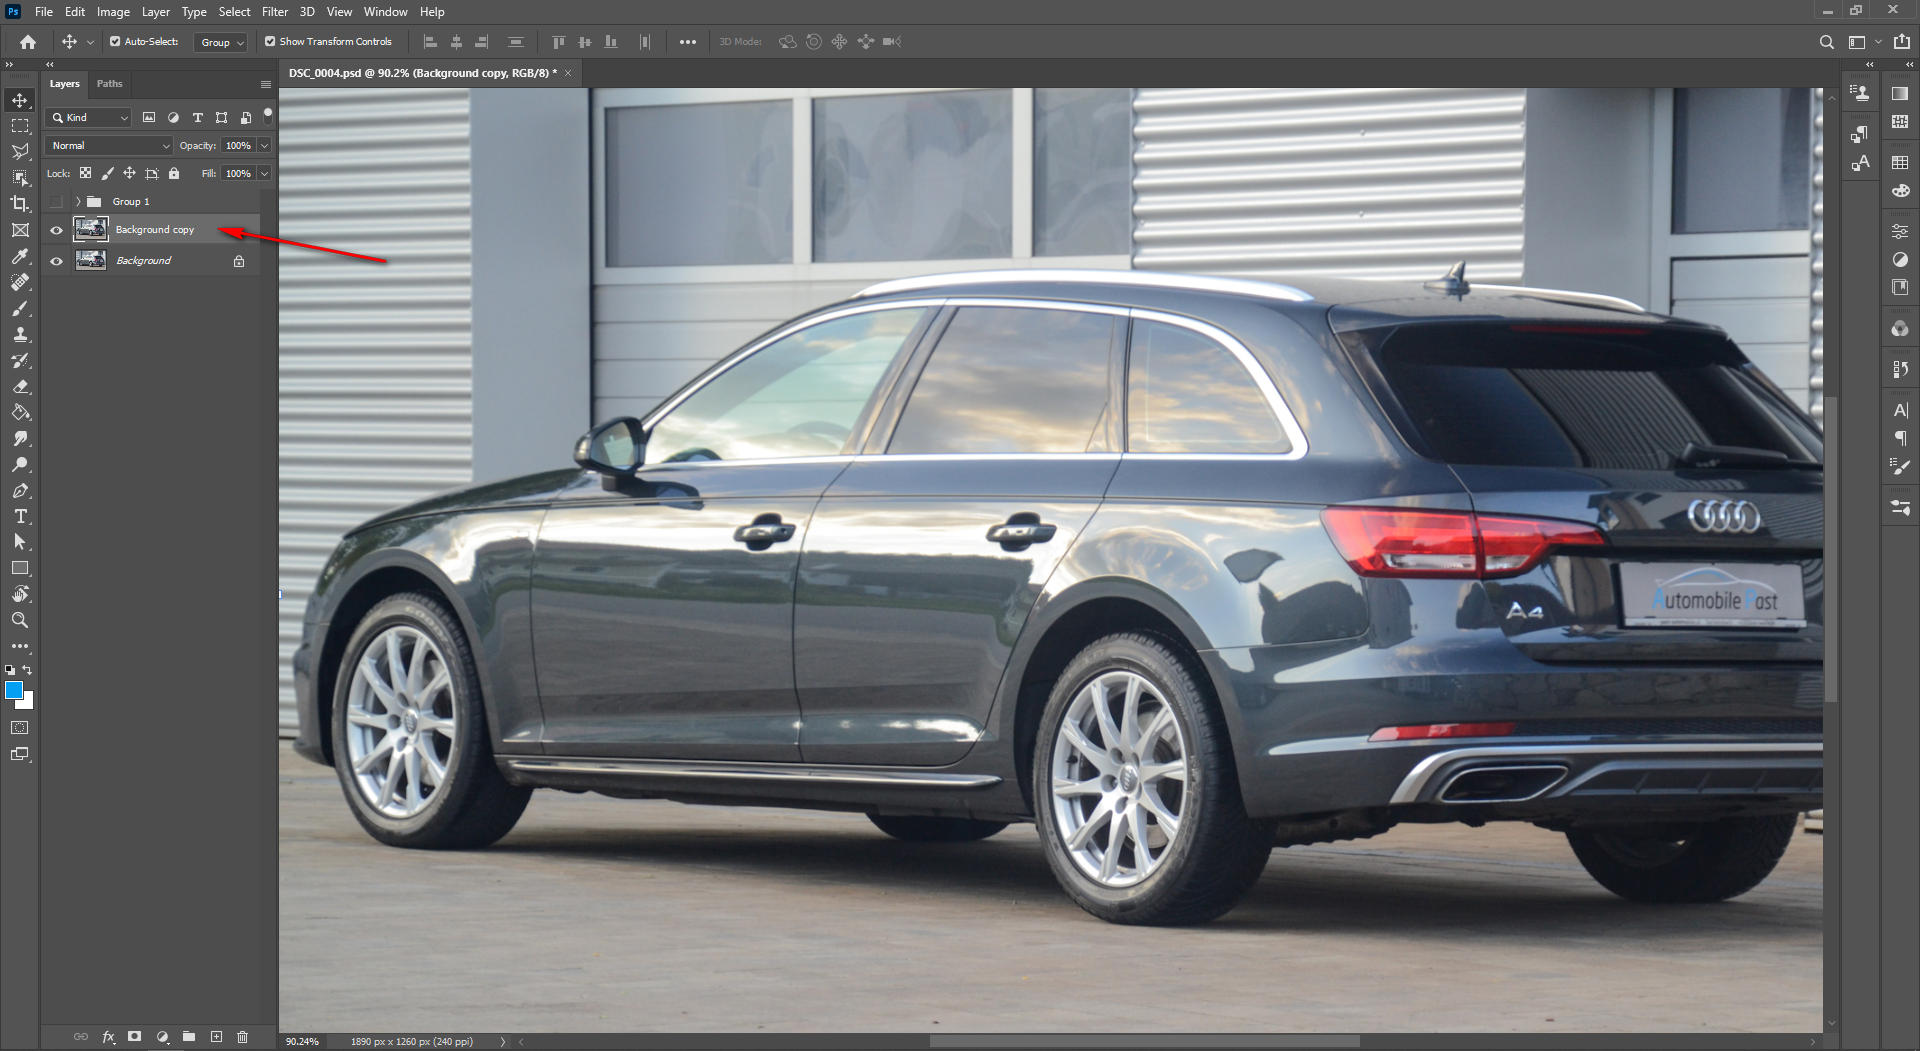
As soon as you insert the image in photoshop, it will create a layer that you will see on the right side of the dashboard. It is the layer panel, and the layer is the original layer. Now create a duplicate layer from the original layer to avoid any mistakes being made in the original image.

Create A Duplicate Layer


Select the original layer and then go to the Menu bar. Click on the Layer menu, and from the drop-down menu, click on Duplicate Layer to create it.

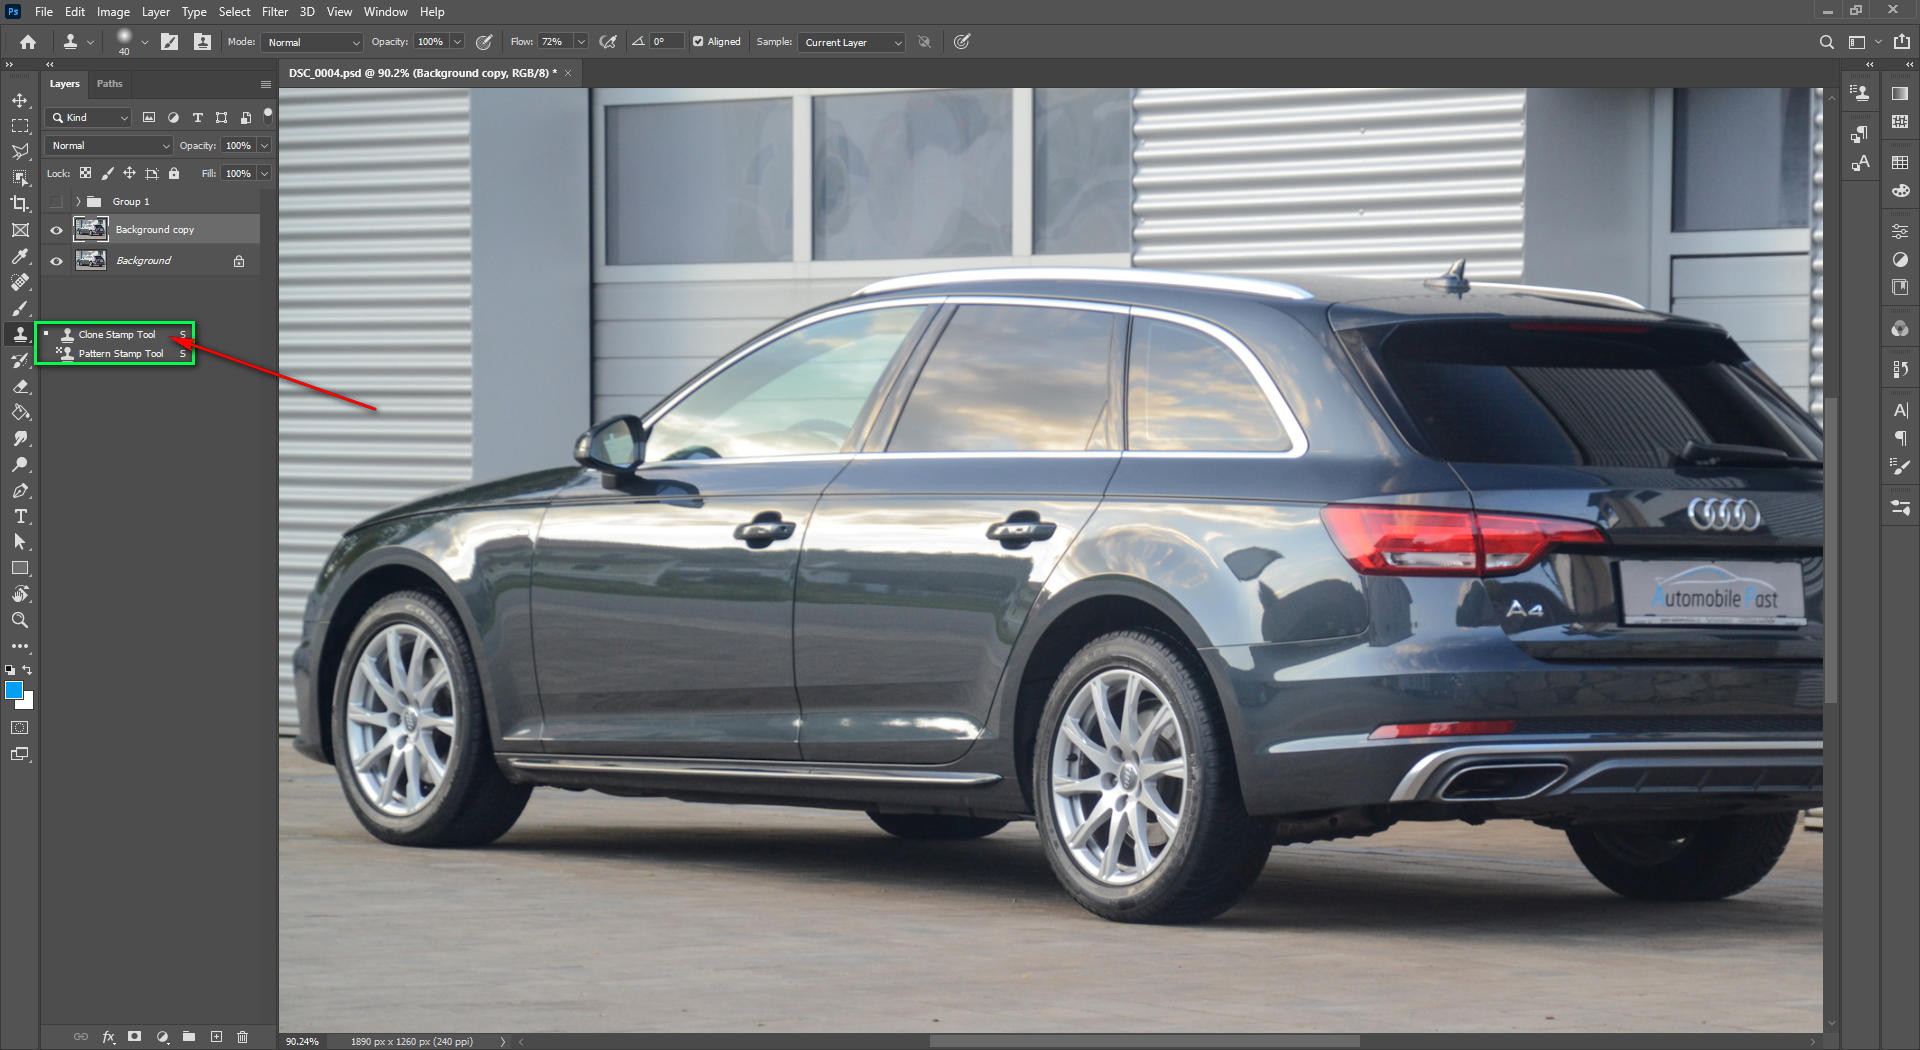
Step 3: Select The Clone Stamp Tool

This is the most accessible photoshop tool to remove the window reflections. Go to the Toolbar, find the Clone Stamp Tool, and select it.


Select The Clone Stamp Tool


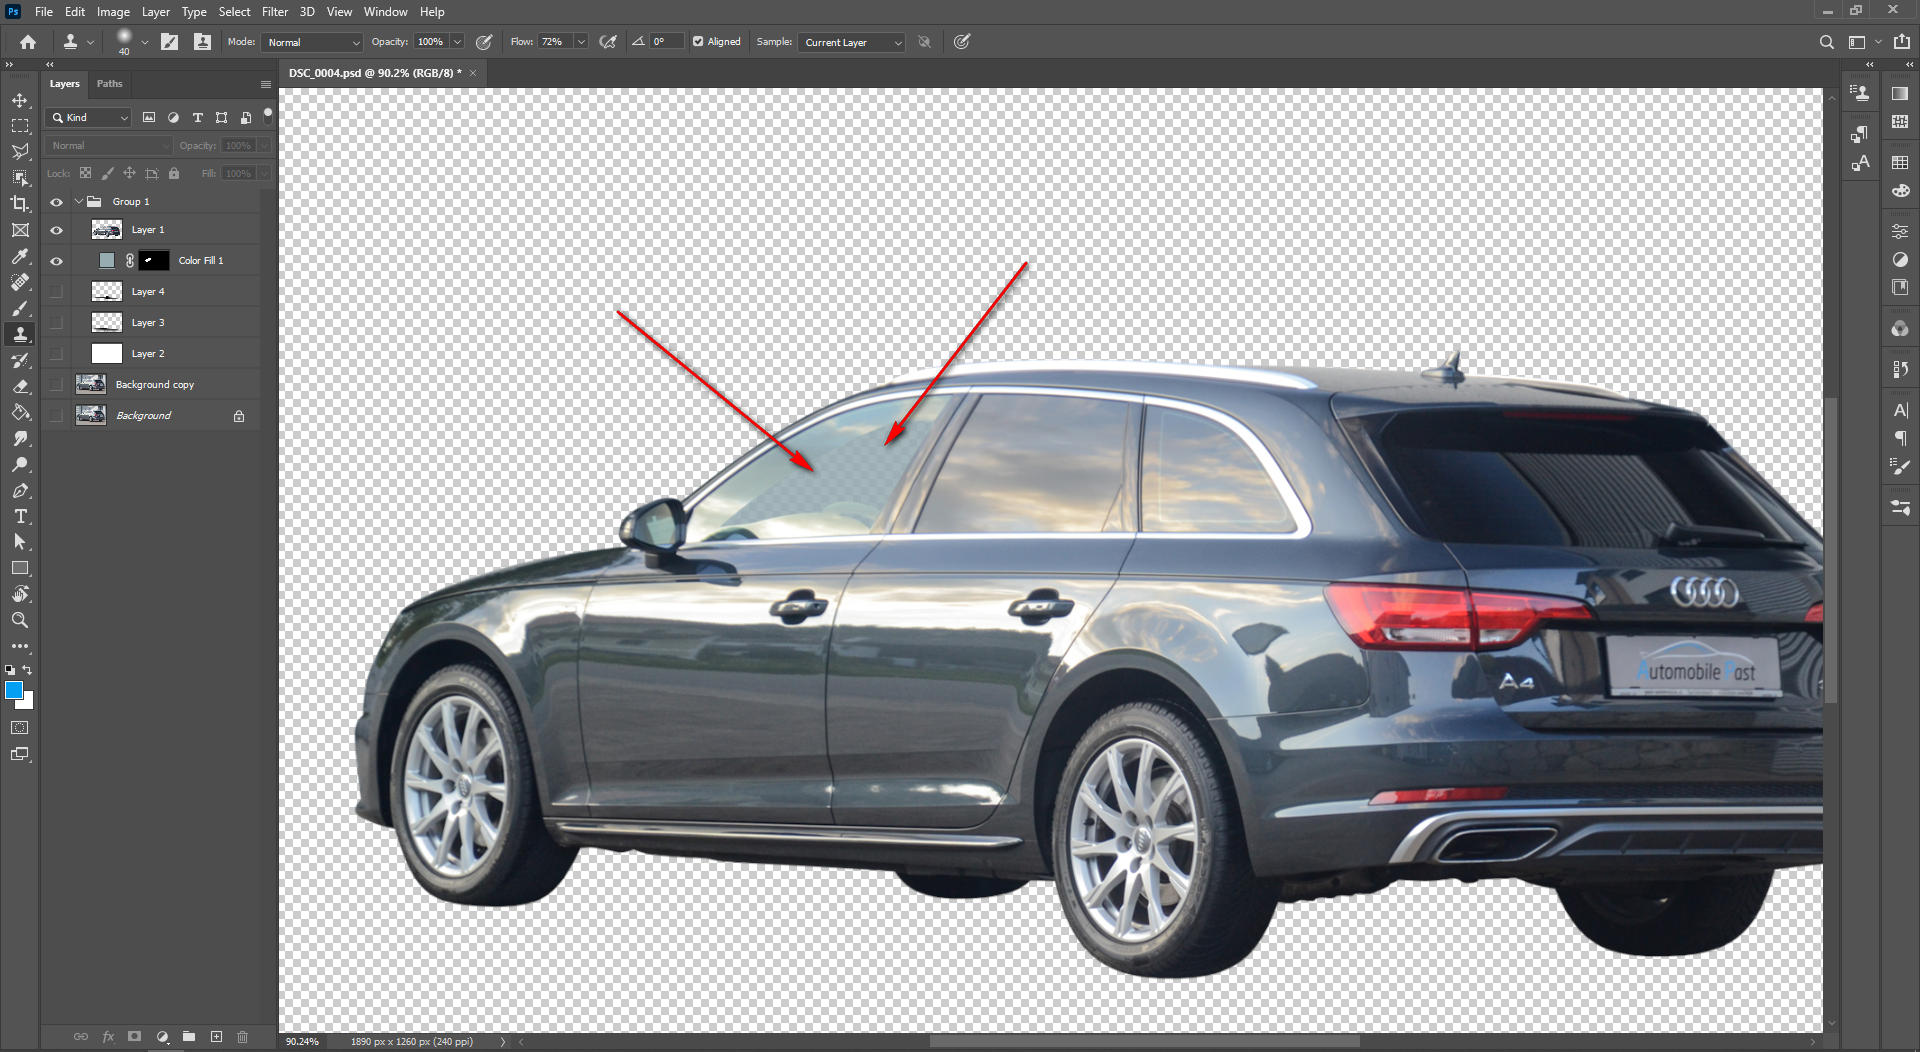
Step 4: Remove The Reflections

With the tool, select good areas around the reflection and then replace the reflection area with them. The clone stamp tool will remove the reflection area for good.


Remove The Reflections


Step 5: Add Gaussian Blur

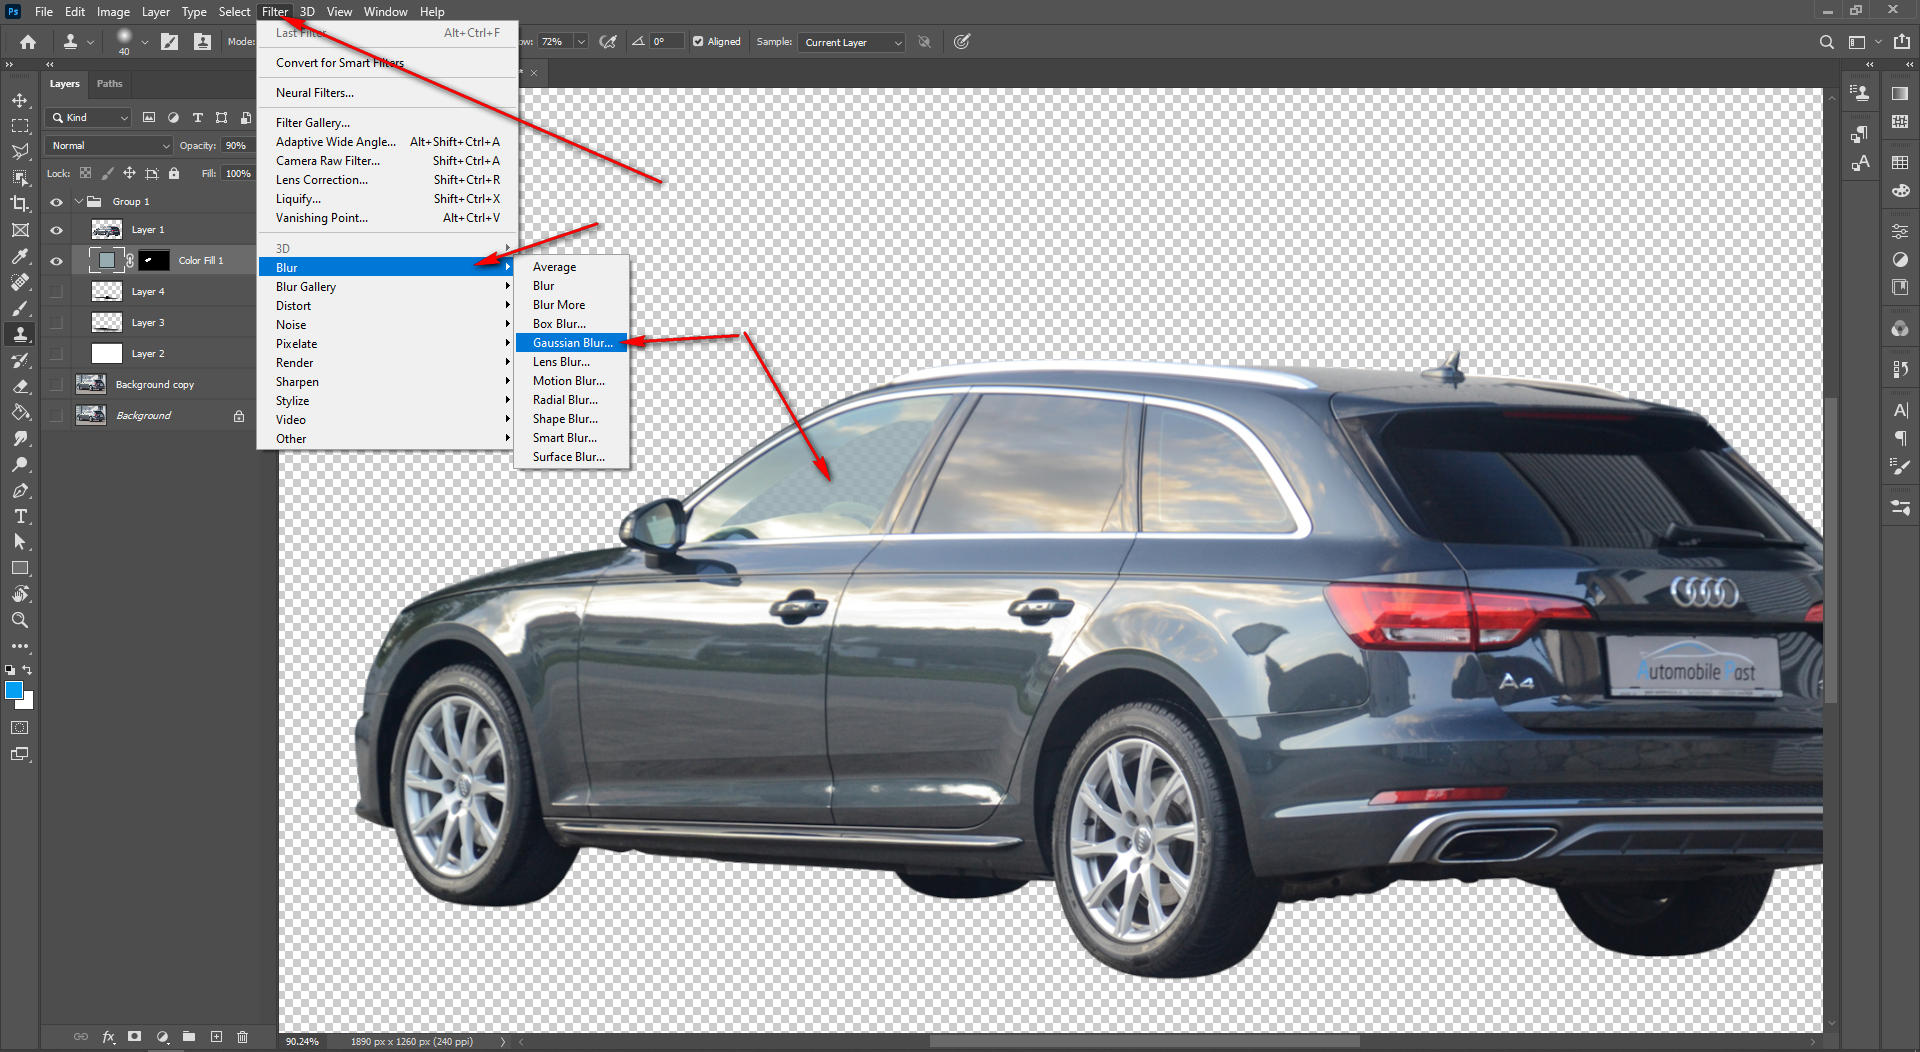
Go to “Filter” and then click on the “Blur” option, and after that, select the “Gaussian Blur”. Keep the Radius to 1 and Opacity as much as you need. Now brush over the edges of the image cutout that you did use the clone tool.


Set the settings according to your need and work on your image until you get your desired result. When you get it, save the file.

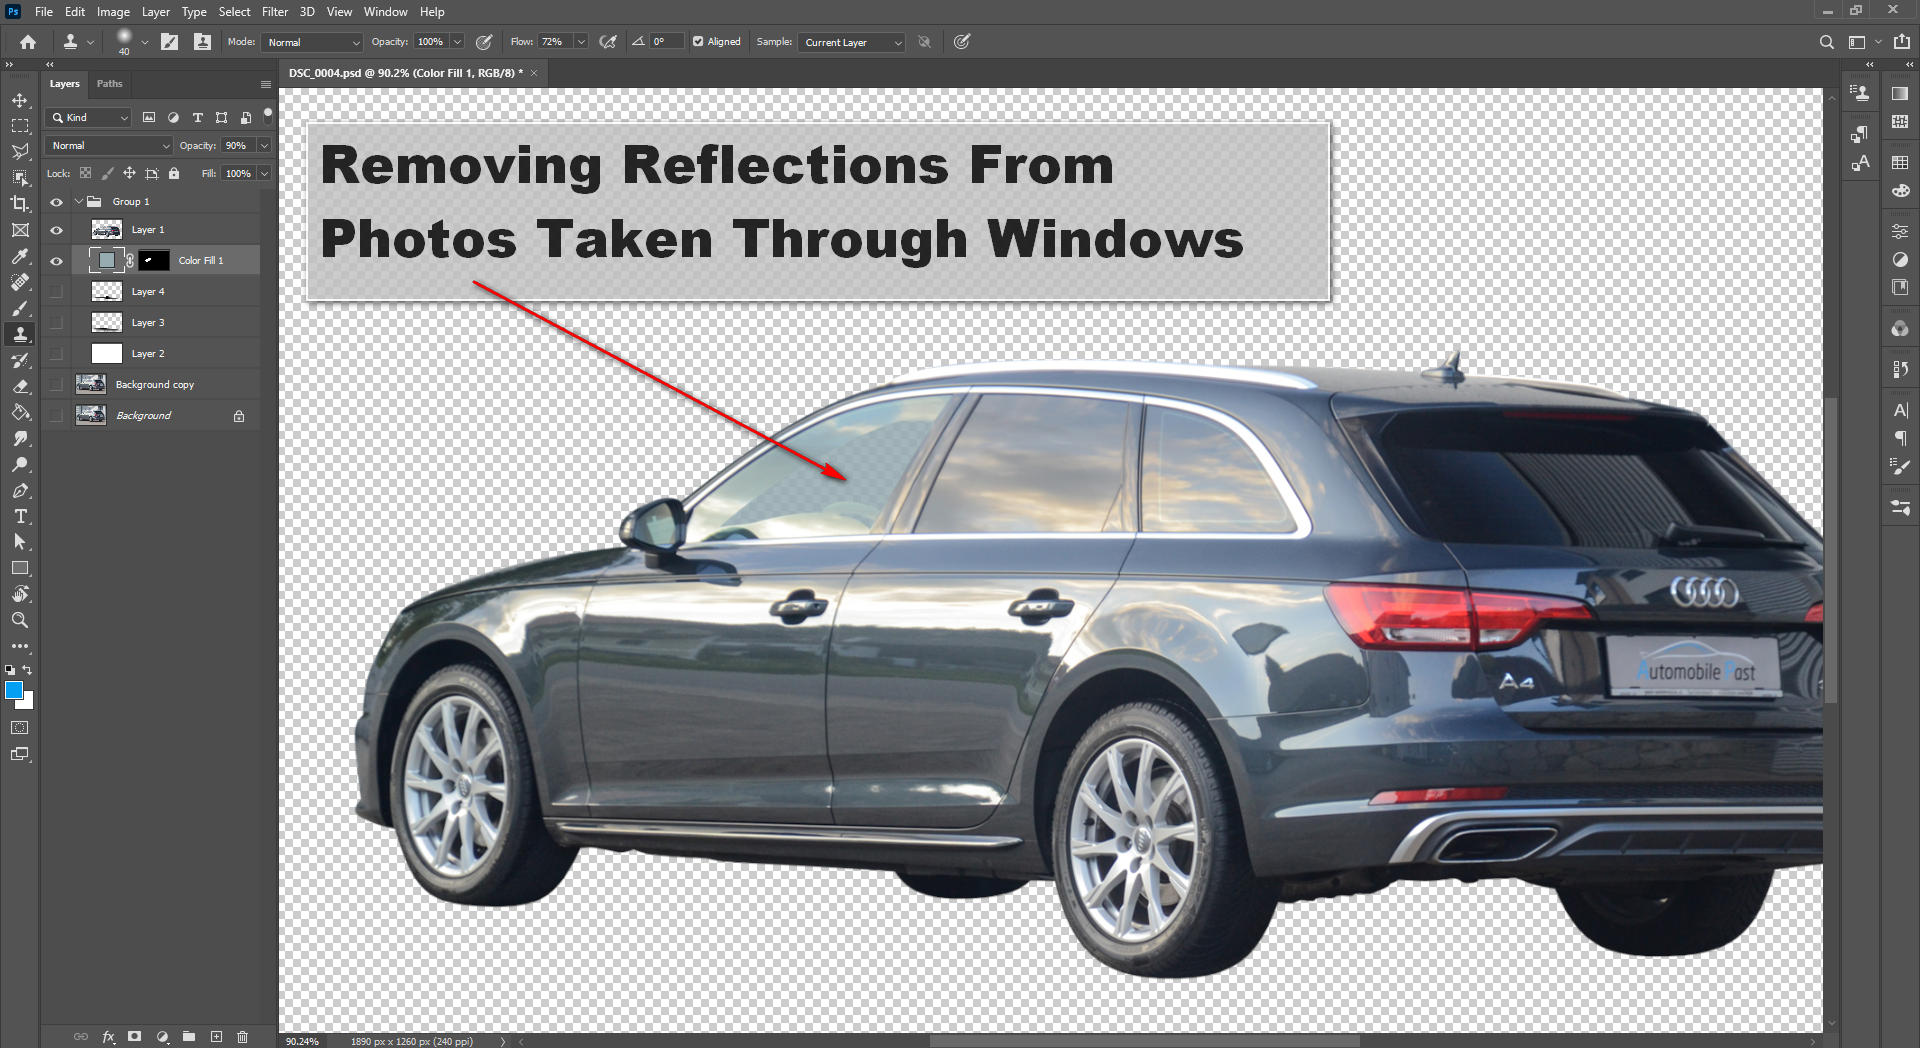
Removing Reflections From Photos Taken Through Windows

When you take photos through windows, you must see glass glare or reflections of your background in your photo frame. So can we avoid that? No, we can’t. Yes, there are a couple of tips and tricks that you can follow to reduce the glare but deleting it is impossible during the photo shoot. 

Removing Reflections From Photos Taken Through Windows


We have already known the process of removing image reflections from the above, but can this be enough? It depends on the image and the number of reflections it has. But apart from the above steps, you also can follow another method to do the process effectively. These are:

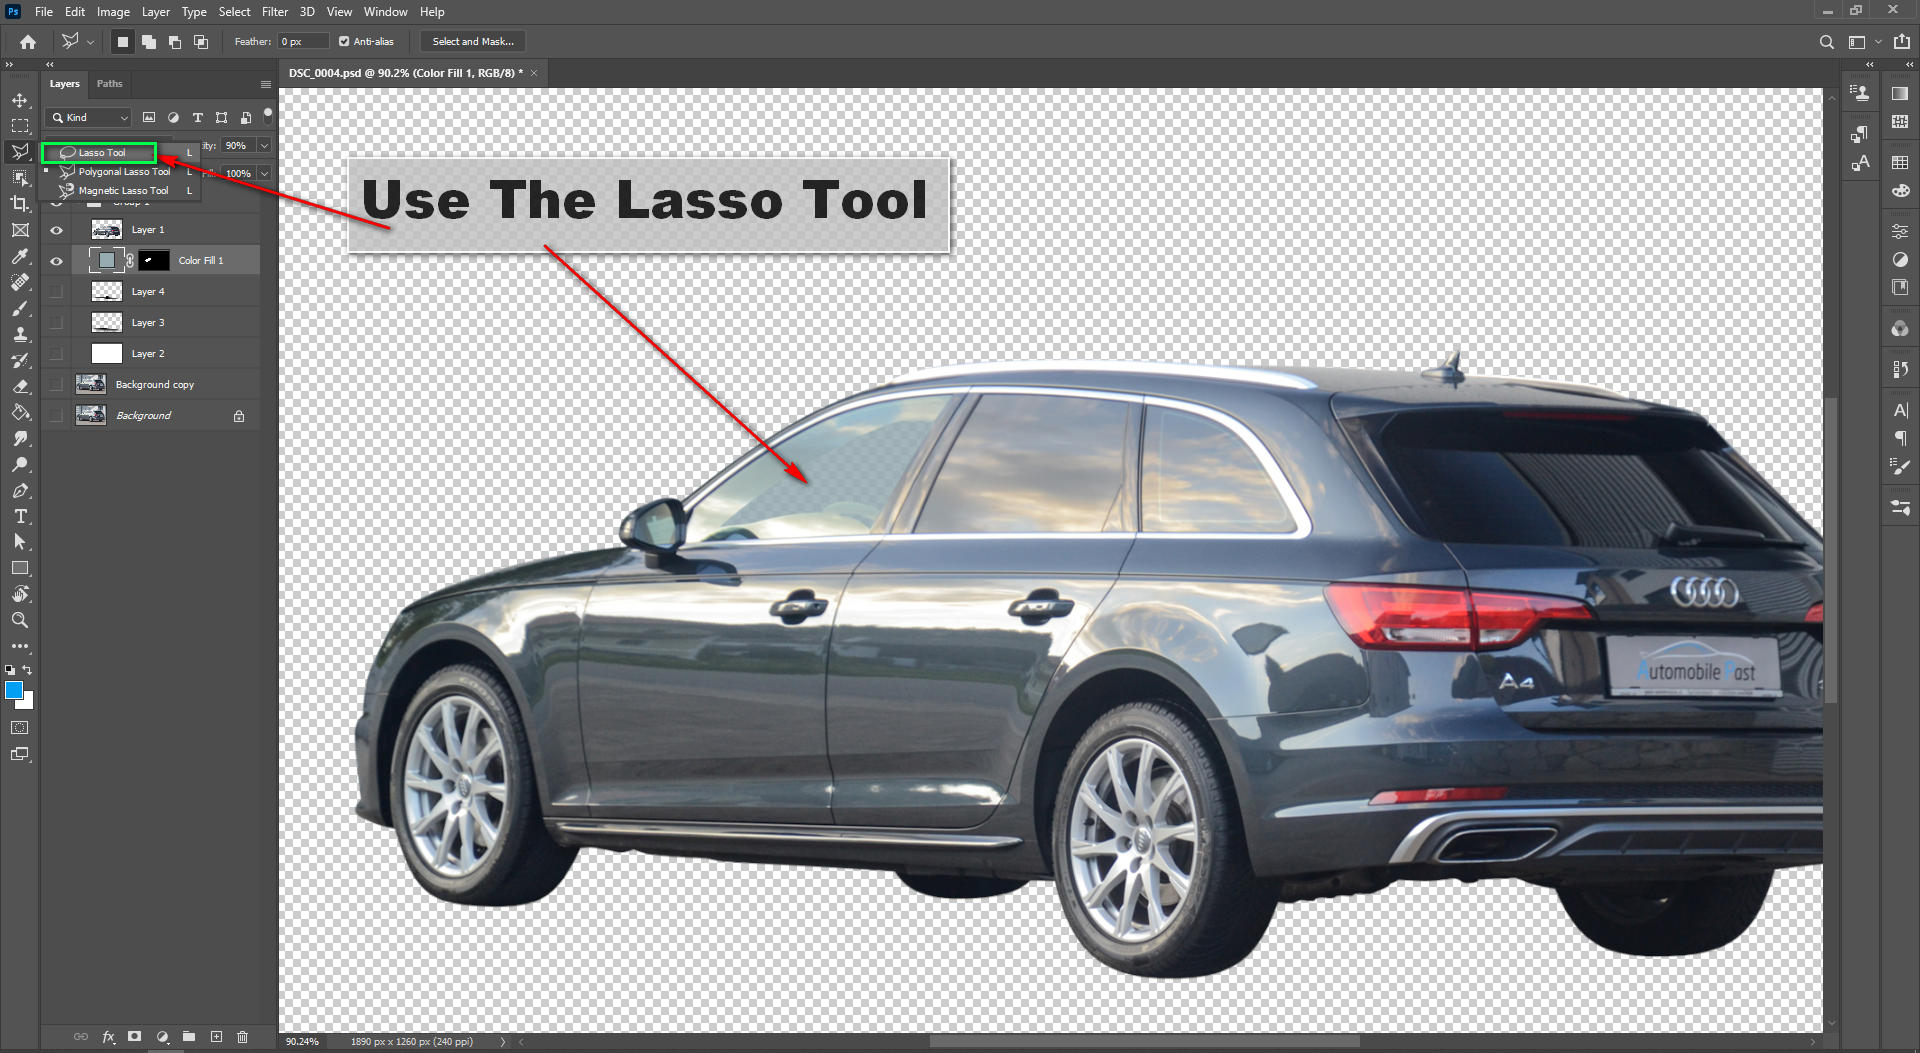
Method 2: Use The Lasso Tool


Use The Lasso Tool


We can also use the lasso tool to remove reflections like the clone stamp tool. Eliminating reflection isn’t precisely the same, but it’s also an easy process. The method of using the lasso tool and removing window reflection is given below in short:

Step 1: Select the lasso tool from the Toolbar.

Step 2: Use the tool and make paths around the reflection area.

Step 3: Right-click on the selected area and choose the Fill option.

Step 4: A dialogue box will open with the fill option selected.

Step 5: Select the Content-Aware option from the window, which you will find right next to Content. The area you have selected with reflection will get removed and replaced by a good place.

Step 6: Repeat this process for every area that has a glass glare or reflection, and you will be able to remove all the reflections of your image.


Check out:

Remove reflections from your car photography using photoshop

Source: https://www.youtube.com/watch?v=UQL1A0P3P_k

Car Glass Reflection Overlay

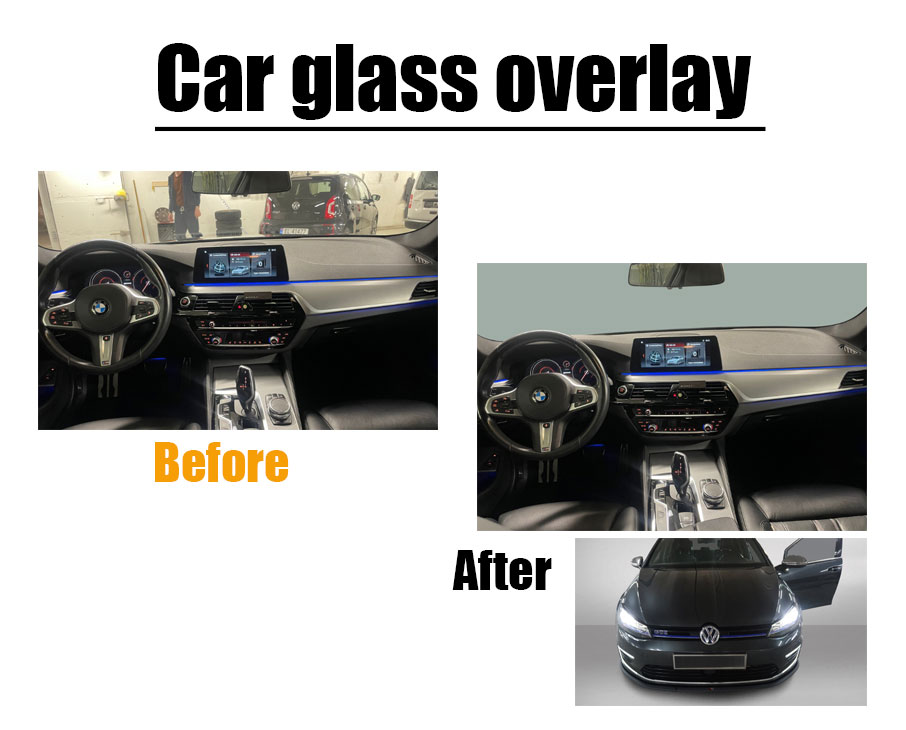
Cars are one-of-a-kind luxury glossy products, and photographing them without catching any reflection is as challenging as photo shooting in front of a mirror without being shown. Yes, you saw it right. You have to be tricky, from shooting it to post-processing in photoshop.  Photo shooting vehicles try to shoot multiple shots at a time so that you can get almost the same frame but with less reflection. Use a tripod to get the picture right. After that, we will use all these shots in photoshop to reduce the glass reflections overlay. Sometimes we need to fix the glass with cutout car glass and then replate it with a transparent effect. 

Car-Glass-Overlay


In photoshop, Insert the master image out of all the shots you have taken. The master shot should have less reflection from the other, and the framing and lighting should also be in perfect shape. After inserting the master image, copy each shot and paste it onto the master by creating a new layer. When the copy and paste process is done, go to the top Menu bar and click on the Layer menu.

Then select the “Layer Style” option and choose “Blending Options”. Now select the Darken option and blend the image. After you are done, you can merge the layers down to have the final photo or flatten the image in photoshop if you don’t need the layers to work again.  Apart from this process, you can always use one of the above methods to remove reflections from cars or windows.

Wrapping Things Up

No matter how expert a photographer you are and whatever professional setup you have, you can’t avoid reflections when shooting a shiny luxury car. So knowing how to remove reflections from cars in photoshop is the most professional thing you can do to improve your car images.

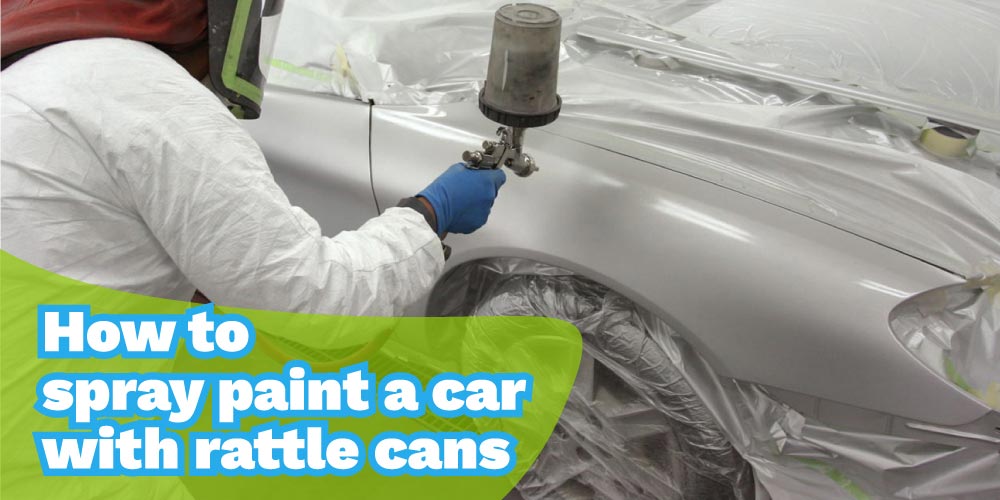
How to spray paint a car with rattle cans?

Many people nowadays get their cars painted with the help of either spray paints or other polishing paints. The need to get the cars painted is increasing day by day because of the increasing accidents. But some people also get their cars sprayed because of their interests like gaming, racing, or existing trends.  In this article, you will learn about the details of how to spray paint a car with rattle cans.


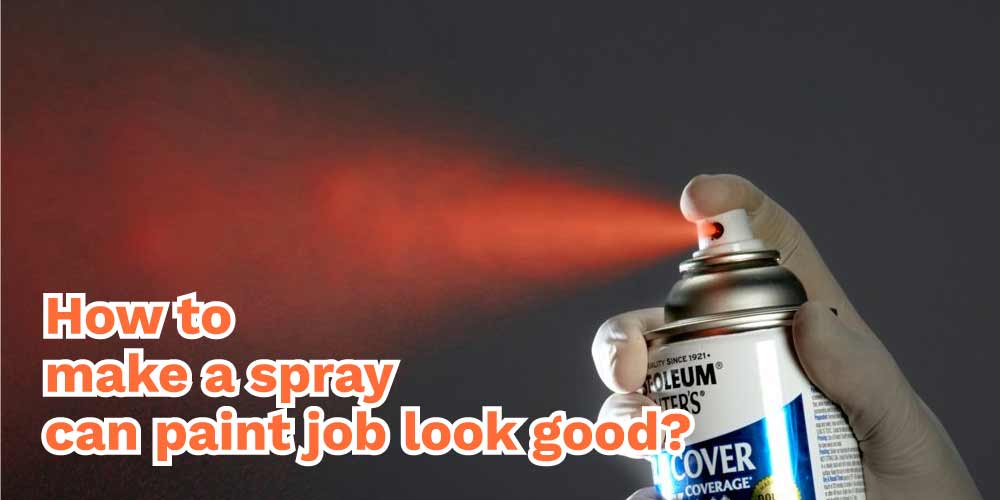
How to make a spray can paint job look good?

To make a spray paint job look good, you must have the following things with you before initiating the process.

  • Sandpapers (600 grit and 1500 grit)
  • Painter’s tape
  • Paper
  • Primer
  • Spray paint
  • Clear paint
  • Dust mask
  • Safety goggles and gloves
  • Cloth
  • Towel
  • Warm soapy water


How-to-make-a-spray-can-paint-job-look-good


First, wear safety equipment, including a mask, goggles, and gloves, to protect yourself from the paint. Then use sandpaper of 600 grit and rub it thoroughly over the surface of the car you want to paint. The paint will start flaking away and once you observe that most of the paint has been flanked away from the surface, use the 1500 grit sandpaper.

After that, use the putty to fill the holes (if any) in the metal surface of your car. Make sure to use the putty made only for cars or metals. After applying the putty, smoothen the surface and remove the excess putty from the edges. Then clean the surface with the help of a clean microfiber cloth.

Then use the paper and the Painter’s tape to cover the surrounding area you want to protect from the paint and leave the rest of the area exposed. Take your car to a sheltered and well-ventilated space before using the spray paint cans. Apply three coats of spray paint with a gap of fifteen minutes in each coat. After that, use sandpaper the smoothen the surface.

After smoothening, the painted surface, use warm soapy water and clean the painted surface with it. Then pick up the spray paint can, shake it for nearly three minutes, and test it on a piece of cardboard before spraying it on the car. Then spray it in a horizontal motion onto the car’s surface. Apply two coats with a gap of ten minutes in each coat.

Then spray a coat of clear paint over the newly painted surface to protect it from the harmful UV radiations. After applying it, leave the surface to dry for at least 24 hours.

You can check out also-

Video source: How to paint with spray cans?

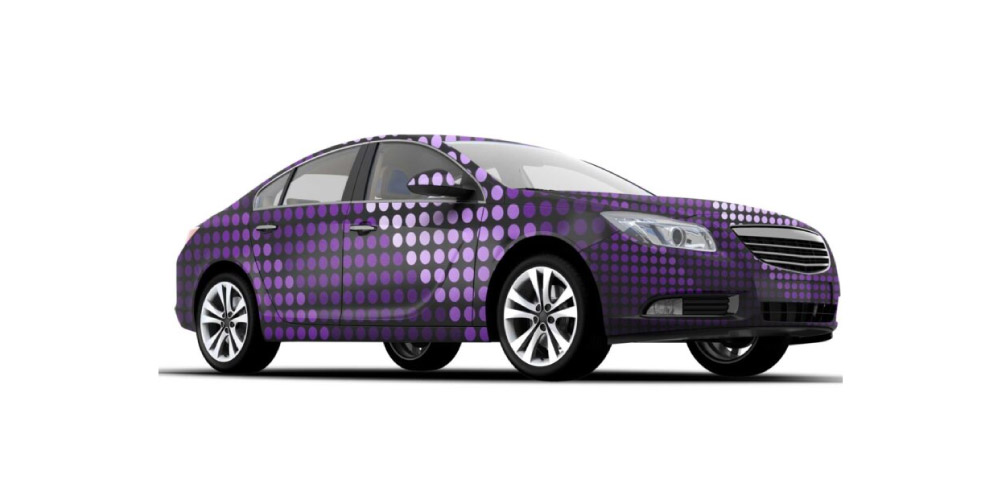
For an online inventory, automotive images will easily makeup with different colors and effects using Photoshop filtering and other options with car images editing.


How many spray cans to paint a car hood?

If you want to avoid the excessive charges that any professional will charge if you want to get the hood of your car painted, the spray cans are the best and the most affordable option. It will take only 3 to 4 cans of spray paint if you want to paint the hood of your car. And surprisingly, it won’t cost you more than 60 to 65 dollars, including the cost of the primer and the sandpapers.

How-many-spray-cans-to-paint-a-car-hood


How many spray cans do paint a car?

If you get your car painted by any professional, it will cost you thousands of dollars as only the hood costs 1000 dollars. So, most people opt the spray paint cans to paint their cars by themselves to save excessive costs. That’s why many people ask how to spray paint a car with rattle cans? And how many cans are used to paint a car?

To paint your car in the best way, you must have at least 20 spray paint cans to do multiple coats on the car. The no. of cans can outnumber this figure based on your spraying practice and the condition of your car.


How-many-spray- How to spray paint a car with rattle cans


Best spray paint for cars:

There are many brands available in the market that offer a wide variety of spray paints for cars. But only a few of them meet the actual quality standards, while most rank below the mark. Do proper research and get your car sprayed with the best paint. Following are some of the best-selling brands of car paints.

  • Krylon automotive acrylic enamel, gloss, black.
  • Dupli-color (HVP102-6 PK Blue vinyl and fabric coating.
  • USC spray max 2k high gloss clearcoat aerosol.


Best-spray-paint-for-cars


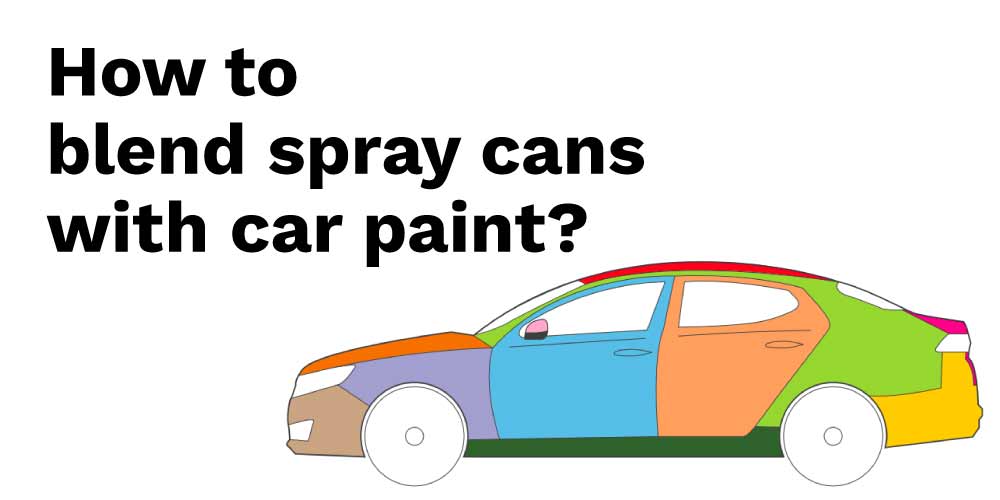
How to blend spray cans with car paint?

If you want to blend the car’s paint with the spray cans, make sure to clean the surface thoroughly with the help of sandpaper. Then apply the spray paint and give proper finishing to make it look like the car’s paint. If you don’t remove the paint from the car’s body before spraying, the patch will look different from the rest of the car because of improper blending of the car’s paint.


How-to-blend-How to spray paint a car with rattle cans


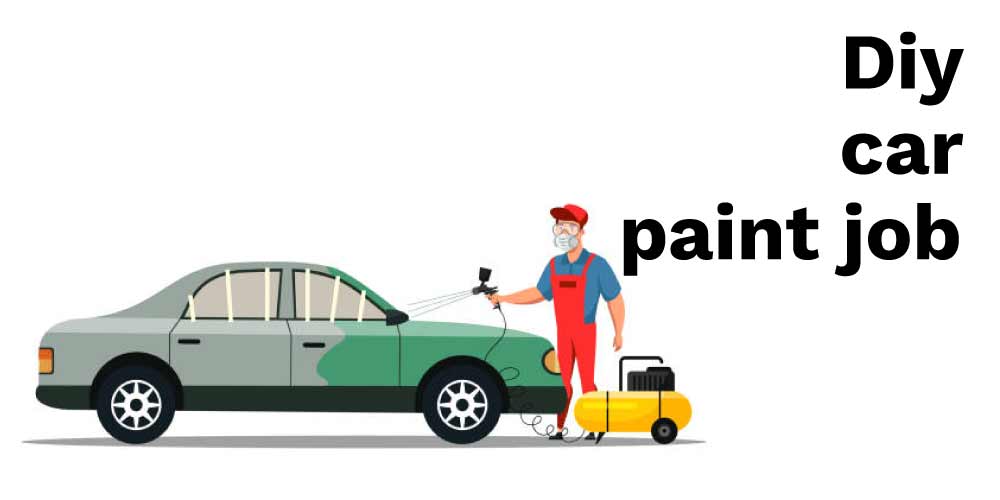
Diy car paint job:

Painting your car yourself is one of the best ways to save money. Just bring the required materials, wear your safety equipment, clean the surface that needs to be painted with the help of sandpaper, and then use a clean cloth. Find a sheltered and ventilated space, take your car there, and spray the cans to achieve the desired outcomes. Make sure to apply various coats for a better finish.

Diy-car-paint-job


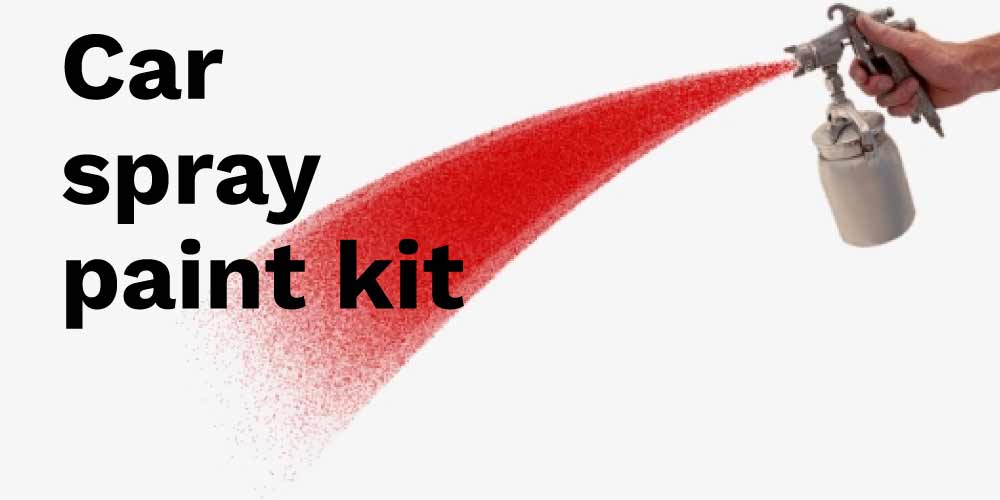
Car spray paint kit:

There are a lot of spray paint kits available in the market. But even the most basic car spray kit must have a few items to be called a spray paint kit. These must-have items include Sandpapers (600 grit and 1500 grit), Painter’s tape, Paper, Primer, Spray paint, Clear paint, a Dust mask, safety goggles and gloves, a Cloth, a Towel, and Warm soapy water.


Car-spray-paint-kit- How to spray paint a car with rattle cans


Conclusion:

Here is the complete guide on how to spray paint a car with rattle cans? Moreover, to avoid mixing dust with the paint while spraying, do this in a shady and covered area. That shady location must be adequately ventilated to avoid suffocation because of the toxins present in the spray paint. Please make sure not to spray your car near animals because the toxins present in the spray paints can prove fatal for the animals.

error: Content is protected !!