While photographing cars, we can catch reflections from almost everywhere as the vehicles are glossy luxury products. Sometimes these reflections look good if placed correctly, but they ruin the image only the rest of the time. Today, we will know how to remove reflections from cars in photoshop to solve that issue. Not only that, but we will also learn how to create reflections. Apart from that, we will know how we can remove reflections from photos taken from the window.
Remove Reflection From Car Window
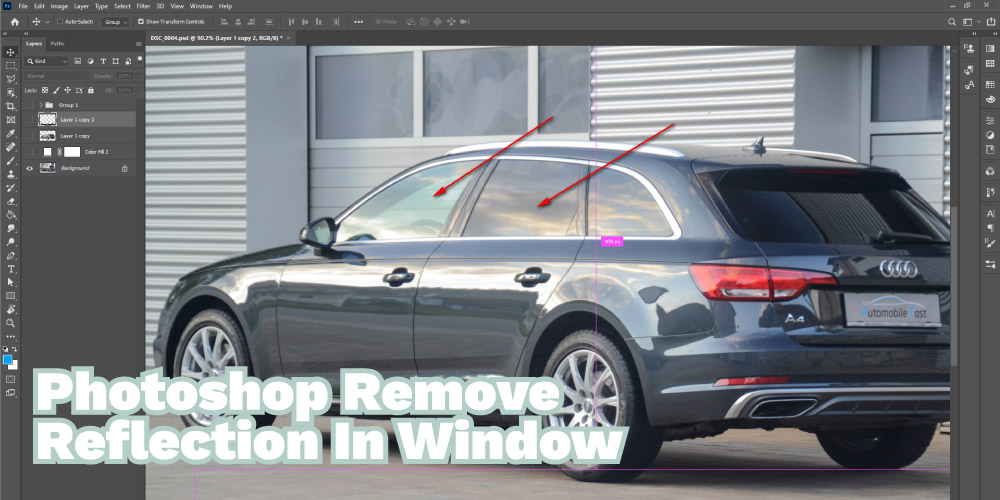
In photoshop, removing reflection is not as tough as you think. You can remove the disturbing window reflection from your photo with some proper and correct steps.
Follow the below steps:
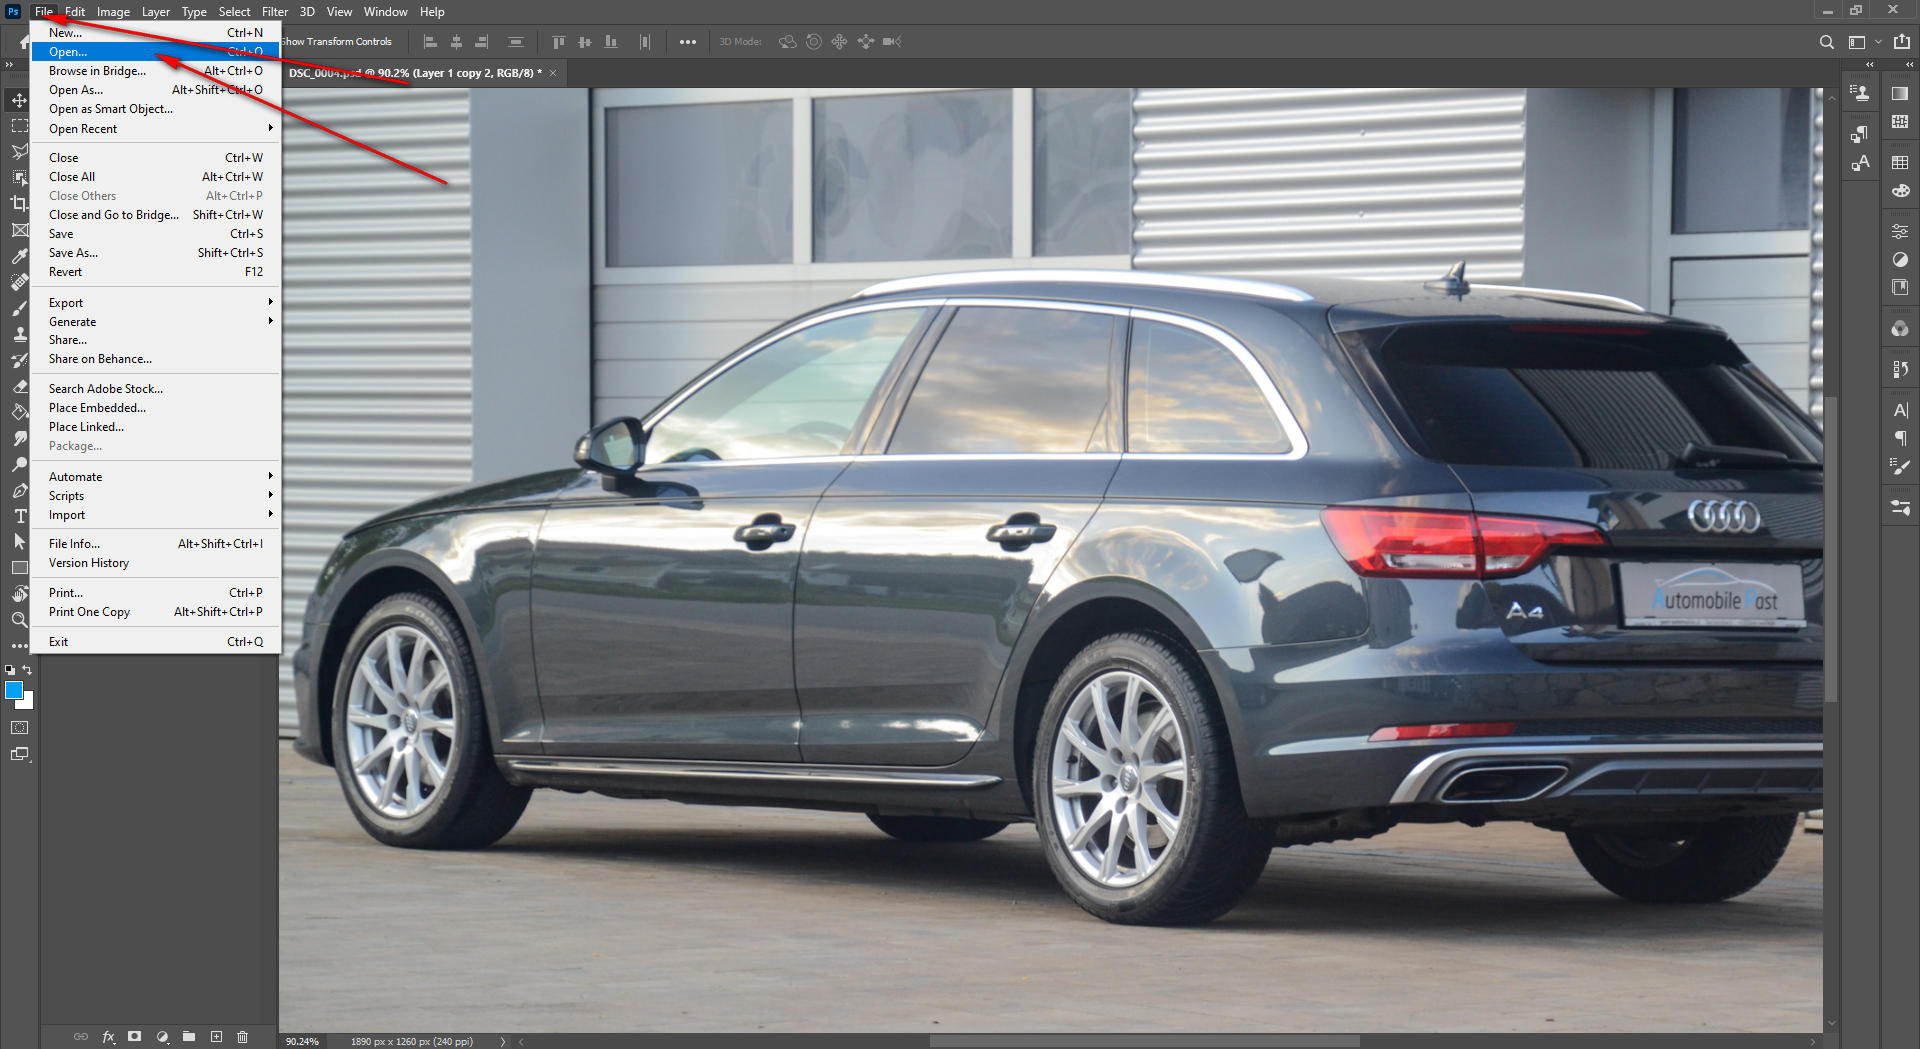
Step 1: Insert The Image In Photoshop
Drag the image you want to fix and remove reflection from and drop it on the photoshop dashboard to insert it. You can insert it manually using the menu bar, but it is more convenient and time-saving.
Step 2: Create A Duplicate Layer
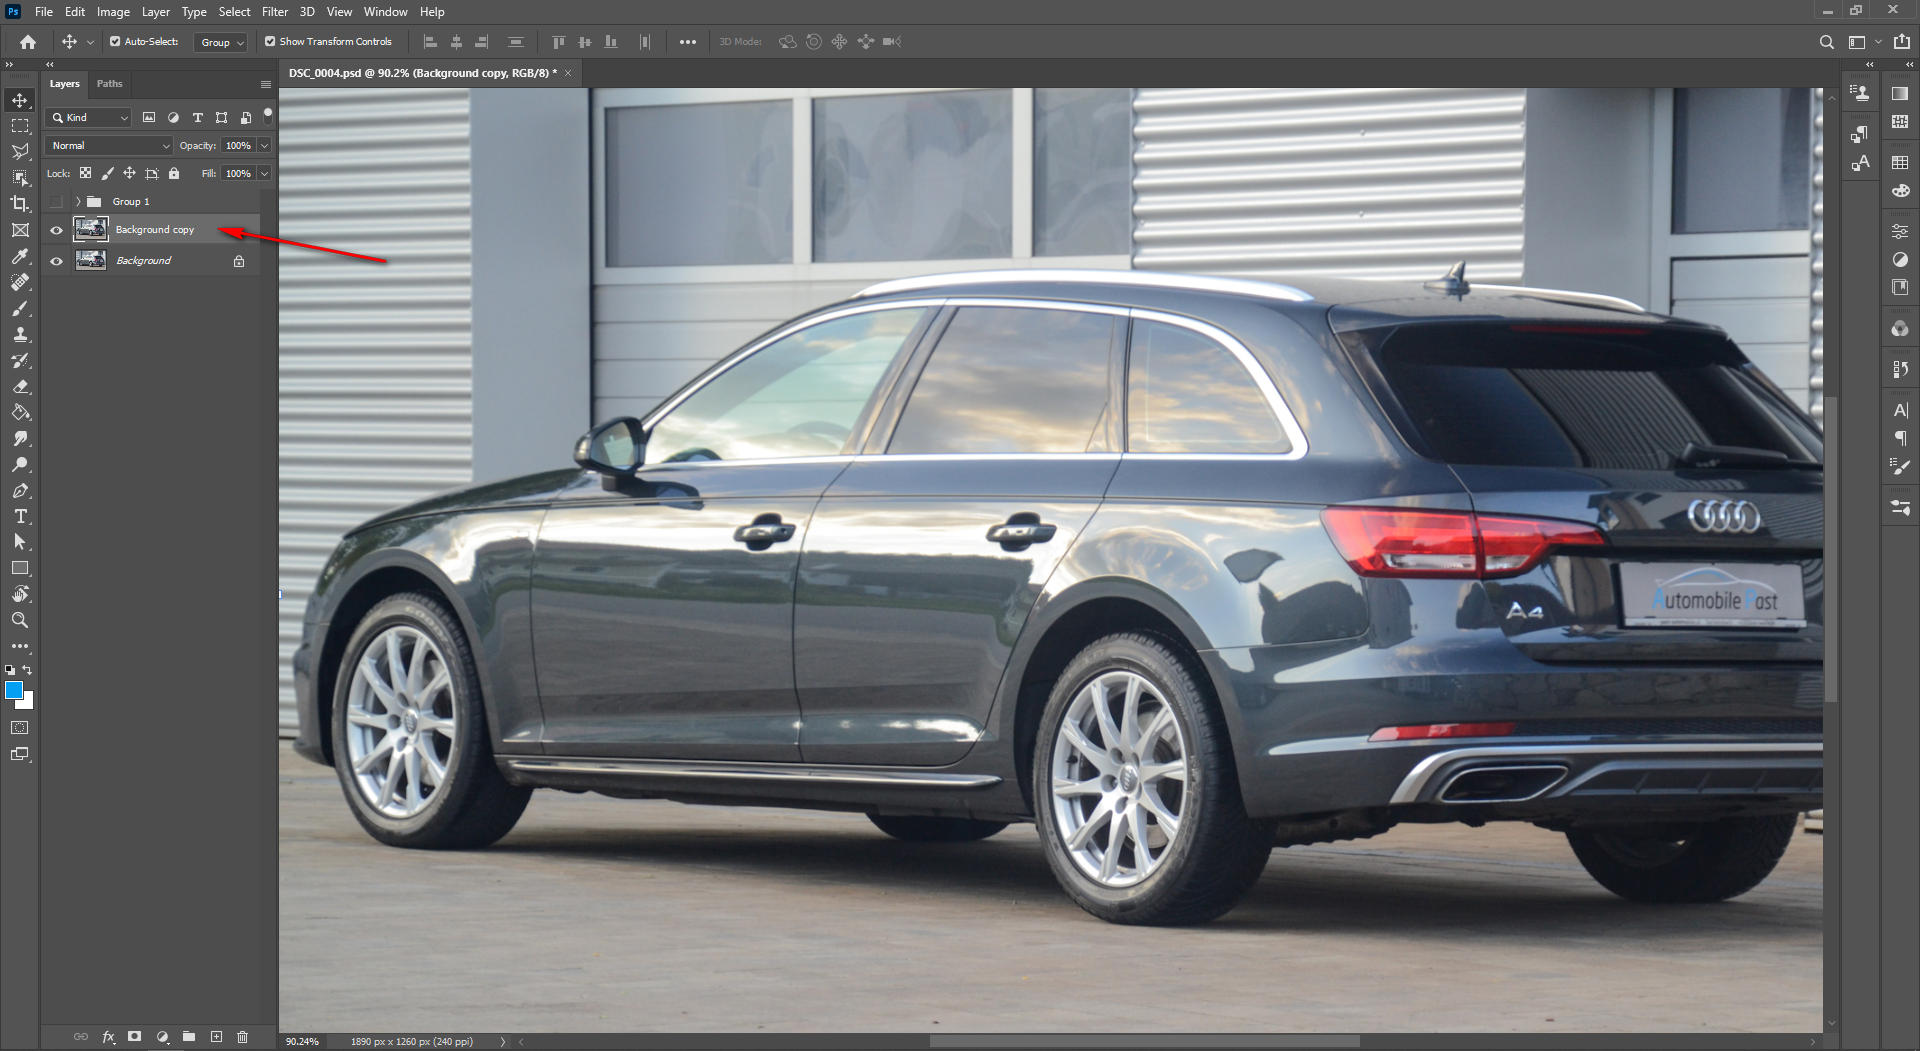
As soon as you insert the image in photoshop, it will create a layer that you will see on the right side of the dashboard. It is the layer panel, and the layer is the original layer. Now create a duplicate layer from the original layer to avoid any mistakes being made in the original image.
Select the original layer and then go to the Menu bar. Click on the Layer menu, and from the drop-down menu, click on Duplicate Layer to create it.
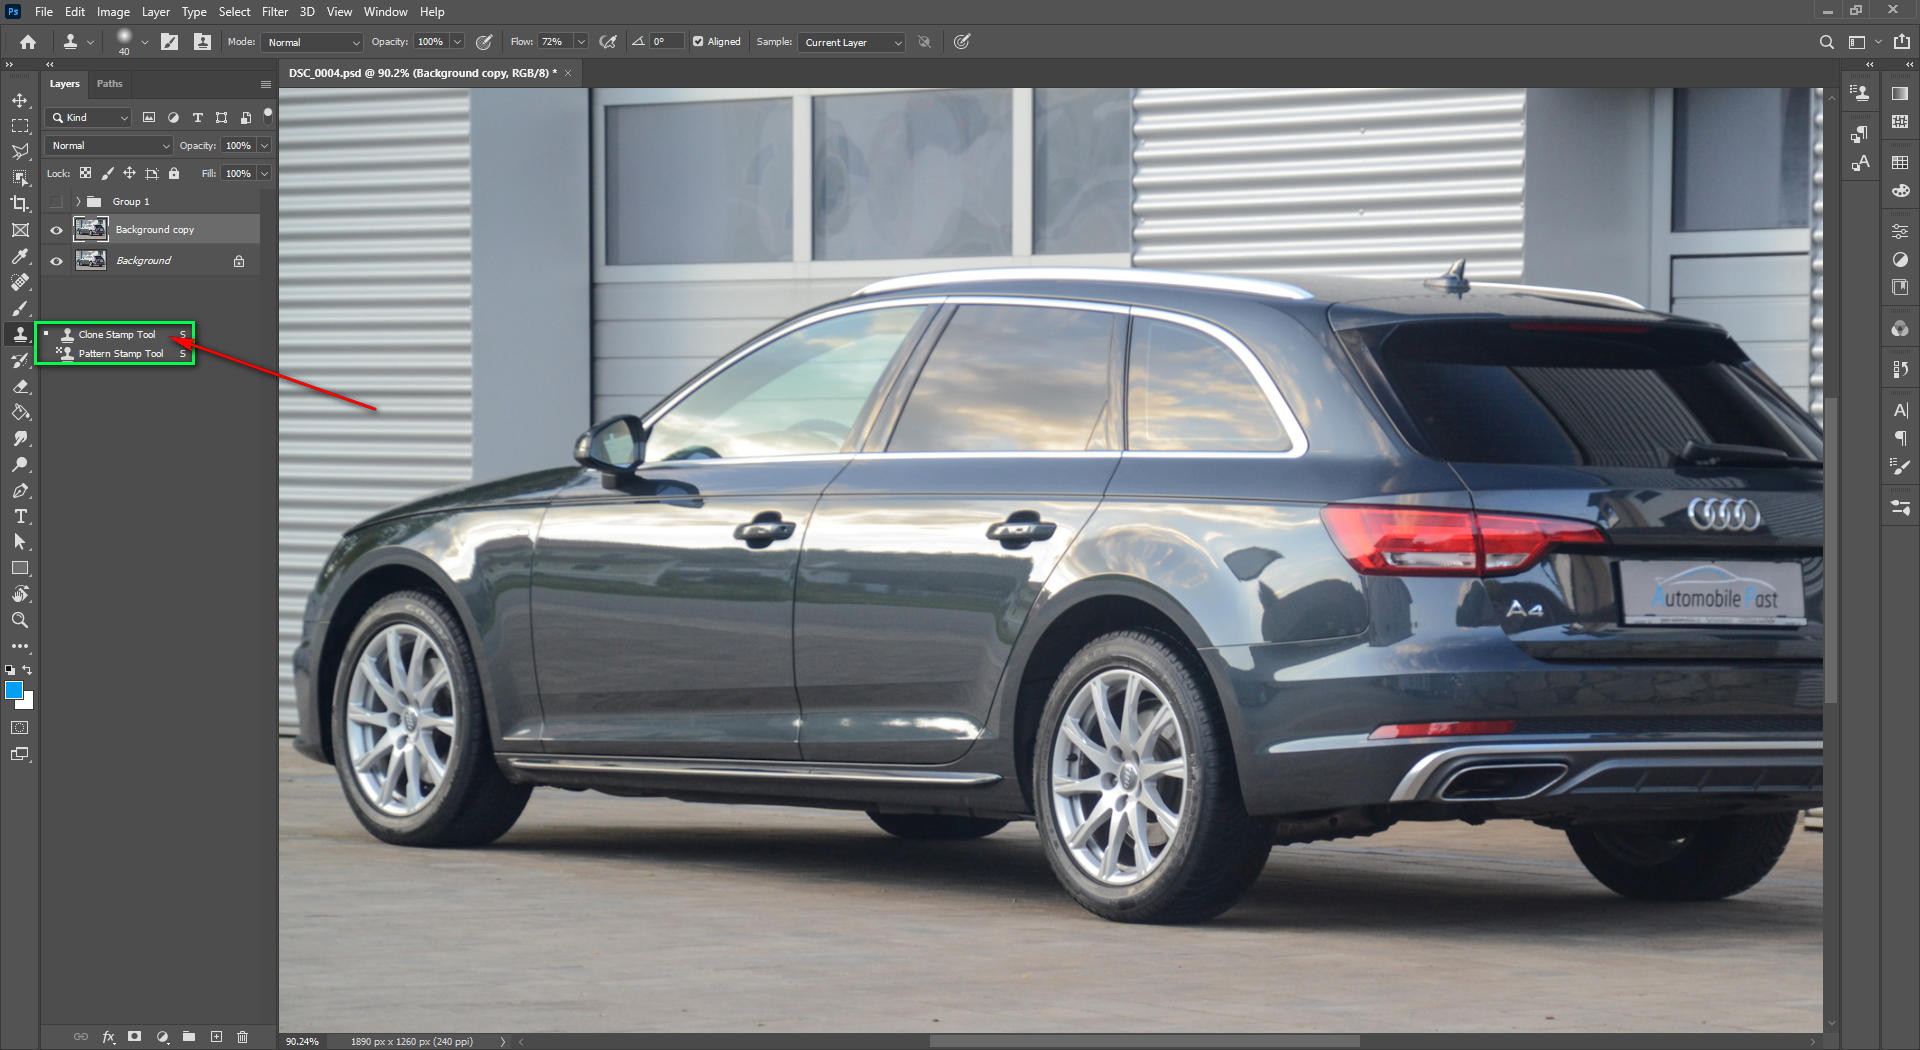
Step 3: Select The Clone Stamp Tool
This is the most accessible photoshop tool to remove the window reflections. Go to the Toolbar, find the Clone Stamp Tool, and select it.
Step 4: Remove The Reflections
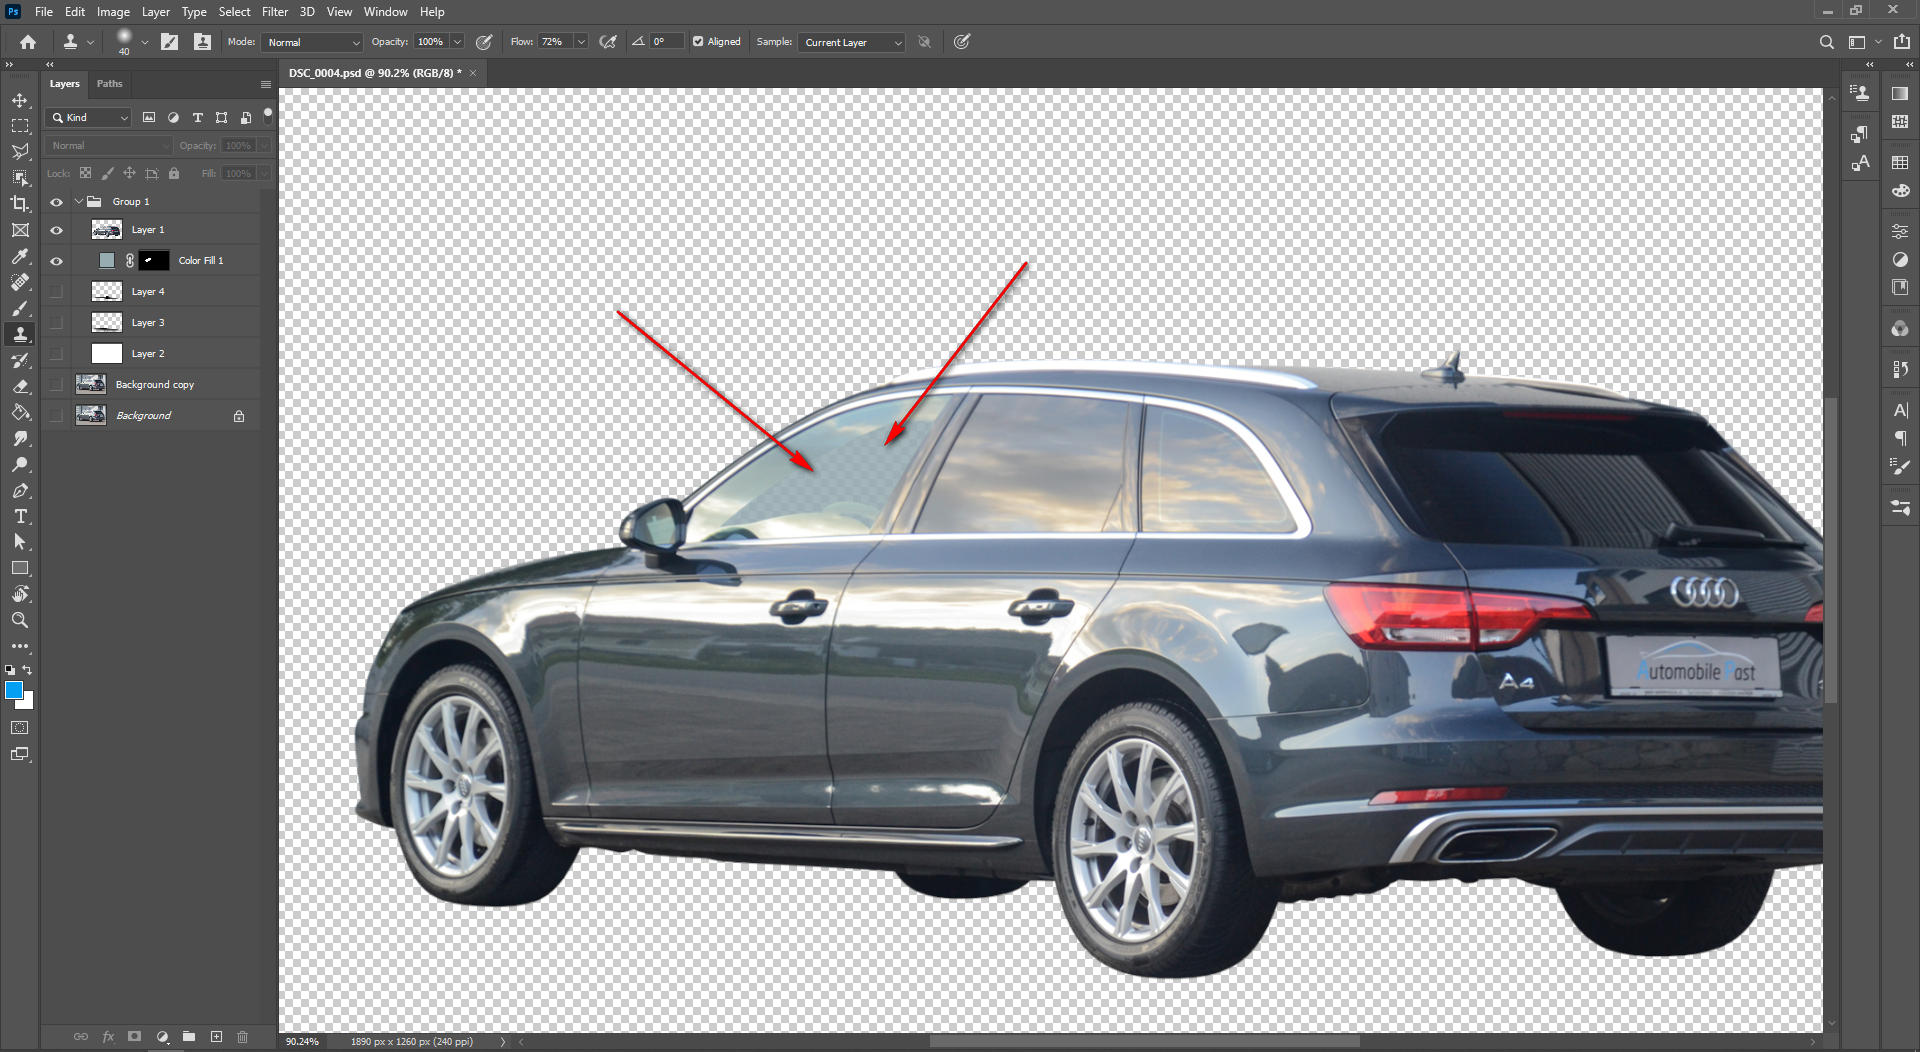
With the tool, select good areas around the reflection and then replace the reflection area with them. The clone stamp tool will remove the reflection area for good.
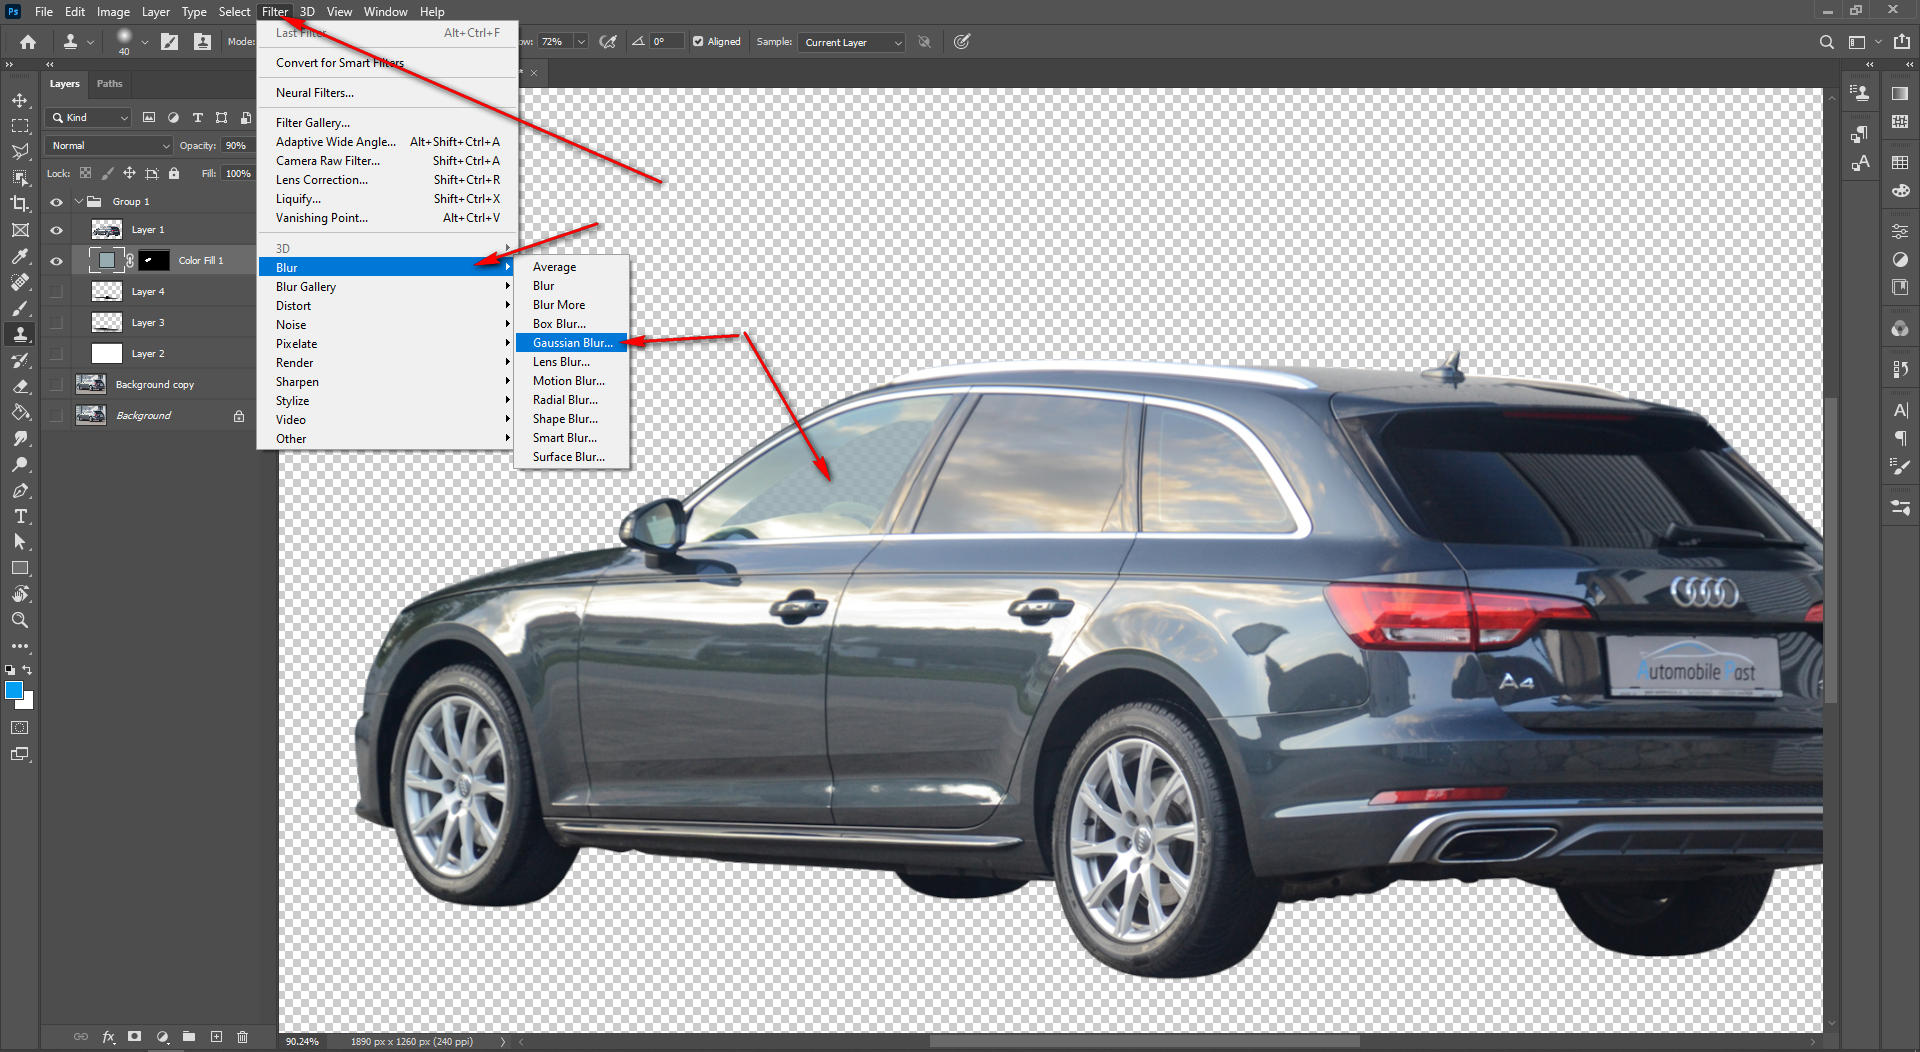
Step 5: Add Gaussian Blur
Go to “Filter” and then click on the “Blur” option, and after that, select the “Gaussian Blur”. Keep the Radius to 1 and Opacity as much as you need. Now brush over the edges of the image cutout that you did use the clone tool.
Set the settings according to your need and work on your image until you get your desired result. When you get it, save the file.
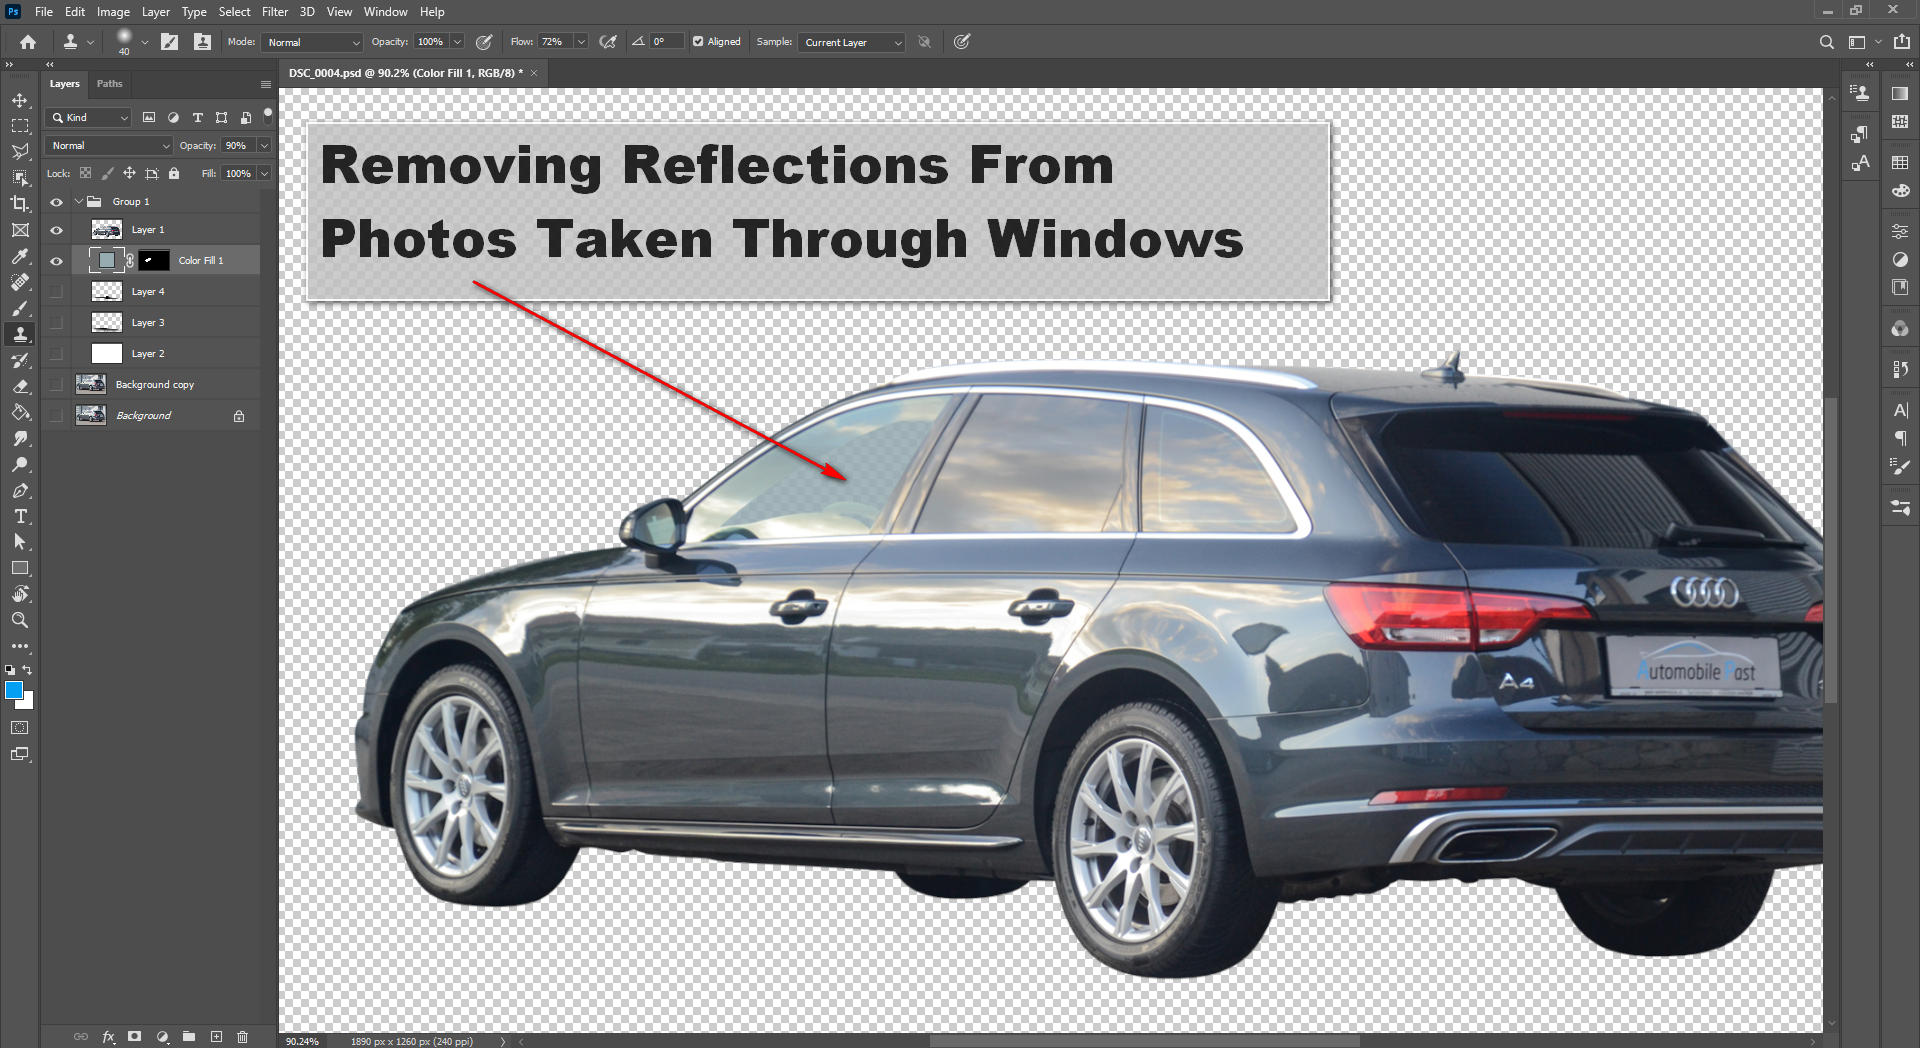
Removing Reflections From Photos Taken Through Windows
When you take photos through windows, you must see glass glare or reflections of your background in your photo frame. So can we avoid that? No, we can’t. Yes, there are a couple of tips and tricks that you can follow to reduce the glare but deleting it is impossible during the photo shoot.
We have already known the process of removing image reflections from the above, but can this be enough? It depends on the image and the number of reflections it has. But apart from the above steps, you also can follow another method to do the process effectively. These are:
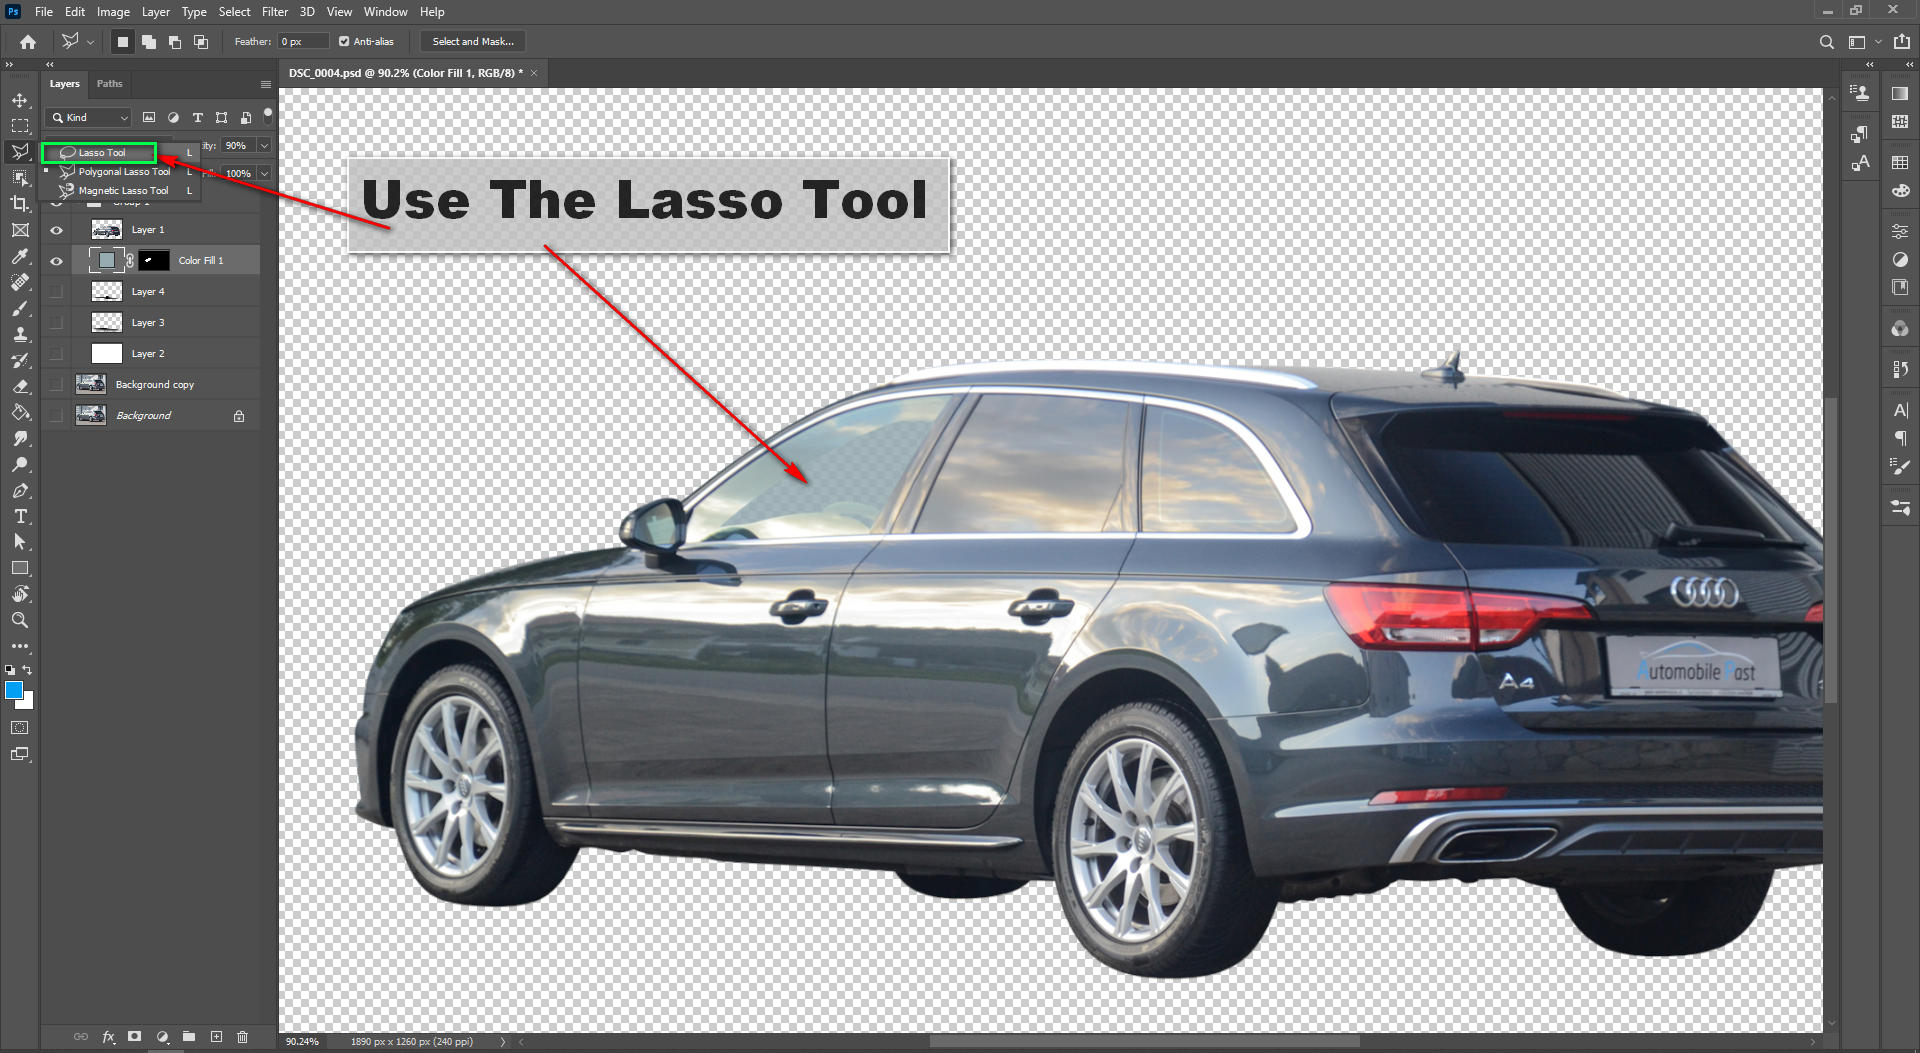
Method 2: Use The Lasso Tool
We can also use the lasso tool to remove reflections like the clone stamp tool. Eliminating reflection isn’t precisely the same, but it’s also an easy process. The method of using the lasso tool and removing window reflection is given below in short:
Step 1: Select the lasso tool from the Toolbar.
Step 2: Use the tool and make paths around the reflection area.
Step 3: Right-click on the selected area and choose the Fill option.
Step 4: A dialogue box will open with the fill option selected.
Step 5: Select the Content-Aware option from the window, which you will find right next to Content. The area you have selected with reflection will get removed and replaced by a good place.
Step 6: Repeat this process for every area that has a glass glare or reflection, and you will be able to remove all the reflections of your image.
Check out:
Remove reflections from your car photography using photoshop
Source: https://www.youtube.com/watch?v=UQL1A0P3P_k
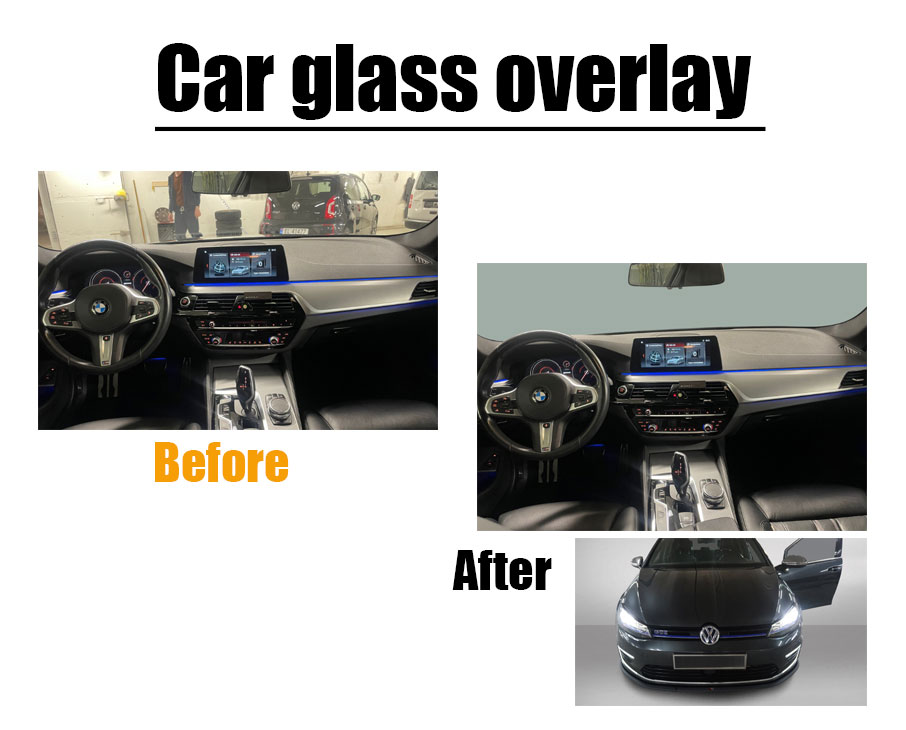
Car Glass Reflection Overlay
Cars are one-of-a-kind luxury glossy products, and photographing them without catching any reflection is as challenging as photo shooting in front of a mirror without being shown. Yes, you saw it right. You have to be tricky, from shooting it to post-processing in photoshop. Photo shooting vehicles try to shoot multiple shots at a time so that you can get almost the same frame but with less reflection. Use a tripod to get the picture right. After that, we will use all these shots in photoshop to reduce the glass reflections overlay. Sometimes we need to fix the glass with cutout car glass and then replate it with a transparent effect.
In photoshop, Insert the master image out of all the shots you have taken. The master shot should have less reflection from the other, and the framing and lighting should also be in perfect shape. After inserting the master image, copy each shot and paste it onto the master by creating a new layer. When the copy and paste process is done, go to the top Menu bar and click on the Layer menu.
Then select the “Layer Style” option and choose “Blending Options”. Now select the Darken option and blend the image. After you are done, you can merge the layers down to have the final photo or flatten the image in photoshop if you don’t need the layers to work again. Apart from this process, you can always use one of the above methods to remove reflections from cars or windows.
Wrapping Things Up
No matter how expert a photographer you are and whatever professional setup you have, you can’t avoid reflections when shooting a shiny luxury car. So knowing how to remove reflections from cars in photoshop is the most professional thing you can do to improve your car images.
